Looking for a big impact even with an itty bitty hoop? It’s time to lead the charmed life...
Yup, I’m talking about our little charms pack with six mini embroidery designs just waiting to become a draped masterpiece. They’ll fit into any size hoop, and with some quick machine embroidery and a little freestyle stitching, you can turn anything into a truly charming masterpiece with these beautifully draped elements.
Supplies
So, in order to create this charming draped effect, you’ll need:
- A tee or tank something at least with straps for the “necklaces” to lie on
- Sheer mesh cutaway stabilizer, such as Sulky Soft 'n' Sheer or Floriani No Show Mesh
- Water soluble fabric pencil
- Scissors
- Vintage Charms design pack
- Printed templates of the embroidery designs. If you have embroidery software, open the design and print it at full size. If you don't have embroidery software, you can cut a piece of paper the approximate size and shape of each design to help with placement.
The charms pack includes six delicate designs: a key, a feather, a wing charm, a jewel, and a seashell. Use just your favorites or use them all to create whatever effect or style you’re after!
Designs Used
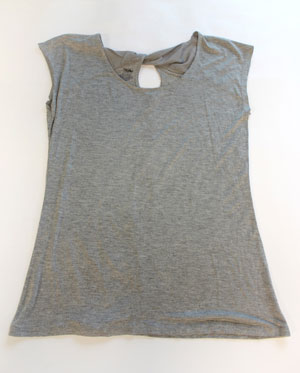
Start by spreading out your tee or tank flat. We need to mark out our “draping” necklaces so we know where to put our charms. Note that this effect is easier with a tee that has shoulders or at least wide straps, so the lines of your necklace chains have somewhere to go.
The nice thing about these tiny and light designs is they can even be stitched on light, stretchy tees like this one without much problem.
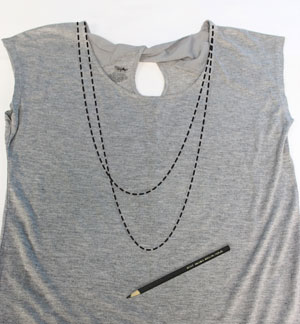
Using your water soluble fabric pencil, start drawing a couple of necklace drapes coming down at different lengths and from slightly different places. How many you add is up to you. I started with two, but by the end I turned it into four. It gave me more fun places to add charms. You don’t have to draw them all on now; it’s kind of nice to start some and then see later where you might like more.
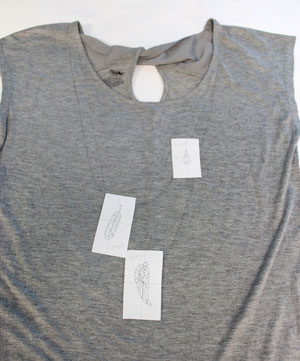
You can very lightly see my pencil marks. Use your templates to place some of your charm designs hanging from the “chains.” Many of the charms have little loops at the top of the design; place these as close as possible to the necklace line.
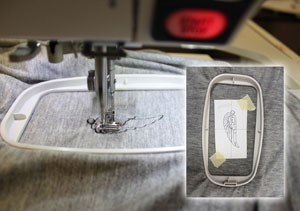
Hoop up your first charm design with some of your sheer mesh cutaway stabilizer. If you’re using a light tee like me, this kind of stabilizer won’t show through and will drape better with your fabric.
Stitch your first design.
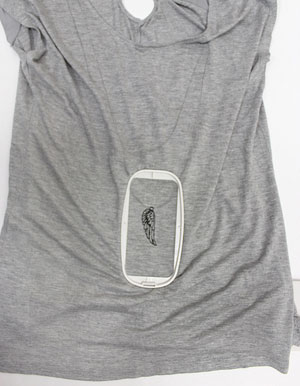
One charm down! You can kind of see how it’s hanging on my drawn necklace. Don’t worry if you’re off by a bit, you can fix it later when you actually stitch in the chain.
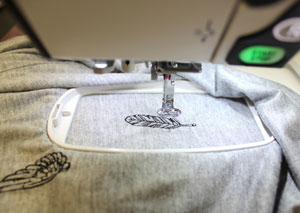
Continue adding your charms. Keep evaluating where they look best, and where and what direction a real charm might hang if you put it on a chain at that spot.
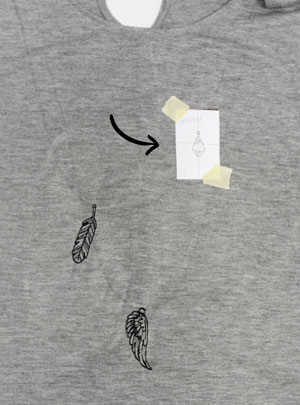
More charms! At first I thought I wanted just one of these little gems...
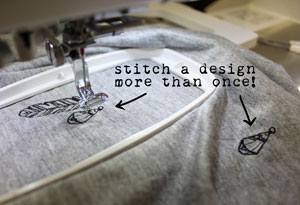
But of course just because you only have 6 designs doesn’t mean you can’t stitch some more than once! Add a couple of the same design on multiple strands in order to give a fuller effect. It’s easier to stitch these one after another so you don’t have to reload the design later.
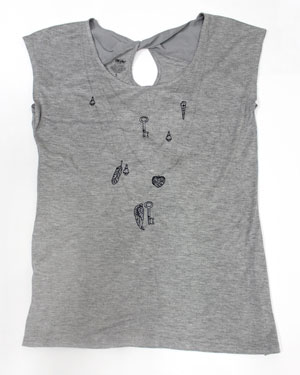
Add as many charms as you like! That’s the beauty of the DIY charms pack -- the look and layout is all up to you.
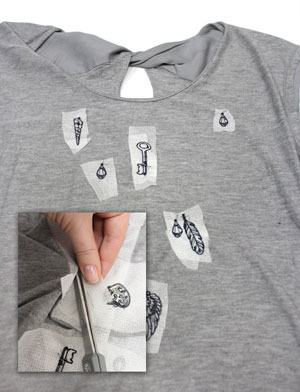
When you’re done with all your machine embroidery, turn your shirt inside out and carefully trim away the excess stabilizer. This will help your shirt to drape nicely.
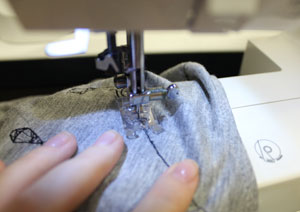
Now we add the chains! Using the same color thread, we’re essentially going to use a technique called “free-motion embroidery” to add the chains. Don’t worry, we’re just stitching long draping lines, it’s very easy to do.
Start at the top of one of your chains, up on your shoulder, and sew a curved line following the path you drew. If you’re stitching on a stretchy fabric like me, I recommend shorter stitches so your fabric doesn’t bunch up.
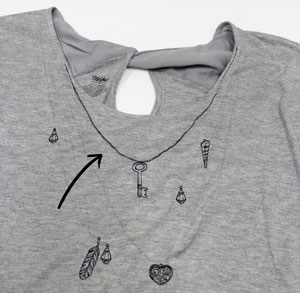
You’ll want to stitch over this line about three or four times to roughly equal the line weight of your charm embroidery. This is my first line. Don’t worry if it’s not perfect! Just follow the line as closely as you can, and try to touch the top of your charm or go through the loop at the top of the design in order to achieve the look of a charm hanging on a chain.
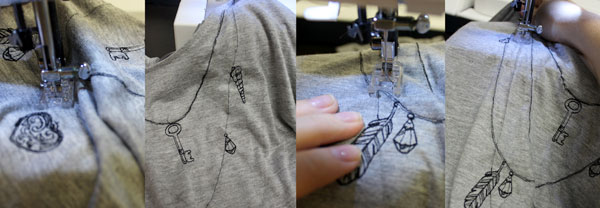
It’s as simple as that! Just continue stitching your other lines, going over each three or four times or until you’re happy with how it looks with everything else. This part may take a little time and patience, but it’s not hard, I promise!
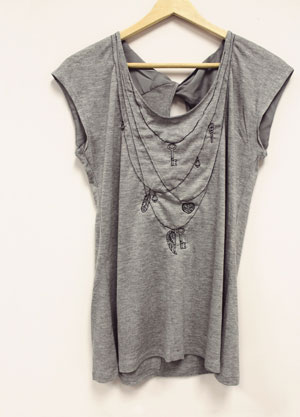
And like magic, with just a tiny hoop and a sewing machine, you’ve created a whole draping masterpiece for a chic new shirt!
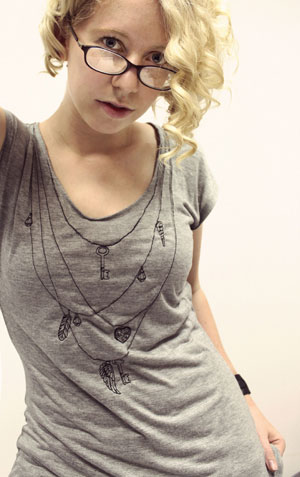
The stitches are light enough to sit on almost any tee, and create a fabulous faux drape effect with all your delicate charms. Feel like it’s not enough? It’s super easy to add more bling.

It’s a stylish and simple way to use a little bit of embroidery to make a big statement, and the light stitches are perfect for rocking your embroidery skills even during warmer weather.
It’s good to live a charmed life!


