Lace Earrings Want another? Well, today I’ll show you a new way to add to your wearable lace collection, steampunk lace key earrings! They're super simple to make and really pretty. Since we’ve done so many lace projects, I’m going to skip ahead to having our lace stitched out. If you want a refresher on how to sew out machine embroidery lace, check out the beginning of this tutorial. You pretty much just need your machine, some water soluble stabilizer, and thread. Stitch out two of the small sized lace keys and then follow along with me to make your skeleton key earrings.
Designs Used
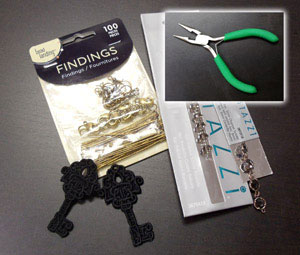
A pliers/cutter (usually found in the jewelry section of a craft store)
- Earring findings
- Beads, crystals, hand embroidery floss or charms for embellishment
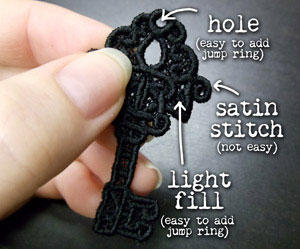
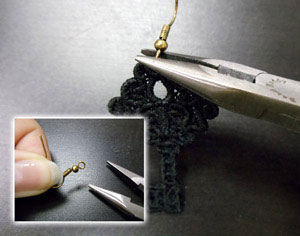
You’ll notice at the top of a key there’s already a loop so you can easily add it as a charm or attach earring hooks to it. That’s a no-brainer.
For the rest of the key, there aren’t any definite areas; however, the light fill is quite easy to punch a jump ring through.
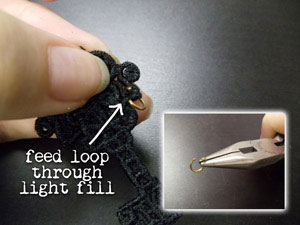
The satin stitch areas are not. You can usually tell the difference, because the light fill areas have little tiny holes and you should be able to sort of see through it. These are areas you can add more embellishments.
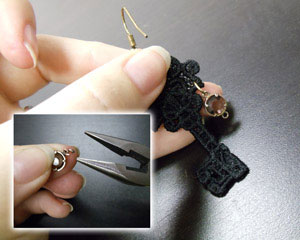
Let’s start building some bling! Take one of your charms (I’m starting with one that has a loop on the top and the bottom, so it can be linked on either end). These are great middle pieces.
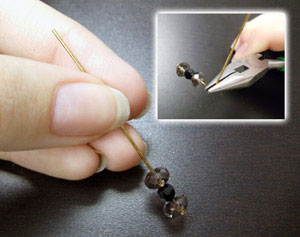
Loop the top ring of your charm onto the jump ring you just attached, and close the loop, like so.
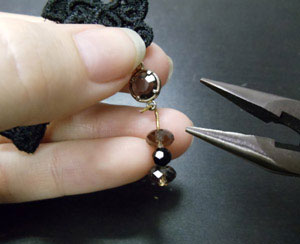
With the top of your pin bent, hook it through the bottom of your last charm, then use your pliers to bend it shut the rest of the way into a closed loop.
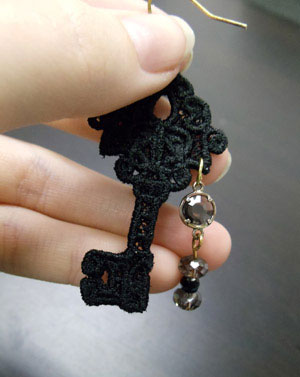
Build another dangly charm piece just like the last one, and attach it on the other side.
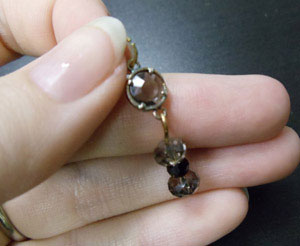
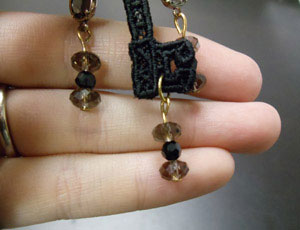
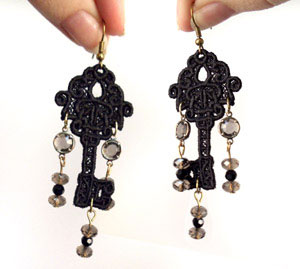
When you’re done, repeat this process all over again on your other little lace piece, and in no time at all you have a beautiful new set of earrings!
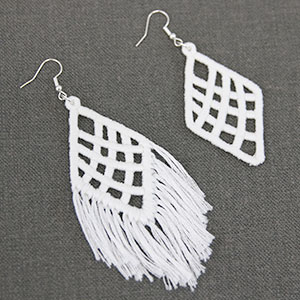
Geometric Earrings (Lace).
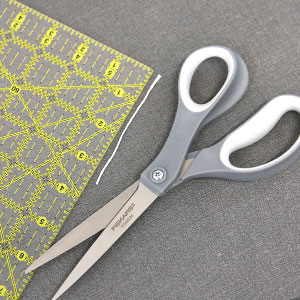
To do this you will need: the finished lace earring, hand embroidery floss, a ruler, scissors, tweezers, and either a clean fine tooth comb or a stiff bristled paint brush.
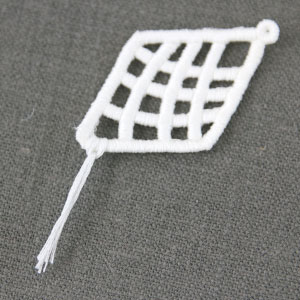
Pull the tails taught and be sure that the ends remain
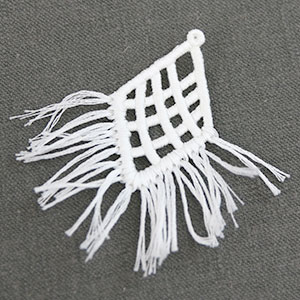
even two sizes, meaning you can do just about anything with them.
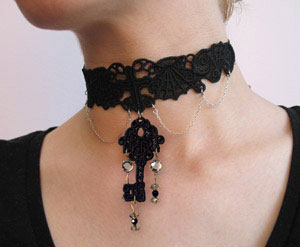
Pull the tails taught and be sure that the ends remain even two sizes,


