Looking for a simple and sweet accent to make in a half hour? Why not stitch up this beautiful lace headband accessory! Delicate lace combined with a headband and some sparkling jewels makes a quick and easy statement piece for any outfit.
Supplies
Making this headband accent is as easy as can be. All you need is:
- Flower and Feathers Flourish (Lace) embroidery design file (available in one piece for a 5"x7" embroidery area, or two pieces that can each be stitched in a 4"x4" hoop)
- A plain headband (any kind, as long as you can hot glue stuff to it)
- Hot glue gun
- Heavy duty water-soluble stabilizer -- we use Sulky Ultra Solvy
- Awesome lace headband design
- 30 to 50 weight cotton thread
- Crystals (optional, but awesome)
- Any other accents you wish -- feathers, etc.
Designs Used
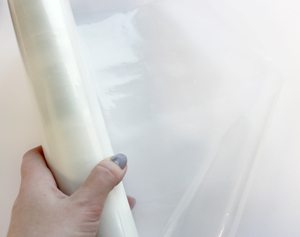
First things first, you’ll want to stitch the lace. See this tutorial for step-by-step instructions, but here are some basic things to remember:
- Stabilizer is very important! We recommend a heavy duty water-soluble stabilizer such as Sulky Ultra Solvy, to keep the design from shifting and separating as it stitches.
- This design is specially digitized for 30 to 50 weight cotton thread (don't use rayon or polyester, as it may not hold up as well).
- Be sure to wind a bobbin of the same cotton thread as you're using on the top, since it will be visible as part of the lace.
OK? Hoop up your water-soluble stabilizer and get stitching!
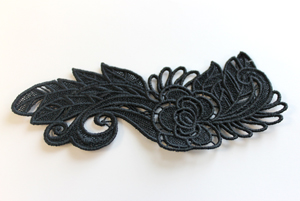
When your lace is finished stitching, soak your stabilizer according to package directions to remove.
This is my large lace all dry and ready to go!
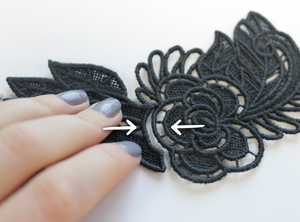
If you stitched the 4x4 version of the design, it will be in two parts. Once you have your two parts ready, you can glue or stitch the two halves together with matching thread.
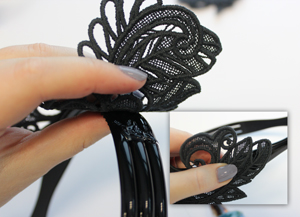
Now it’s time to glue it all down! I glued my lace accent slightly off center from the middle, so it would have a bit more flair. Glue it down with hot glue in places where the lace has more solid areas.
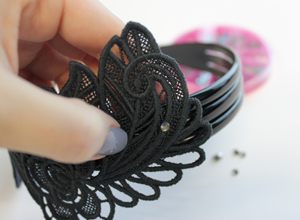
Once the lace is glued on, you can use your glue gun to add crystals or other fun accents to really bring your headband to life!
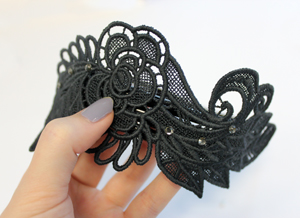
And that’s it! Your headband is now a beautiful lace accent ready for a night on the town.
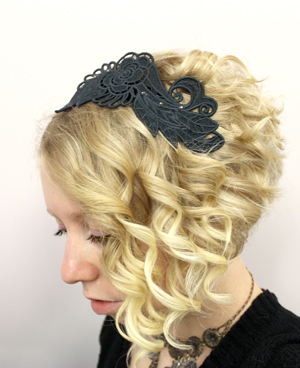
This is it with the lace to the left, as a lace accent mixed in with my curls...
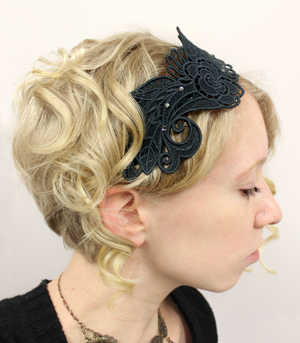
...or on the right with my hair pushed back, to really highlight the lace. Let this beautiful lace design shine however you choose to wear it, and it’s sure to complement any look.
Customize the colors and the crystals to suit any outfit or taste, because the creation is all in your hands! Plus when a craft project is this easy, how can you not try it?


