


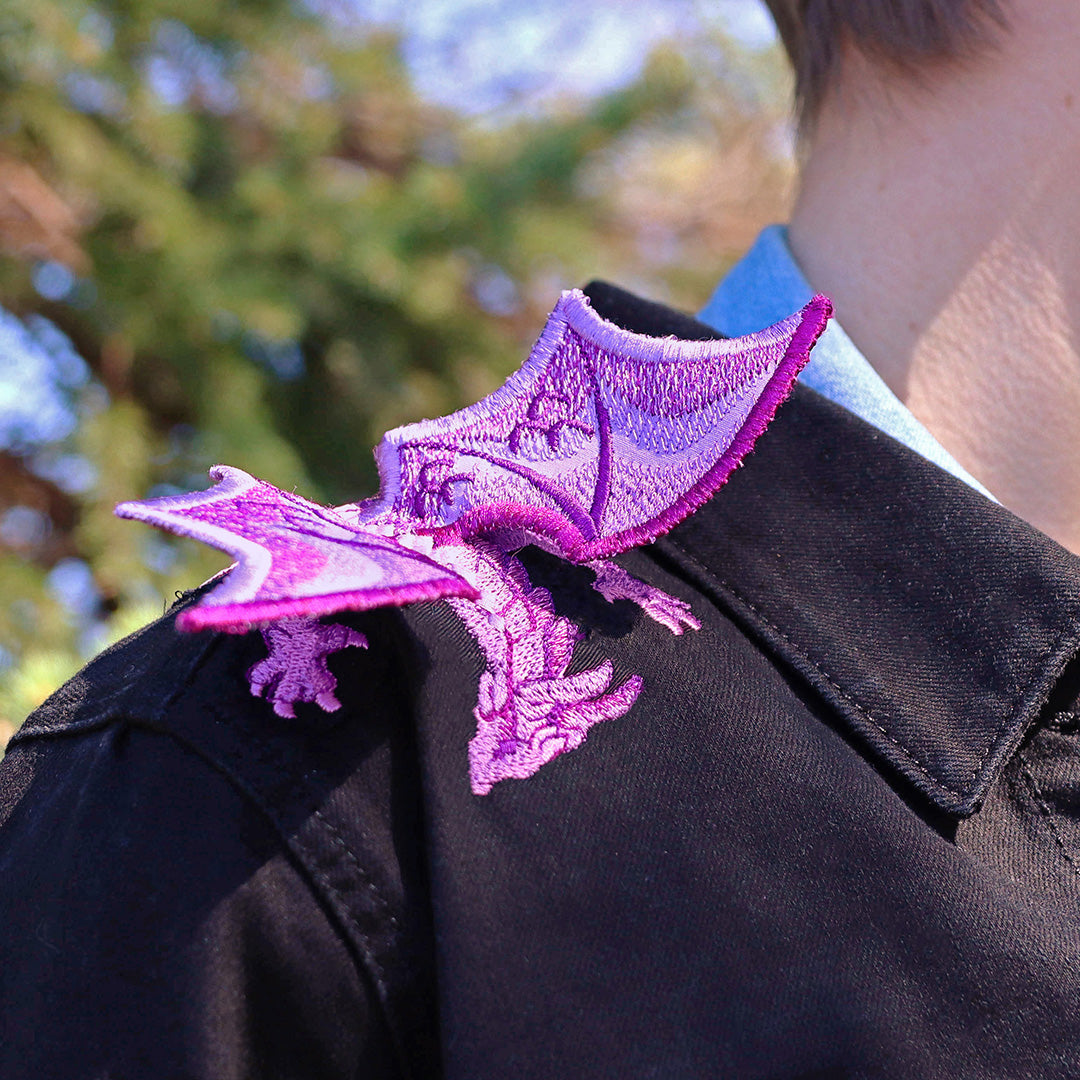
Take your embroidery to the next level with unique 3D applique designs! Use the first file to stitch each creature's wings as a freestanding piece, then use the second to stitch the body and hold everything together. These designs are simple to stitch, and the effect is truly dazzling. We'll show you how!
Supplies & Materials:
- Dimensional Bee , Dragonfly , or Moth 3D applique embroidery design
- 1/4 yard of quilter's cotton for the wings
- Temporary spray adhesive (such as Gunold KK 100)
- Fabric for the backdrop (such as twill or linen)/li>
- Tearaway stabilizer
- Medium weight cutaway stabilizer
- Scissors
The designs used in this tutorial include:
.

Print the dieline templates, labeled with a "DL" in your zipped design file ( here's how to print dieline files ). There will be a front and a back side for the wings. Spray the back side of the paper dieline with temporary adhesive, and smooth it onto the right side of the fabric. Cut out the shapes.

Hoop a piece of tear-away stabilizer, making sure it is tight and has no wrinkles, and place it onto the machine. Load the first embroidery file for the wings (labeled with an "a"), and begin to embroider the design. The first thing to embroider will be the dieline to show where to place the shape.
Once it has sewn, spray the back side of the front wing piece with temporary adhesive, and place it into the sewn dieline.
Then embroider the "front piece tackdown step" on the color change sheet to sew the tackdown and hold the front piece in place.

Now that the front fabric piece is in place, follow the color change sheet, and embroider all the inner details on the wings. Stop the embroidery machine before sewing the step named "back piece tackdown, finishing border."

Before sewing the tackdown step, remove the hoop from the machine, but do not unhoop the stabilizer. Turn the hoop over, and spray the back side of the back wing fabric piece. Place it inside of the sewn shape on the backside of the embroidery.
Then wind a matching bobbin with the same thread color as used in the final color change step.
Load the hoop back onto the machine, and embroider the final tackdown and border.

Once the wings are finished embroidering, unhoop the design, and tear away the excess stabilizer from around the wings. If desired, trim away any extra bits of stabilizer found along the edges of the embroidery.

To achieve the 3D effect, the wings will act as an applique piece on the final backdrop fabric. First, spray a piece of cutaway stabilizer with temporary adhesive and smooth it onto the backside of the backdrop fabric. Hoop the fabric and stabilizer together tightly, making sure the fabric is taut and has no wrinkles.

Attach the hoop onto the machine, and load the second embroidery file (labeled with a "b"). Some embroidery designs have details that sew before the 3D element is placed. Follow the color change sheet, and embroider any details until you reach the step labeled "dieline". Then, continue to the next step of this tutorial.

Load the hoop onto the machine, and load the embroidery file for the body (labeled with a "b"). First the "wing dieline" will embroidery showing where to place the already sewn wings. Spray the back side of the wings just at the very center where they meet the body, and place them carefully inside of the sewn dieline in the hoop. Then embroider the "wing tackdown" step on the color change sheet to adhere the wings to the fabric..

Once the wings are in place follow the color change sheet, and embroider the rest of the design. The body details will sew over the wings, completing the 3D applique embroidery design.

Let your 3D applique fly free on throw pillows, tote bags, and more!
