Sweatshirts are a favorite for good reason! They're comfy, classic, and can be styled and modified in endless ways to express your unique personality. Read on to discover how to make your sweatshirt stitching look stellar ... and check out the accompanying Embroidering on Hoodies video to see how it's done!
Designs Used
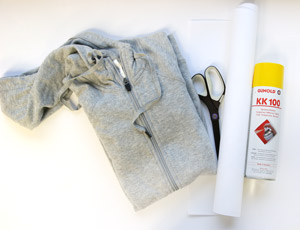
To get started on your hoodie, you will need:
- Your favorite embroidery design (We used the largest version of Check Meowt)
- A hooded sweatshirt
- Medium weight cutaway stabilizer
- Temporary spray adhesive
- Printed templates of your design(s) for placement
- Thread for your embroidery
- Scissors
- Air erase marker or tailor's chalk
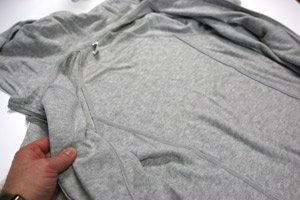
Start by unzipping your hoodie (or turning it inside out) and laying it on a clean, flat surface.
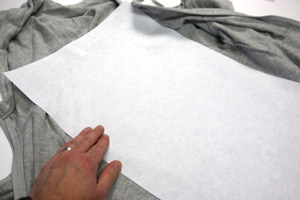
Adhere your medium weight cutaway stabilizer with temporary spray adhesive to the back of the area you plan to embroider.
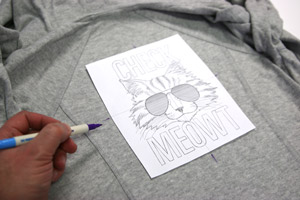
Now for placement. Using printed templates of your design will make it easy to map out exactly where each embroidered piece will go. (Here's more on how to print templates.)
Use an air erase pen or chalk to mark the center and the vertical axis points of the design onto the garment. Use a ruler to draw a straight line connecting and extending each of the marks. You will need these to line up exactly with the crosshairs on your embroidery hoop.
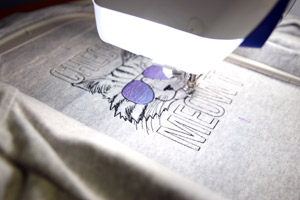
Hoop your fabric and stabilizer together, taut and use your marked points on your fabric to line up with your embroidery hoop's crosshairs.
Start embroidering!
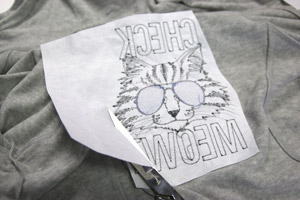
When you are done stitching, carefully trim the excess stabilizer from the back of the embroidery design.
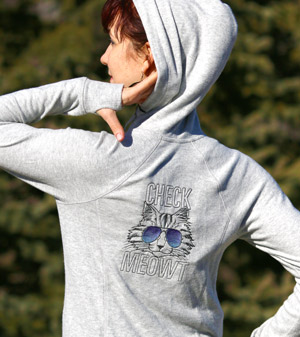
Your newly embellished hoodie is ready to wear! Slip it on and enjoy a garment that's uniquely you.


