This little trick is super simple, but offers you a really cool and fresh new way to show off some of your favorite embroidery. It's called a color splash, and it's exactly what it sounds like! You create a splattered canvas of color for your design to feature on, and then stitch your dimensional design all in white to really let it "pop" off the fabric. You'll be surprised how something this easy can look so cool!
Designs Used
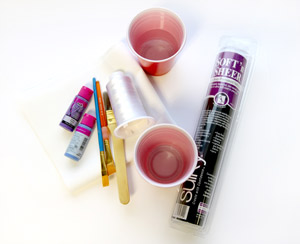
To create your color splash embroidery, you'll need:
- Your favorite Urban Threads embroidery design(s). I recommend a dimensional or satin stitch outline design to "pop" on your color background
- White fabric
- Fabric paint
- Paintbrushes
- Cup for water and color mixing
- Medium weight cutaway stabilizer
- Temporary spray adhesive
- White embroidery thread
- A non-porous surface to paint your fabric on
Additionally, you may want a hairdryer to help dry your color splat in the form you like, and stop it from blending out.
Though we show our finished creation on a pillow, this tutorial doesn't cover what to do with your new color splash design because you can do anything you like with it! Pillows, shirts, framed... you name it!
So let's jump right in. A lot of the fun in this kind of project is experimenting, so I'd recommend cutting a few squares of white fabric to play with, then choose which one you like best for your embroidery.
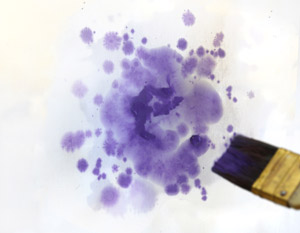
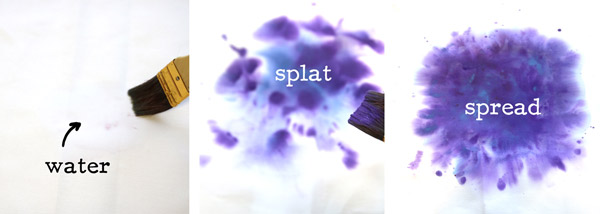
There are a lot of different ways you can apply your fabric paint. The main thing I've learned is that fabric and fabric paint don't work quite like regular paint. It tends to "bleed" quite a bit more. So to start, I watered down my fabric paint a little and let it drop or "splat" onto my dry fabric. It very quickly spread out.
This is after I splatted a little bit of blue in the middle, and added darker drops all around the edges and middle.
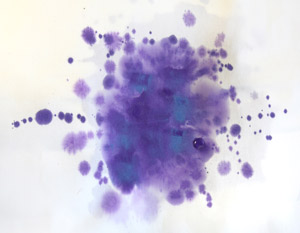
This is still on totally "dry" fabric (except where the paint is). As you can see, the paint spreads a lot as it dries. Below is an even more extreme example.
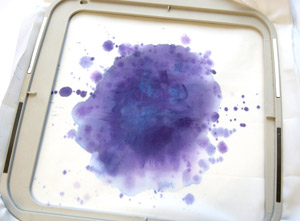
If you wet your fabric first in a small square, then splat paint over it you can see how the paint bleeds far out over time, obliterating some of the more distinct "splat" shapes. This is a cool effect if you want the water colored look, but if not....
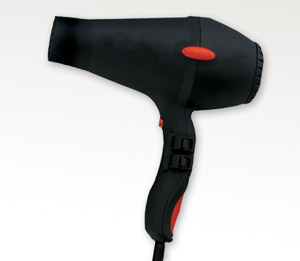
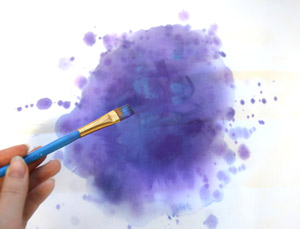
Use your secret weapon -- a hair dryer!
If you find that you've made a gorgeous splat pattern that you'd rather not lose to "bleeding," then you're going to want to hit your paint with your hair dryer on low air with high heat. This will force the paint to dry in the shape it's in, instead of continuing to spread outwards.
This is key to getting some of the different splat patterns and shapes you'll see us use later. Play around with a bunch of paint, on a bunch of fabric until you have a few splatter shapes you love!
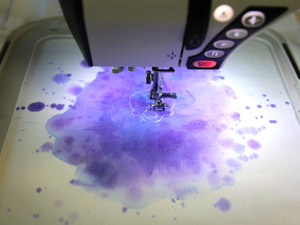
Once you have something you like, it's time to add the embroidery! Make sure your fabric is entirely dry, then affix your medium weight cutaway stabilizer to the back of your fabric with temporary spray adhesive. Hoop both layers of fabric and stabilizer together taut, then load up your design.
For this project, designs with lots of satins and open areas are best, to allow the embroidery to "pop" against the color but still have open areas to let the paint shine through.
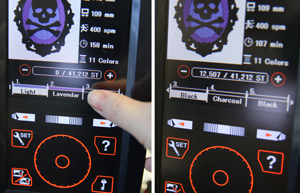
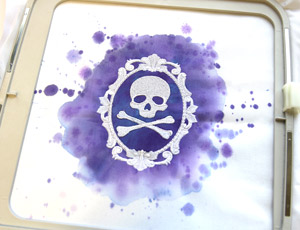
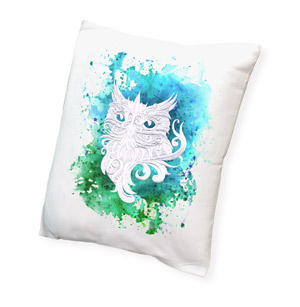
Take the Cameo Mori design for example; it has a stitch-filled color in the middle of the cameo, but I want my paint to show through here, so I'm going to tell my machine to skip over those stitches and start sewing only the area of the design that shows up as black and grey (the skull and frame).
If you want a more detailed look about how to skip to the outlines on an even more complex design, check out the beginning of this tutorial.
So once you have your design chosen, get your white thread ready and start stitching!
Once everything is done stitching in white, your design is ready to be transformed into anything! If you really want a pillow, we have a couple of great pillow tutorials:
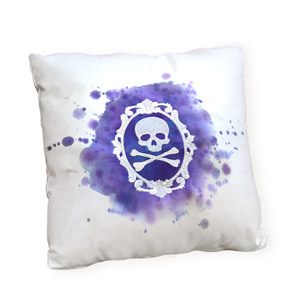
Pillows, shirts, bags, wall hangings, framed art... anything can look good in this style!
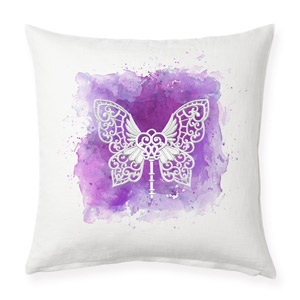
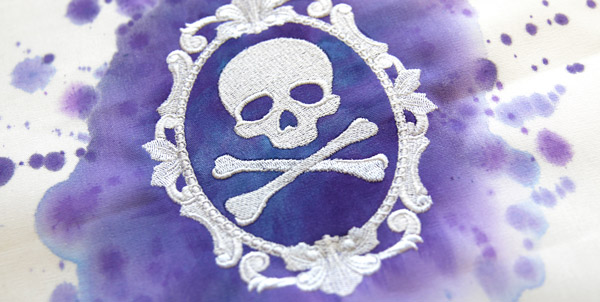
Experiment with color and technique to get different looks. This purple color splash was hit with a hairdryer soon after the paint was applied, so the edges stayed a little crisper, instead of bleeding out. Additionally, one layer was allowed to dry completely, then another splat layer was applied in the same way on top.
This design splat has a similar blend of hard and soft edges, but two different colors were used and allowed to bleed into each other to create a fun gradient effect.
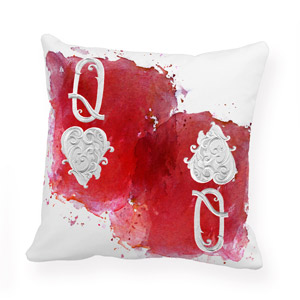
For a design that might stitch in different areas of your fabric, you can add more than one color splash. This one used to red splats, the first one was allowed to dry completely, and then the second was applied with a slight overlap.
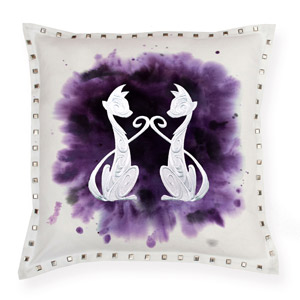
Of course, you can just let the color spread! This dark purple was allowed to bleed out pretty far, giving it a nice wide canvas of color for mirrored embroidery.
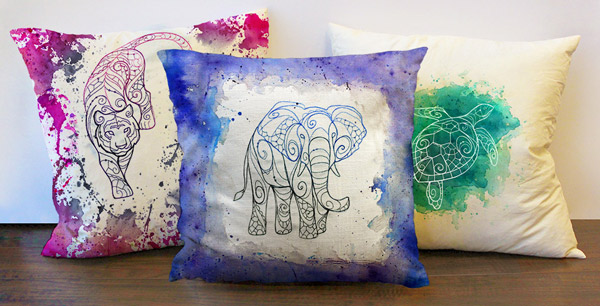
This technique can also be used to frame light-stitching designs as well, or give a more subtle effect with your white embroidery pop. For instance, these ombre Delicate Ones designs blend nicely into a colorful scene. By experimenting with different colors, water techniques, and framing, the possibilities for creativity are endless!
Experiment and find what you like best with this fun new color splash technique! Honestly, it all looks pretty awesome with embroidery on top of it, so it's hard to go wrong!


