If you've stitched applique designs before (and even if you haven't), it's fun to see the difference fabrics, textures, and styles can make with these dynamic designs. The Ballooning design is no exception! This simple and adorable 3D pop-up design is great for adults and kids alike with a variety of different applications. This tutorial will show you how simple it is to do!
Designs Used
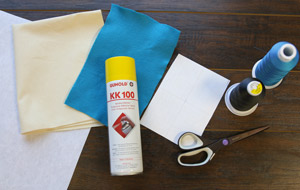
To craft your pop-up applique project, you will need:
- Ballooning (Applique) embroidery design
- Craft felt for your balloon (the thicker the better)
- Thread to match your felt
- Fabric for your embroidery
- Printed templates of the dieline files, which come with the design and have "DL" in the filename (here's how to print dieline templates, or stitch if you don't have software)
- Medium weight cutaway stabilizer OR sheer mesh cutaway stabilizer
- Temporary spray adhesive
- Scissors
- Air erase marking pen (optional)
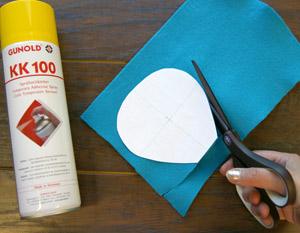
Let's start with those printed dieline templates...
Lightly spray the back of your template with temporary spray adhesive and put it onto your felt, cut two balloon pieces of felt using the printed dieline.
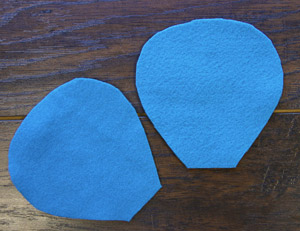
You should have two felt pieces, cut as close in size to each other as possible.
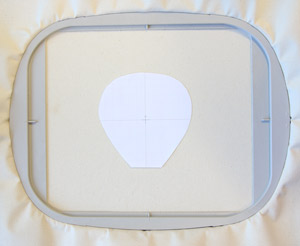
Next, spray your cutaway stabilizer with temporary spray adhesive and adhere it to the back of your project fabric, then hoop both your fabric and stabilizer taut together.
You can use the same template you cut and air erase marking pen to perfectly position your design on your project.
Now it's time to begin your embroidery!

The first thing to stitch out is the embroidery details of the design. When that's finished, change your thread color to match your felt, and a dieline for your applique will stitch out. After this is finished, lightly spray the back of your first balloon piece with temporary spray adhesive and place it over the stitched dieline. Your machine will sew out a tackdown.

Your machine will stop again so you can place your second felt piece. Lightly spray your second felt piece with temporary spray adhesive and place it on top of your first piece.
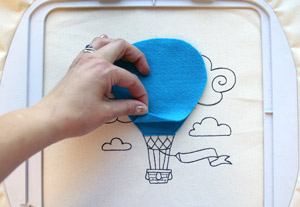
Try to match your two felt pieces up as closely as possible for best results.
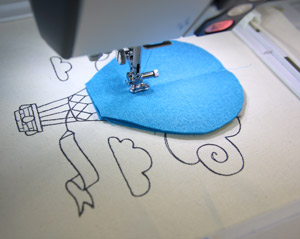
Your machine will then stitch a line down the center of your balloon.
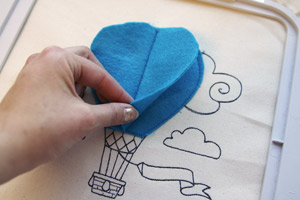
When your machine is done stitching, prop up the sides of your felt using your fingers.
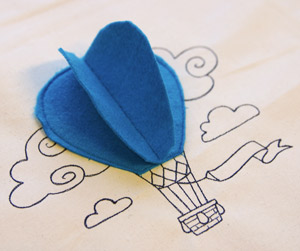
And there you have it! An adorable 3D applique creation!
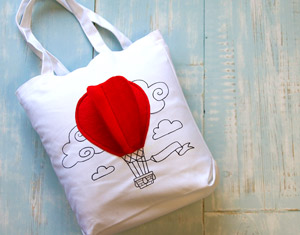
This adorable design is perfect for pillows, totes, fun journal covers, and more! Stitch a couple in different sizes and colors to create a sky full of hot air balloons.


