Quilted blocks make a great centerpiece for any project! This tutorial walks you through adding batting to the back of a single quilted embroidery design. In this case, I used this single square to create a Log Cabin quilted pillow. If this was intended to be a full quilt, it would be best to complete the whole top before embroidering -- click here for those instructions.
Designs Used
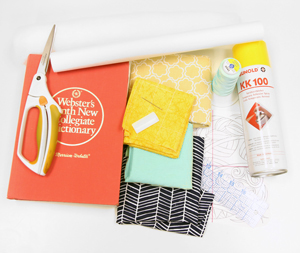
To prepare for your quilt block project, gather these items:
- Quilting embroidery design (I'm using the Doodle Quilting Square)
- Quilter's cotton fabric of your choice
- Batting sheet
- Medium-weight cutaway stabilizer
- Temporary spray adhesive
- Design template
- Scissors
- Hand sewing needle
- Tailor's Chalk or air erase marker
- Quilter's ruler
- Heavy Book(s)
Special notes: This tutorial assumes that you a) already have some familiarity with quilting in general or b) like me, you are cool with rolling through and learning new projects as you go, so we will not be covering how to create the quilt top itself. For beginners to quilting, check out this tutorial for the basics you need to know!
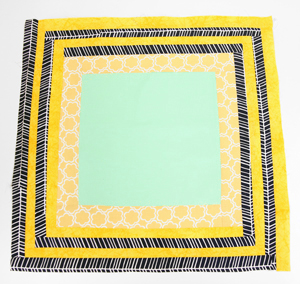
Create your quilt square using the fabrics you've chosen. If you want instructions on how to make this style Log Cabin Pillow, follow this tutorial.
For this project, I am using the largest Doodle Quilting Square design and leaving roughly a one inch border around the design.
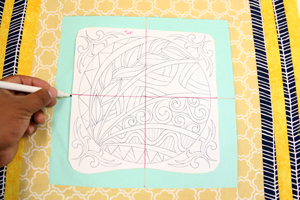
Use the design template to mark the cross bars and center the design with in the quilted block. (Here's more on printing templates).
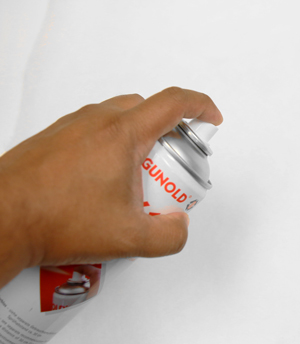
To apply batting, coat the front of the stabilizer with spray adhesive, then lay the stabilizer over the batting as smooth as possible. Lay the batting (stabilizer down) and spray the top of the batting. Then place the center of the quilted block over the batting. Press firmly, while smoothing out the fabric.

Before hooping, lay the quilted square (with batting and stabilizer) on a flat surface. Then, place a heavy book or two (dictionary, encyclopedia, etc.) on the area that will be embroidered. Leave the books on for about 30 minutes. This will remove the air from the batting-- making it easier to sew and avoid thread skips or looping.
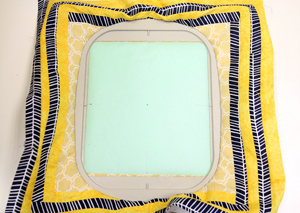
Make sure the quilted block is taut in the hoop before embroidering the design. When the design is finished sewing, remove the excess stabilizer, leaving a half inch border around the embroidered design.

Embroider your design!
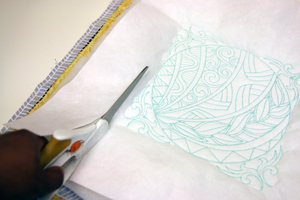
Carefully trim the stabilizer from the back of the design, then finish out your project!
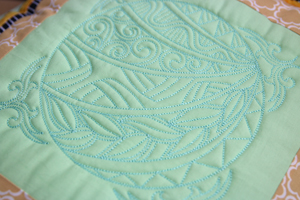
The batting provides a unique texture to the embroidery design and overall look of the project!
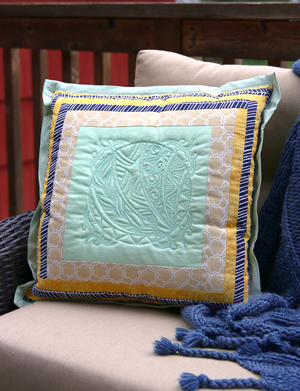
The result is a stunning quilted piece, perfect for home decor projects, sweatshirts, and more.


