Reverse applique is a simple effect with stunning results -- our favorite kind of embroidery design! It's similar to regular applique; the difference is that your applique accent fabric is behind your cutout, revealing instead your fun fabric choices through a small cut "window." Don’t fret -- in many ways this kind of applique is even easier to do than regular applique.
Designs Used
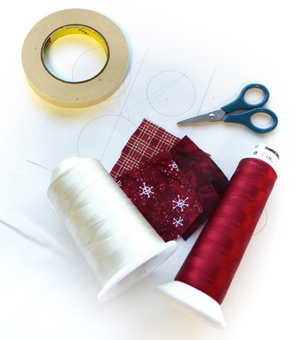
To make reverse applique, you’ll need:
- Your special reverse applique embroidery design
- Fabric
- Medium weight cutaway stabilizer
- Temporary spray adhesive
- Small piece of fabric for your applique
- Printed dieline template for the applique (here's how to print dieline templates)
- Small, sharp scissors, or X-acto knife and cutting surface
- Tape
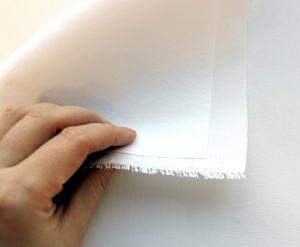
First spray some medium weight cutaway stabilizer with temporary spray adhesive, and smooth it onto the back of your fabric.
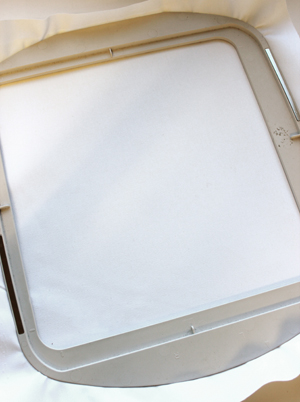
Hoop your fabric up tight in your hoop, and load up your design on your embroidery machine.
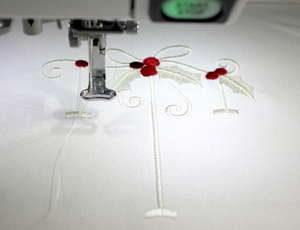
Start your design sewing. First, it will stitch out the decorative areas that aren’t part of the applique -- in this case, the holly and flourishes that go with the hanging ornaments.
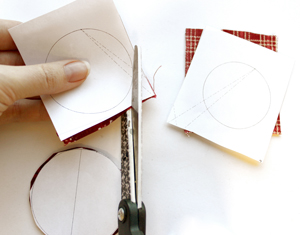
While that’s sewing, use your printed dieline templates to cut out your applique shapes. These templates are a little bit larger than the applique hole we’re going to cut, so they give you plenty of room for error.
Once they’re cut out, set them aside until your design is ready.
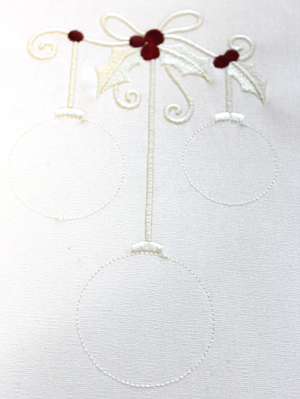
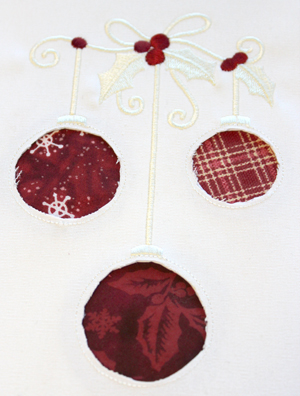
After the decorative elements of your design are done sewing, your machine will stitch a dieline shape, like these three circles. These are where the applique will go.
When these shapes have finished stitching, carefully pull your hoop off your machine, but DON’T unhoop your design.
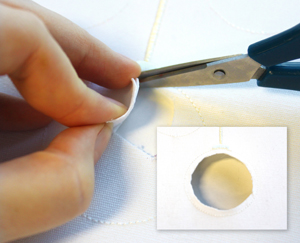
Using your small sharp scissors or a craft knife, cut a small hole in the middle of one of the applique shapes, then use that hole to cut out the entire middle of the shape. You can go as close as 1/8 inch to the edge of the stitched dieline as you like.
Important! If your scissors or knife is not sharp enough, you might push your design out of your hoop instead of cutting through your fabric, so take care to do it gently with a sharp object!
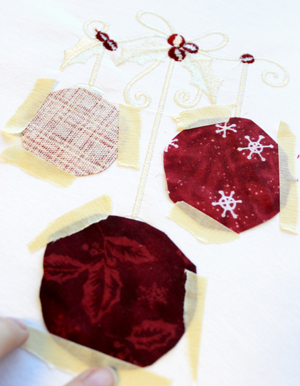
Once you have your applique dielines cut out, flip your whole design over. Now this is where we add our fabric.
You can either carefully spray the outside edges of your applique fabric, or just place them over the holes and add tape to the edges to keep everything in place. Make sure the right side of your fabric is facing up, out of the hole!
Flip your design back over to check that the fabric is completely covering each hole.
If you used tape, try to keep it far enough to the edges so it doesn’t get caught in the final tackdown.
Press down a bit on your applique pieces from the front, to make sure your tape or adhesive is keeping your fabric pieces in place for the next step.
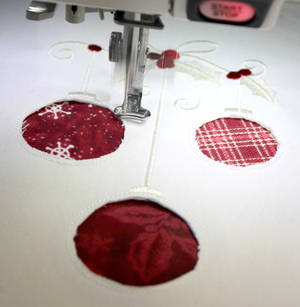
With your fabric held in place underneath, put your design back on to your machine. Start your embroidery up again, and it will sew a final tackdown around each applique piece, securing them in place.
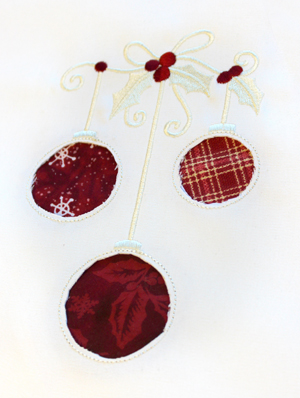
That’s it! Your applique is done and ready to shine on your next project.
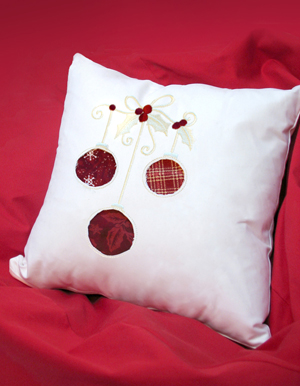
With some careful snips through your fabric and a few of your favorite applique scraps, you’ve got a fun and simple technique with big results.


