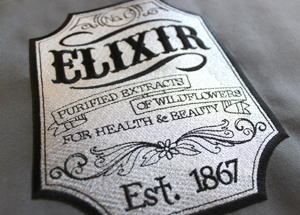
Of the many different looks that machine embroidery can create, big and bold is classic for a reason. Designs with lots of stitches can be dramatic, colorful, and really show off the amazing things your machine can do. They also come with their own set of challenges that you probably won't encounter with lighter designs. Never fear -- with the right supplies and techniques, you can make those high stitch count designs dazzle! Here's how....
Designs Used
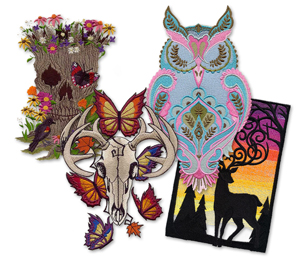
Which embroidery designs are we talking about? There are a few factors that can push a design into "complex" territory. Stitch count is a main one; the bigger an area the design covers with solid stitching, the more it's going to call for special attention. Layers of stitching, such as shaded color or running stitch detail, add complexity too.
Each stitch gives your fabric a tiny hug. (Awww!) The more stitches, the more hugs -- which can add up to shifting, gapping, puckering or warping if the design isn't properly stabilized. If you're not already familiar with it, go check out the Preventing Shifting and Gapping tutorial. It's the same basic concept as what's below, but here we'll focus specifically on high stitch count designs.
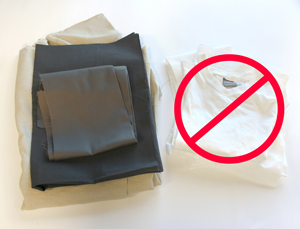
First things first, fabric. Choose sturdy and non-stretchy fabrics for designs with lots of stitches -- denim, canvas, twill, and cotton duck can all be good choices for more complex embroidery. Avoid lightweight fabrics such as quilters cotton and stretchy fabrics such as T-shirt knits.
Pre-shrink your fabric really well before you embroider on it, to prevent subsequent washings from puckering the design.
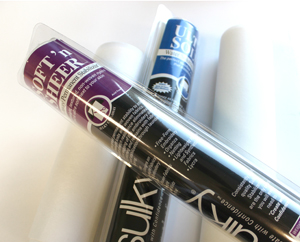
You'll also need stabilizer, of course. There are lots of choices out there, but for stitching complex designs, here's what we recommend: Use one layer of a medium weight cutaway stabilizer -- no tearaway, please! (Here's more on choosing stabilizers for your projects.)
We recommend using only one layer of stabilizer -- some people recommend multiple layers, but we've found this can create more problems than it solves.
For a bit of added stability, spray one side of the stabilizer with temporary spray adhesive, smooth it onto the back of your fabric, then hoop both layers tightly together, taut like a drum. Good hooping is crucial to good results, so take the time to make sure it's just right!
Avoid using the "float" method (hooping only the stabilizer and then sticking the fabric to it) -- this won't provide enough stability to prevent shifting and gapping.
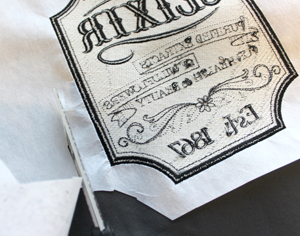
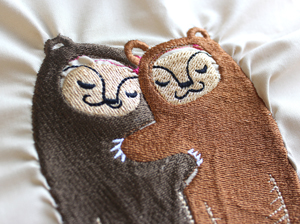
Annnnnd it's time to start stitching! Our go-to needle for most embroidery projects is a 75/11 sharp sewing needle -- the sharp tip and narrow shaft minimize perforations to the stabilizer, leaving it as strong as possible. When the design is done, trim away the excess cutaway stabilizer on the back. You may want to leave a bit more stabilizer around the edge to help it stand up to future use and washing -- we left about 1/2" around this design.
When you wash the finished item, do so gently to keep the embroidery looking good. Specifics will depend on the fabric, but in general, washing in cold water and air-drying will help keep the design looking good the longest.
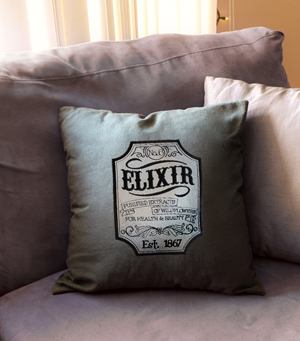
And you're done! Once you've got the technique down, stitching complex and high stitch count designs can be a fun and uniquely impressive part of your crafty repertoire. Go ahead, be bold!


