Embroidery machines are fun things, because you can make all kinds of cool stuff with 'em. One item that’s very popular to make are patches, since they’re easy to make and give without you needing to stitch it on anything else. However, the ease of patches can sometimes make us forget that we don’t always have to use them as patches.
Designs Used

If you wanted to apply a patch to something, you might hoop up a patch design, stitch it out on water soluble stabilizer, tear it out, and then stitch it on your desired object (here's the tutorial for that). But it doesn’t have to be that labor intensive. If you can hoop your object, why not treat your patch just like an applique design? Even better, if you need to lighten it up a bit, just make it a regular old design! So, how do we do that? Let me show you...
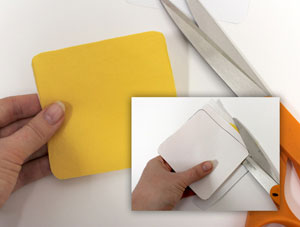
First let’s try stitching this Let's Do Science! patch design on something as if it were just a regular applique design. You’ll still need your dieline file that comes with the design, so you can carefully cut out your applique here's how to print or stitch your dieline to get your fabric shape).
Because we’re using this as applique and not a patch, you only need to cut out one piece of fabric.
Even though we’re not using this as the usual sturdy patch, it’s still a good idea to back your fabric applique with some cutaway stabilizer. This will help give your fabric some strength and keep the edges under the satin border, so everything comes out nice and clean. This is different from a lot of our other applique, which often has an intentional “raw edge,” and sometimes doesn’t need backing.
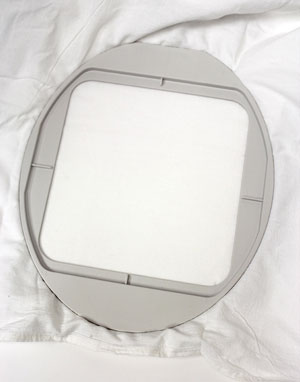
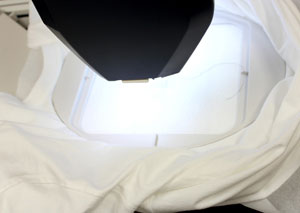
So, I thought I’d pick the beginner's favorite, a tea towel! Hoop up your fabric with some cutaway stabilizer.
Your machine will start by stitching a dieline. Lightly spray the back of your fabric, and place it inside the dieline shape as usual.
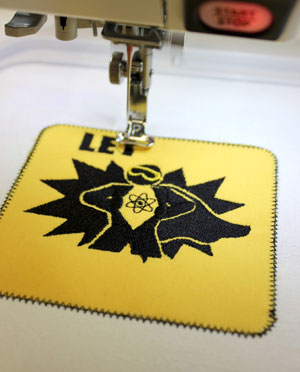
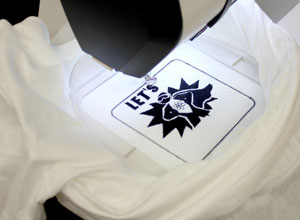
Your machine will then stitch its tack down, and the inside elements of your patch.
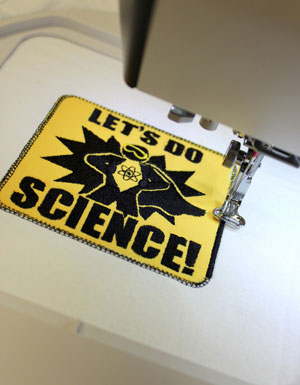
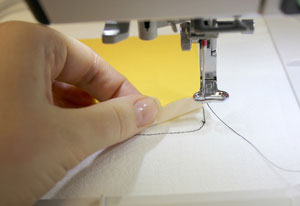
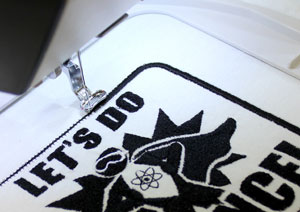
When all the inside elements are done, this would usually be where you add the backing and change the bobbin to match, but you can skip all of these steps when you’re using it as an applique. Just let you machine stitch the final satin border as usual.

All done. Now just un-hoop and trim away the excess stabilizer at the back, and you’re set!
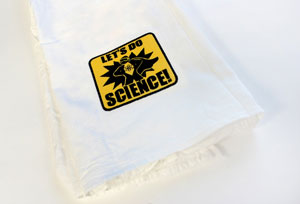
Easy peasy. The patch is now stitched directly on to your object, without you needing to go through any extra steps to stick it on. If you’re looking to add a patch to something that you can hoop, this is the way to go!
Now, what if you just like the design, and don’t really want to use it even as an applique? If you’re looking to add it to something that needs to be a bit lighter, like a shirt or a pillow, you can disregard the applique all together and stitch it as a regular embroidery design.
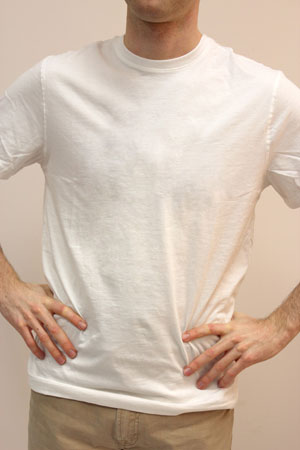
We’re going to add a larger version of the patch to this tee, and we don’t need the extra applique fabric weighing it down. Removing the applique fabric will help keep it lighter, so the fabric can drape.

Though removing the fabric will help lighten up the design, something with heavy satins and fill areas is still going to be dense on some fabrics. I recommend trying this on a regular weight tee only, as the thinner, stretcher ones (often girls' tees) may be too light for something like this. Also whenever you’re stitching on a lightweight material like a tee, you’ll want to use cutaway stabilizer for the best results. You can use a no-show mesh cutaway if you're working with a design on the lighter side, but we don’t recommend something like tearaway.
Hoop up your chosen object, whether it be tee, pillow, or whathaveyou, with some cutaway stabilizer. If you’re stitching a tee like I am, make sure you’ve rolled the back up and out from under the hoop.

This one is even easier than the first. When you dieline stitches, you can just ignore the fabric step, and tell your machine to keep stitching merrily away.
The removal of the fabric lets the design have lots of light, open areas, perfect for a project you don’t want to weigh down with lots of stitches.
When you machine reaches its final steps, you don’t need to change the bobbin, add fabric, or do anything but let it keep stitching its final satin border.
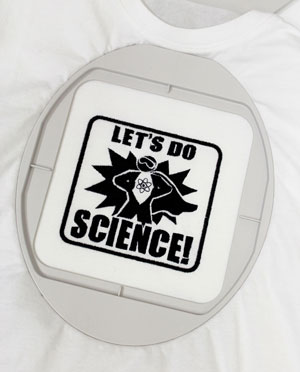
When it’s done, you’ve got all the fun of the original patch with none of the extra weight!

So you can rock your nerd-dom loud and proud, without needing to make it into a patch first.

So there you have it. Just because it’s a patch design doesn’t necessarily mean you have to use it as one. Skip the extra steps of stitching on a patch by embroidering it as an applique, or forget the fabric all together and have a nice, open design. The choice is up to you!


