Christmas is a big time for crafters, when making gifts, decor and other seasonal projects takes up a lot of crafty energy. Sometimes it can be a bit overwhelming, especially for projects that need a bit of lead time. Well, there’s never a bad time to think ahead to the days of Christmas, and now gives you plenty of time to make something for the season you’ll want ready for the first day of December … an advent calendar!
Supplies
While this project is really simple to put together, making 25 embroidered anything is bound to take a little extra time, so now is a great time to get started so you can finish it without worrying about the mad Christmas rush. What you’ll need to make your calendar is:
- Fabric -- enough to hoop and embroider 50 designs, then cut a 5"x6" pocket piece out of each
- Awesome Christmas embroidery designs -- I used the new Crystal Christmas collection, but you can use any designs you like!
- Embroidery designs of numbers 0-9 so you can stitch your 25 days -- I used the Cirque Alphabet
- Cutaway stabilizer
- Pinking shears
- Ribbon to string up your flags
- You’ll also want to make sure you have your buttonhole foot for your sewing machine
- Some scrap paper and a pencil to make a template that makes marking your flag pieces easier
In addition, you can download these printable suggestion cards (PDF) to fill in each pocket, and you can make this adorable plushie Santa gnome as a cute little marker to move from one pocket to the next as you countdown your days.
Designs Used
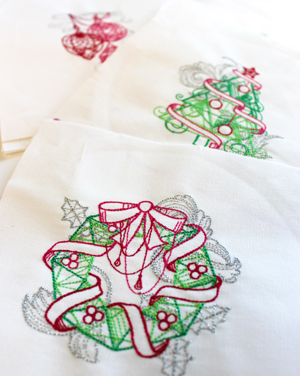
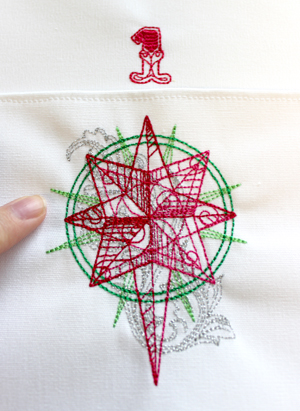
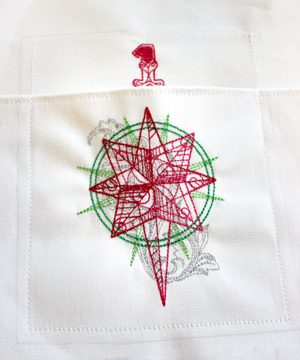
The largest part of this project is really going to be the embroidery. The pockets for each day are only about 5"x6", so designs no larger than 4"x4" are best and quickest to stitch. Stitch 25 individual designs on 25 pieces of fabric, piling them up one by one. If you need to, you can do these as they come, stitching and collecting a pile every now and then until you have the 25 designs you need. I really like the Crystal Christmas designs because they’re fresh, modern, and light stitching. When you’ve got your 25 designs sewn, you’re ready to start your calendar!
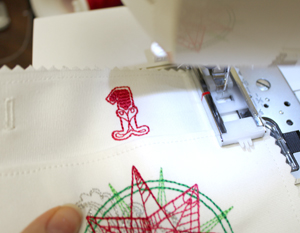
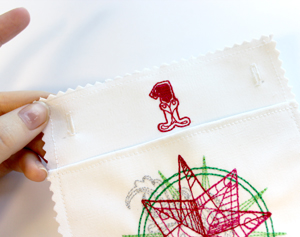
First, fold over the edge just about a half inch above your stitched design and sew a seam, so your pocket top has a finished edge.
Repeat this 25 times on each stitched design, so they’re all ready to be sewn as pockets.
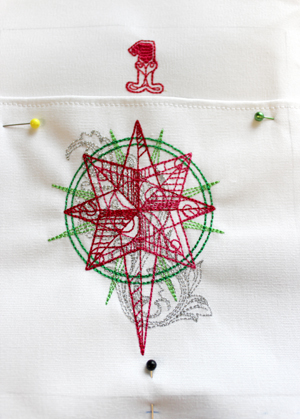
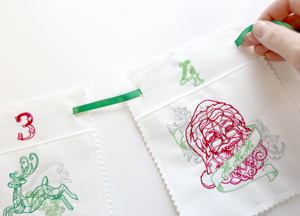
Next, you’ll want to stitch all the numbers for the top of each pocket bunting. Keep in mind, these numbers will be near the top middle of your pocket, on a bunting flag that’s 5 inches wide by 6 inches tall. Leave enough fabric around your number for you to make each number into its own flag. I used the smallest size of the Cirque Alphabet to stitch out the numbers 1 through 25.
OK, time to assemble the bunting! Place one of your embroidered pocket designs under your first number, like so.
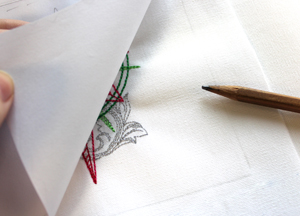
I find it’s super helpful to make yourself a pseudo template, so I’d take a piece of paper and cut out a rectangle 5 inches wide and 6 tall. Place this on top of your pocket and get it centered on top of your stitched design and your number. Trace the edge around your template.
Pin the stitched pocket in place on top of the number stitched fabric. You can see where your embroidery and your number should be positioned in the marked flag shape. You want just a little bit of space above your number and below your pocket design, and they should be centered in the middle of your flag. Keep in mind your seam is going to be inside this line, not outside, so you need to leave enough room accordingly.
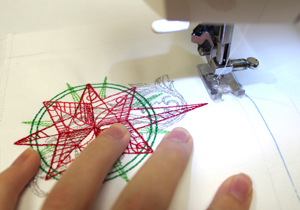
With your two layered pieces pinned together, sew a seam 1/4" inside that marked template line, all the way around your flag.
Here are my two layers stitched together, ready to be cut into a flag!
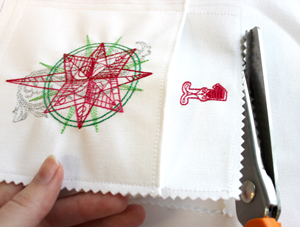
Use your pinking shears to cut out your rectangle shape, cutting along the original traced line from your template. The pinking shears will add a cute finished edge that shouldn’t fray.
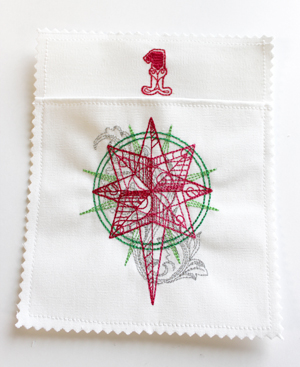
So, first bunting flag down! Now you just need to do this 25 more times…
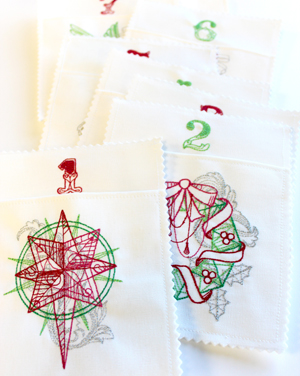
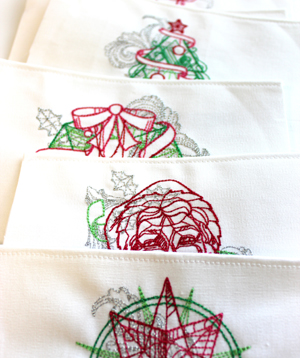
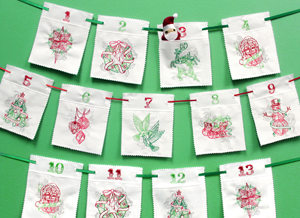
Until you have a stack of pocket bunting, ready to go! All they need now is a simple way to hang them on a ribbon.
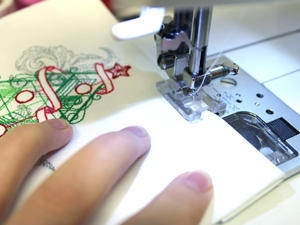
For this we’re going to get acquainted with the buttonhole maker for our sewing machine. Size your button stitcher to make a small buttonhole opening as tall as your ribbon is thick. If you haven’t used it in awhile, practice first on a piece of scrap. You’re going to place a buttonhole on either side of your stitched number, just at the edge of your bunting.
Here’s what it should look like when you add your two buttonholes. To keep things consistent, mark the placement where each buttonhole should start on all of your flags before you get stitching. Add your buttonholes to all 25 flags!
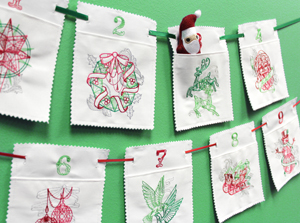
When you’ve got everything ready, use a sharp scissors or knife and slit open the middle of the buttonhole. You can then thread a ribbon into the side and along the back of each flag. String them along in numerical order. In the end, I strung about 4-5 flags on each piece of ribbon, so I could stack the bunting down the wall. You could also string it all along one long piece of ribbon and string it all over a room. However you want to hang it is up to you!
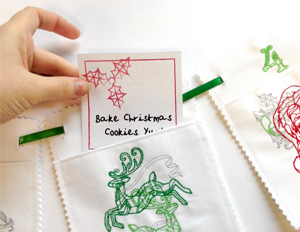
When your bunting is all ready, you can add some extra holiday fun by downloading and printing these fun activity cards (PDF). You can place one in each pocket, so that every day you’re not only counting down to Christmas fun, but have some holiday magic to take part in each day!
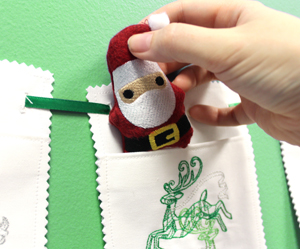
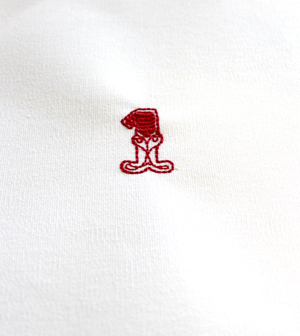
Another way you can mark your holiday countdown is by stitching up this adorable little Santa plush that can sit in each pocket and gradually move closer and closer to Christmas day.
Another fun thing you can do is put a little Christmas treat in each pocket. With a little candy treat, a fun holiday suggestion, and a cute plushie little Santa to mark each day forward, counting down to Christmas has never been more fun!
Get stitching now and by the time December rolls around, you’ll be on top of it all, with a month of holiday fun to look forward to.


