Part of the beauty in some books is simply how they look, and if we can’t find them that way, we’ll make 'em! It’s a perfect and unusual way to display your favorite literary embroidery designs and give your book a little more character. These step-by-step instructions will show you how!
Supplies
To create your antique embroidered book, you'll need:
- Enchanted Castle embroidery design
- A hardcover book (decide now if it’s just for decoration, or if you want to be able to read it after we’re done)
- Vintage looking fabric (I love linens)
- A container for hot water
- Some tea
- Mod Podge
- Brush and/or sponge applicator
- Scissors
- Depending on how you want to finish your book, you may need a few extra supplies, but we’ll get to that at the end.
Designs Used

First, start with your fabric. Lay out a square about 2 1/2 inches larger than your book. Measure out a rectangle that’s more than twice as long, and has at least 2 inches all the way around the book for folding and gluing. It’s always better to cut more than you need rather than less.
Make sure also that if you happen to be covering a tiny book, you leave enough fabric to hoop.
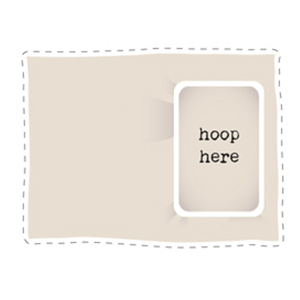
Hoop the right side of your fabric, where the cover of the book is going to be. Remember not to hoop it too close to the right edge, since you need a lot of that room to fold and glue onto the cover.
Hoop your design up with regular cut away stabilizer, and stitch away!
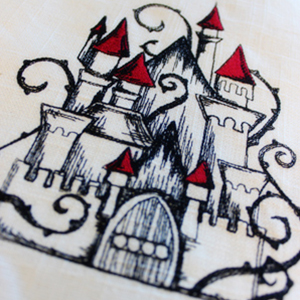
Here’s my design all stitched and pretty. It’s a bit too... shiny and new looking though. We’ll fix that.
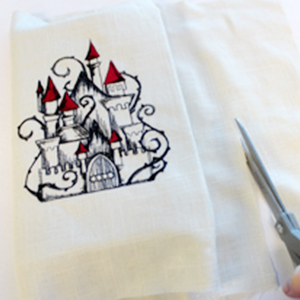
First, wrap your book up with the design on the cover, and trim off any excess fabric you won’t need. Remember, keep at least two inches all the way around your book!
Now is also a good time to cut your stabilizer to size. I’d trim it so it’s exactly the same size as your book cover. That way it won’t show through, even on light fabrics.
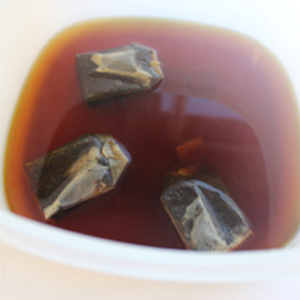
Tea time! Well, not to drink.Boil up some water and pour it into your container with 2-3 teabags. How dark you want your stain to be will depend upon how many tea bags you add, and how long you let it steep.
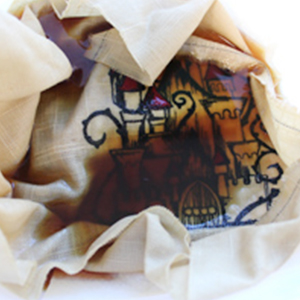
Soak your fabric in your tea. Leave it in only a few seconds if you want a really light stain, longer for deeper, richer colors.
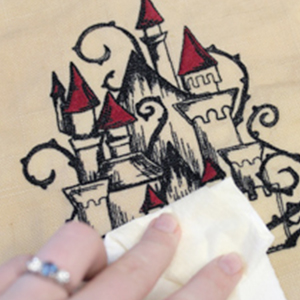
When it’s ready, remove your fabric from the tea, wring it out, and lay it flat to dry.
If you like, you can blot up excess tea with a paper towel. If you do it enough, you can create variations in the stain to create an older look.
Once your fabric is dry, you’re probably going to want to give it a good ironing, as smooth fabric is a lot easier to adhere to a book.
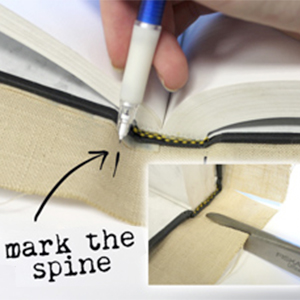
Wrap your book up in your fabric again, carefully centering your design on the cover.
Taking care not to shift the placement of the fabric, open it up to the wrong side, and mark the edges of the spine on both the top and bottom of your book.
Grab your scissors and snip these marks just shy of where the book begins.

Fold these flaps inwards. This part of the book we can’t glue inside the spine, so we’re folding them in so they look like the rest of the cover.
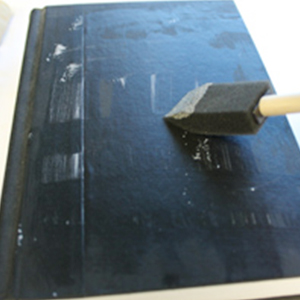
Once your book is ready, give the cover a nice coating of Mod Podge to get it sticky.
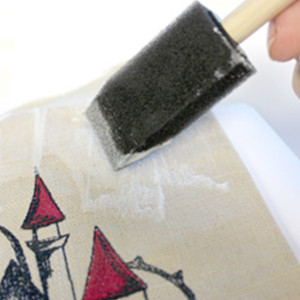
Center your design on the cover, and give it a light coating of Mod Podge as well. Now here comes the messy part...
You can use a brush if you just got a manicure, but I like using my fingers to smooth the sticky fabric to the cover. You’ll get a smoother, tighter fit. Smooth the fabric outwards, working towards the edges, pulling everything as snug as it will go.
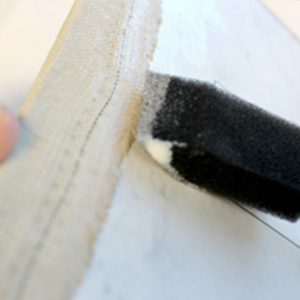
When you get to the edge, give the inside edge a one inch coating of glue, and then pull and smooth your fabric edge over it. Once it’s smoothed in place, add more Mod Podge on top and smooth it down with a brush or your fingers to get it really flush with the cover.
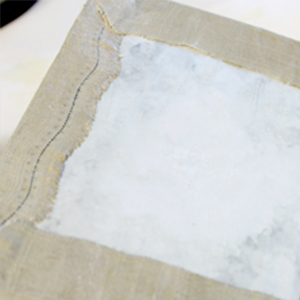
Once you’ve folded in the side, fold in the top and bottom the same way, snipping off any excess at the corners that doesn't want to lay flat.
A tip! If you’re planning on being able to open this book later, get a piece of scrap paper and place it on top of the front page. This will stop the cover from sticking to the first page as you’re waiting for everything to dry.
Once the front is done, repeat this process at the back, pulling nice and tight to make sure everything is staying all snug.
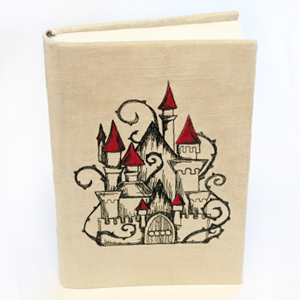
That’s it!
A beautiful new vintage linen book cover for your once boring tales. If you like the worn but clean look, you can keep your book like this. It’s decorative but readable, and great for adding a little vintage glam to your bookcase without getting too crazy.
This, however, is just phase one of what this book can be...
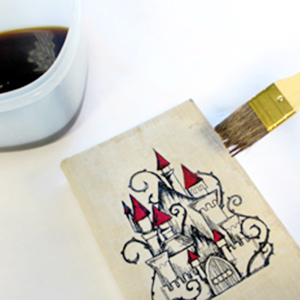
Phase two is if you’re looking for something a little more worn and grungy, for that truly special used book effect.
To make your book look even more ancient, grab your brush and dip it back into the tea again. Wipe off most of the excess tea from the brush, and then gently “dry brush” just around the edges of the book, where it’s most likely to pick up dirt over time.
If you want a less harsh edge, dampen the edges first with a paper towel. This will allow your tea stain to bleed a bit.
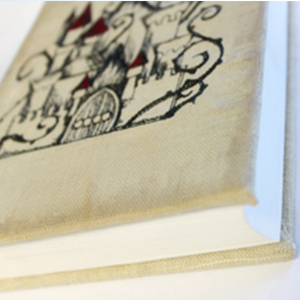
Phase two complete! Beautifully worn and aged. But wait, there’s more!
We have two different finishing phases, and these depend on whether you want your book to be a purely decorative and awesome way to display your embroidery, or if you want this to be a book cover on a book you’d like to still be able to read and cherish.
Follow along...
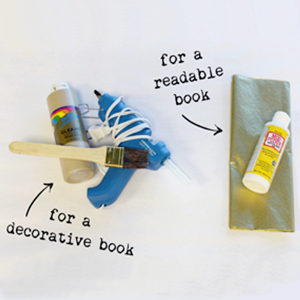
OK, so here is what we need if we want to make ourselves a decorative display book. You need glue (hot glue in this case) gold or metallic paint, and a brush.
If you want to keep your book readable, you just need some of your Mod Podge, and some decorative paper a little larger than your cover.
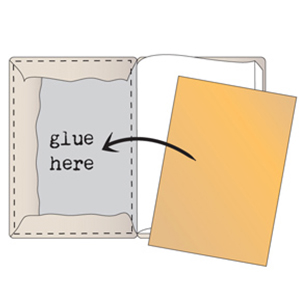
For a readable book, simply cut a piece of paper just a little bit smaller than your inside cover, and glue it over the raw edges of your fabric on the inside of the book. This will make it look polished inside and out! Make sure you do this on the back cover too.
Your book is beautiful, and readable! It’s got a fancy new cover but you can still enjoy diving into your favorite dark stories.
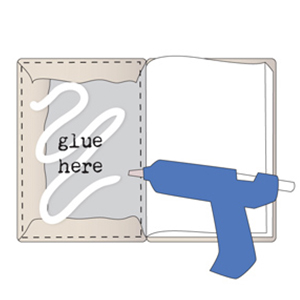
Want just a cool decorative prop to dress up your bookcase and show off a little embroidery? Of course you do! To start, add some generous glue to the inside of the cover, and close your book, effectively gluing the cover shut (I realize the rest of the pages will still open, we’ll get to that).Do this for the back cover too.
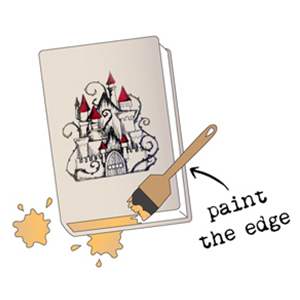
Now, to really give it that gilded, antique look, with your book closed, carefully paint the side of the pages with your gold or metallic paint. This mimics fancy books of old, and gives your book that special, decorative touch. Plus, the paint on the side will basically glue all your pages shut, so what you have now is a really cool way to display your embroidery!
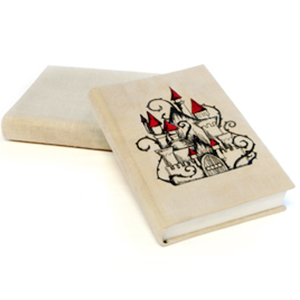
So, once again, you can keep it light and basic, with just some minor tea staining for a beautifully worn look...
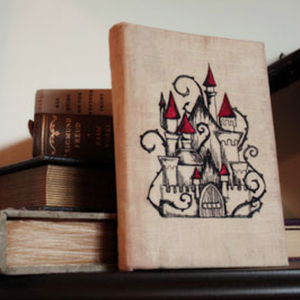
Or you can distress the edges, stain it darker, and take it all the way to beautiful prop and embroidery display.
Either way it’s going to look pretty cool on your shelf. Could you imagine a whole row of these? I totally can.


