Turn up that elbow with an Urban Threads applique design!
Far too often, I find that the elbow area of the sleeves begin to fade and wear much sooner than the rest of the sweater. The best remedy for that: elbow patches!
Traditionally, an elbow patch is a rounded rectangle that covers the elbow area, but the current trend has made way for a variety of varied shapes and styles. This tutorial will walk you through an alternative to the traditional with an applique star design.
Supplies
To get started on your patched up elbows, gather these supplies:
- Your favorite applique embroidery design (We used the 5" x 7" version of the Flash Stitch - Nautical Star (Applique))
- A garment in need of elbow patches
- Fabric for your applique pieces
- Sheer mesh cutaway stabilizer, such as Sulky Soft 'n Sheer or Floriani No Show Mesh
- Temporary spray adhesive
- Printed templates of your design(s) for placement
- Thread for your embroidery
- Scissors
- Seam ripper
- Ruler
- Air erase marker or tailor's chalk
Designs Used
When adding an elbow patch of any shape, you'll want to consider the surface area the patch will need to cover and the density of the design. You don't want to lean your elbow on something uncomfortable, like dense embroidery, so open designs are a better choice.
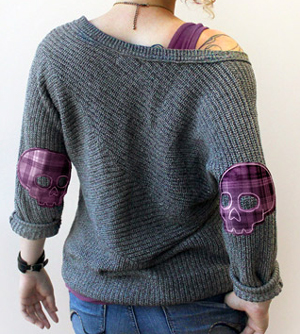
Applique designs work great for this reason -- they are lighter-stitching, and the extra fabric provides a nice cushion for your elbow.
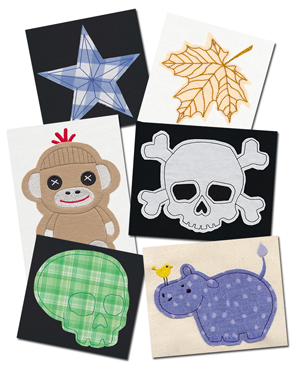
Shown here: Flash Stitch - Nautical Star, Diaphanous Autumn Maple Leaf, Noggin Nanimals - Sock Monkey, Simple Skull & Crossbones, Flash Stitch - Skull, and Teamwork.
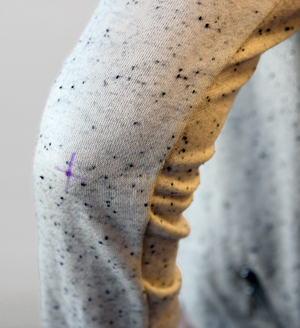
The best way to find where to place an elbow patch is to try the sleeve on and mark it with an air erase marker (get help from a friend if needed!). This will serve as the center point of the embroidery design.
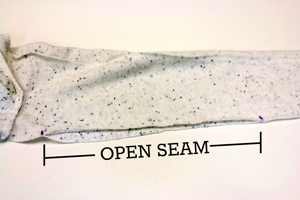
Let's get started! Open the garment sleeve seam 3" from the armpit up to 3" from the sleeve hem (cuff).
NOTE: There are two vertical seams on the sleeve of the sweater used for this project. If you have a similar garment, use the underarm seam, furthest away from the elbow, to open up.
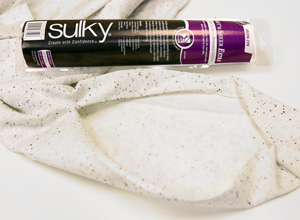
A sheer mesh cutaway is your best option for lighter-stitching apparel designs. It is more flexible and will be softer against the skin than regular cutaway or tearaway stabilizer.
Turn the sleeve inside out and use temporary spray adhesive to adhere your stabilizer to the back of the fabric.
When you go to smooth out your stabilizer on the sweater, make sure not to stretch the sweater fabric at all, or it will cause your design to bunch up.
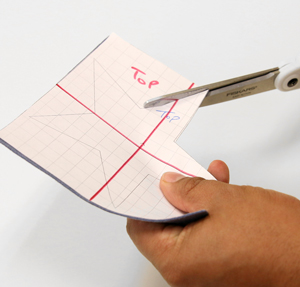
To prep the applique piece, lightly spray the back of the dieline "dl" template with temporary adhesive, and lay it over the fabric being used for the elbow patch. Carefully cut along the design border.
NOTE: Elbow patches are typically cut out of leather, suede, or other durable materials.
If the chosen fabric is thin or flimsy, use a medium weight cutaway stabilizer instead of the sheer mesh stabilizer to keep the fabric from shifting when stitching.
Now for placement. Using printed templates of your design will make it easy to map out exactly where each embroidered piece will go. (Here's more on how to print templates.)
Using your initial elbow marking as a guide, place the design template where you'd like the design to go.
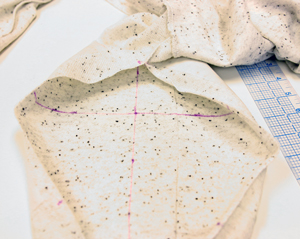
Use an air erase pen or chalk to mark the center and the vertical axis points of the design onto the garment. Use a ruler to draw a straight line connecting and extending each of the marks. You will need these to line up exactly with the crosshairs on your embroidery hoop.
It is important to note the exact position of your embroidery from one sleeve to the other, so measure the distance from each fabric edge to the middle point of your template to ensure even placement on both elbows.
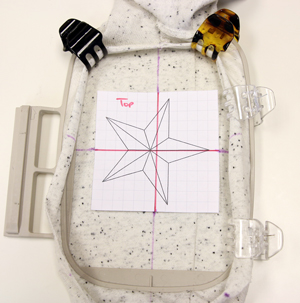
Hoop the sweater and stabilizer taut together, but make sure not to stretch or distort the sweater. Hair claw clips are a nice way to ensure excess fabric is kept away from the embroidery needle.
Once the hoop is set, use your design template to double check the position, and center your needle directly above the marked center point of your design.
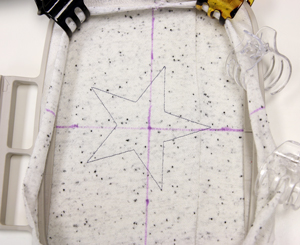
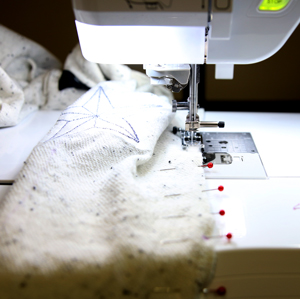
The first step of this design will be to stitch the dieline for your applique piece.
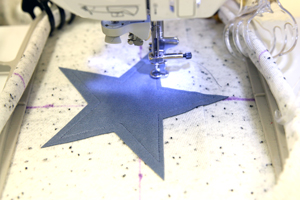
Take your hoop off your machine (but don't unhoop it!), spray the back of your applique fabric with temporary spray adhesive, and place it carefully inside the stitched lines.
The next thing to sew is a tackdown stitch along the border of the applique piece, before stitching the details of the design.
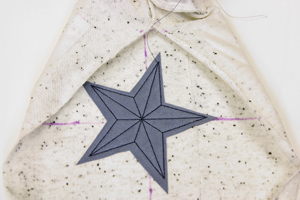
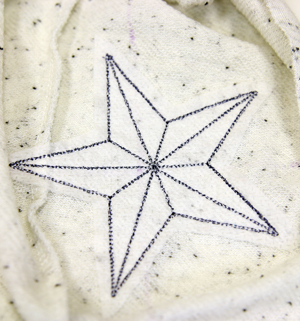
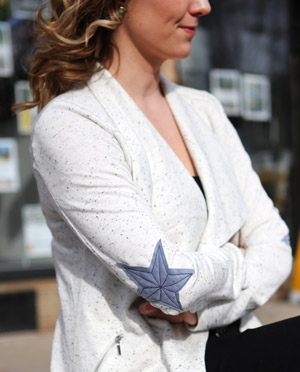
This is the finished look of the Flash Stitch - Nautical Star with a blue suede applique piece.
Trim the excess stabilizer from the back of the embroidery design.
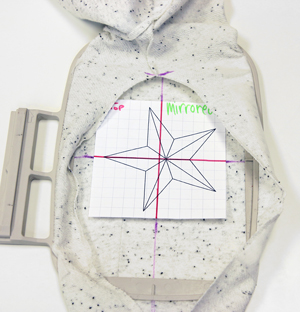
Next, use your noted measurements to position the mirrored version of your design on the other sleeve. Printing a mirrored template will help ensure you get it right!
Follow the applique steps above to embroider your design.
After the embroidery on both elbows is complete, turn the garment inside out, exposing the sleeve seam. Pin along the edge of the seam and close it by stitching the same amount of seam allowance that the sweater had before seam ripping. Don't forget to back tack!
Remove any marker lines with a damp cloth, and you're ready to rock!

Whether you designed your elbow patches for utility or fashion, your new garment is sure to make a statement!
Experiment with different print fabrics, colors, and designs to achieve a look that matches your own unique style and personality!


