Do you ever just feel the urge to make something pretty? Not for any particular reason, or any particular purpose, just because. That feeling on one particular day resulted in this little lace bunny, and possibly the shortest tutorial in the history of our site, but there are other articulated lace creatures you can make too. Want to make a pretty lace animal? Here’s how...
Supplies
To make your bunny, you’ll need:
- Your awesome lace bunny, steampunk bunny, horse, unicorn, bird, raven, dragon, mermaid, bee, kitty, reindeer, or bat design.
- Heavy water-soluble stabilizer (Vilene or Sulky Ultra Solvy are great options)
- Scissors
- Butterfly pins. Or whateveryoucallems. I call them butterfly pins, they’re the little paper pins you get at office stores with a flat head and two metal prongs that bend open at the back. You can find these at craft stores and often office stores.
Designs Used
First things first: Hoop up some heavy water-soluble stabilizer, and stitch out your bunny pieces, one at a time! Once they’re done stitching, snip off the excess stabilizer and soak according to package directions. If you need a reminder on stitching lace, click here.
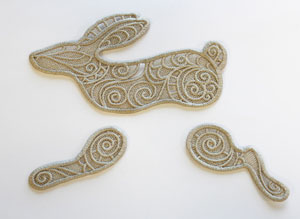
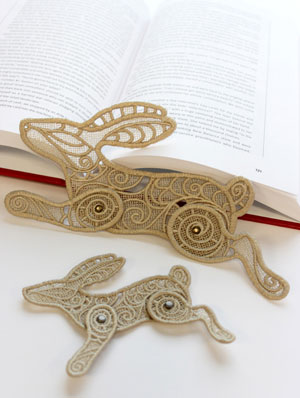
When your pieces are flat and dry, they should look like this.
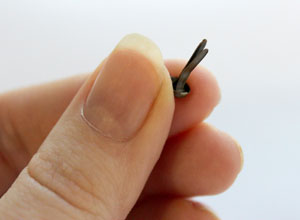
Here’s one of those whatchamacallit pins I was talking about. You’ll need two of ‘em.
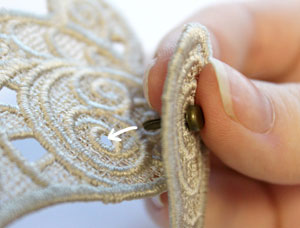
You’ll notice there are some swirl shapes on your bunny’s legs that end in little circles. You’ll find these little circle shapes on your bunny’s body too. These are where you should push your pins through.
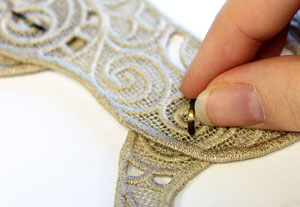
Once your pins are through, open up the metal prongs at the back. This will keep your bunny’s legs in place but allow them to twist and move.
And that’s it! Simplest tutorial in the history of the site.
Sometimes, simple is a beautiful thing. Enjoy your bunny!


