It’s a new stage of life for me. I’m totally used to getting wedding shower invitations in the mail now, but another first arrived in the mail recently…
The Baby Shower.
Cue instant panic. First of all, I’ve never been to one, second, I don’t have a whole lot of time on my hands, but being a crafty chick I couldn’t let the occasion go by without actually making something. What could I whip up on short notice that would be cute and crafty?
I decided a baby bib was something that was fast, simple to make, and the perfect canvas for a little embroidery. Plus babies always need bibs, right?
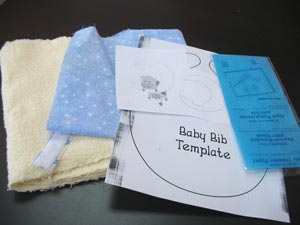
To make your bib, you’ll need our downloadable baby bib template, some cute fabric for the front of your bib, some terry cloth fabric for the back (so it can double as a washcloth when the little one is done) some transfer paper, and of course a cute embroidery design for today’s trendy tots. I picked our adorable little fail cow, who didn’t quite get his storybook ending, but is adorable nonetheless. The little cow is an applique design, which is also great if you’re looking for it to stitch up quick.
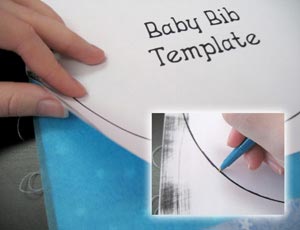
To start your bib, take your bib fabric, and lay your transfer paper followed by your printed template on top. It should be noted that this template does not include seam allowance (we’ll draw it in later) so it can print larger on a standard size sheet.
With your template in place, trace your bib pattern on your fabric using a firm, sharp utensil.

Trace 1/2 inch around your transferred template line to give yourself some seam allowance. This will be the line we’ll use to cut out the bib.
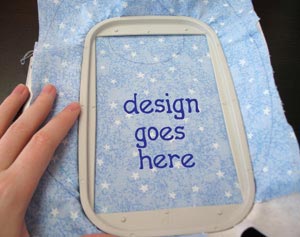
Before we cut out our bib, we’re going to embroider it first. Hoop up your fabric with some regular cut away stabilizer underneath. Make sure your design won’t go over the edges of the bib.
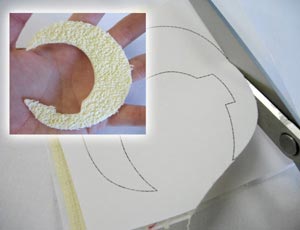
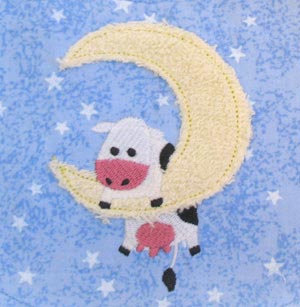
If you’re using an applique design like mine, cut your pieces out before you begin. I decided to make the moon out of the same terrycloth fabric as the back.
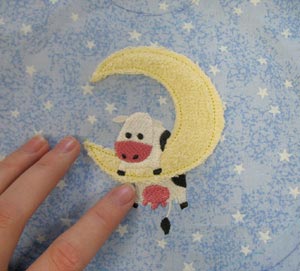
Here’s our little cow all stitched out! Poor little guy. He tried so hard.
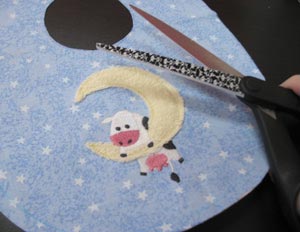
Now you can cut you bib out. Follow the line you drew, not the line you transferred.
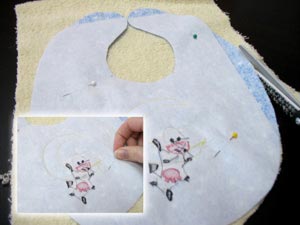
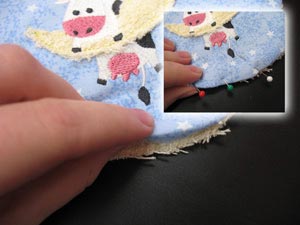
Grab your terry cloth or backing fabric and pin the pieces right sides together, so your embroidery is facing inside. With the pieces pinned in place, trim around your bib so you have a piece of terry cloth exactly the same size, ready to sew.
Before you stitch the two pieces together, make sure you have all loose edges pinned together, especially the top two flaps.
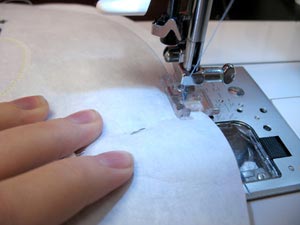
Sew a 1/2 inch seam around your bib, leaving a gap at least two inches wide at the bottom of the bib so we can turn it right side out.
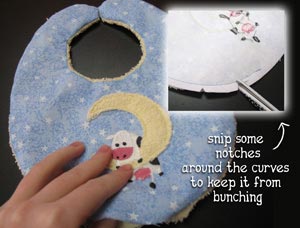
Once you’ve sewn your seam, clip some notches around the curves to keep it from bunching up. Turn your bib right side out again, and push out all the edges, especially the top two flaps. You might need to use a pencil to get to all the edges.
To close the gap, fold the raw edges of the fabric inside and pin it in place.
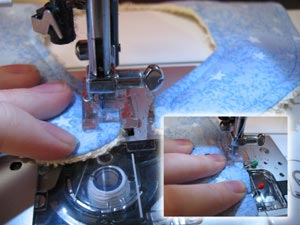
To finish off your bib and close the gap, we’re going to sew a seam all the way around the bib. Start just before the gap and sew it shut, and then continue all the way around the bib to finish it off.
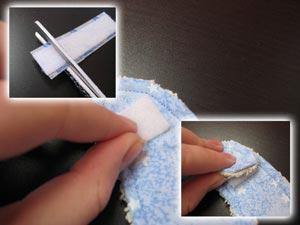
To be able to secure you bib, you can choose lots of different fasteners. I like Velcro because it’s easy to get on and off. I used stick-on Velcro.
Snip your Velcro and stick one piece on to the top right corner of the bib, on the front, and the other piece on the back side of the left corner. If you use stick-on Velcro like me, let it sit and adhere for awhile before you start yanking it apart. You can also sew a buttonhole, or stitch a tie on the top to finish your bib. It’s all up to you and how you want to secure the bib.
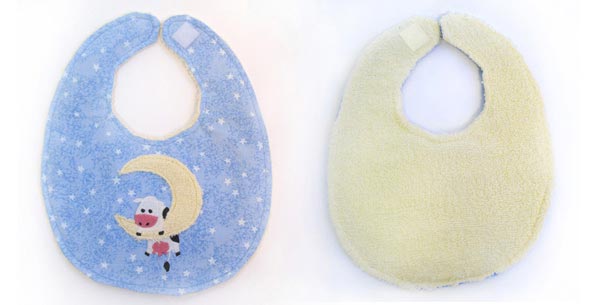
And in no time at all you have a cute, totally handmade baby gift! The front has a simple and sweet embroidered design, and the terrycloth back can serve as a washcloth when the meal is done. You can whip up a bunch of these with different designs, or stitch up a matching burp cloth for a cute set.
Simple and sweet applique designs stitch out fast and give you the chance to add fun matching and tactile fabrics to the front of the bib.
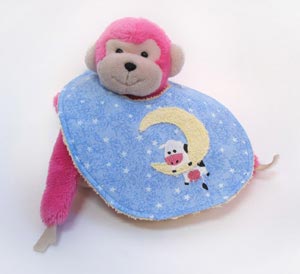
The baby in question for the bib isn’t born yet, so I found my own little monkey to model mine. It’s fast, simple, and super cute. I hope she likes her new baby bib!


