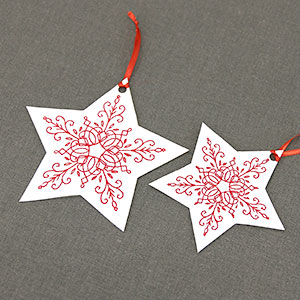
Whether you are trimming your Christmas tree with new ornaments, or diving into a good book and need something to mark your place, make your own DIY holiday decor and bookmarks with embroidered cardstock! Step-by-step project instructions below will show you how to create your own in-the-hoop.
Supplies
- Simply Festive Star Ornament (Cardstock) ornament embroidery design OR Starry Sky Bookmark (Cardstock) bookmark design
- Embroidery thread
- Heavy-weight cardstock, handmade paper, or Watercolor paper
- Accent paper (for the backside of the ornament)
- Medium-weight cutaway stabilizer (2.5 ounce)
- Temporary spray adhesive (such as Gunold KK100)
- 75/11 sewing machine needle
- Glue stick or white craft glue
- Scissors
- Pencil
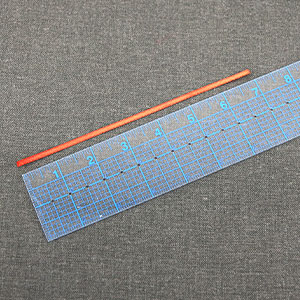
- Ruler
- 1/4 inch single hole punch
- Cord or ribbon for hanger/accent ribbon
Designs Used
Cardstock embroidery ornaments and bookmarks have been specially digitized to be embroidered onto heavy-weight paper. Only use designs labeled as cardstock designs, or the embroidery may simply cut the paper out rather than sew onto it.
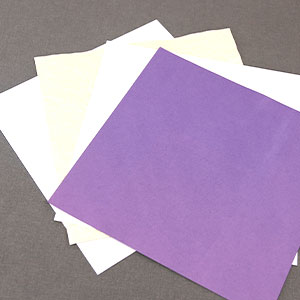
When selecting paper, choose a heavy-weight cardstock (65lb or heavier), handmade paper, or watercolor paper. When using paper with shorter fibers (such as cardstock) the needle perforations will be more visible around the embroidery, but it will still work well. Paper with longer fibers (such as handmade or watercolor paper) will hide the needle perforations better as the fibers can move more freely. This makes the holes left by the needle less obvious on the long fiber paper.
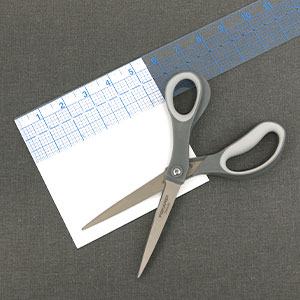
Cut a piece of paper that is larger than the design. For example, we are making an ornament and cut our paper to 5.5" by 5.5" for a design that measures at just over 4.5."
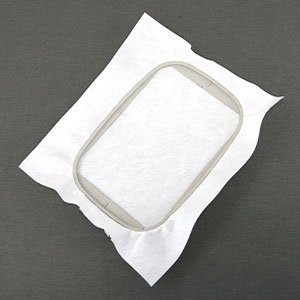
Hoop a piece of medium-weight cutaway stabilizer. Make sure it is tight in the hoop with no wrinkles.
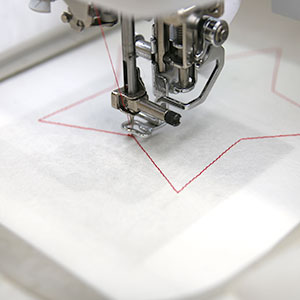
Attach the hoop to the machine and load the embroidery file. Use a 75/11 sharp sewing needle instead of an embroidery needle. The sharp sewing needle has a finer point and it will make smaller perforations in the stabilizer. The first thing to embroider will be a 'dieline' or 'outline' stitch. This marks the area on the stabilizer where the cardstock will be placed.
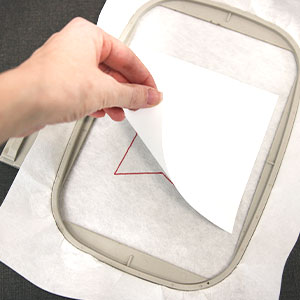
After the dieline has sewn, remove the hoop from the machine but do not unhoop the stabilizer. Spray the wrong side of the cardstock with temporary spray adhesive. Place the paper over the sewn dieline and smooth it into place.
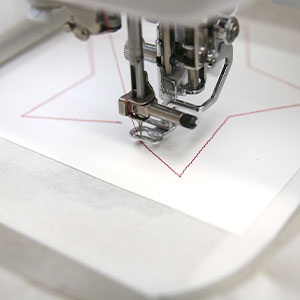
Next, place the hoop back on the machine and embroider the "cut line." This marks the area on the cardstock where the finished design will later be cut out.
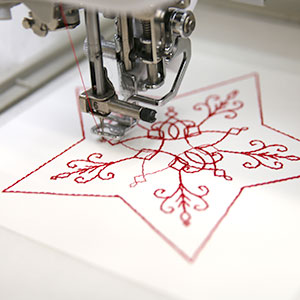
Once your cardstock is placed, follow the color change sheet and embroider the inner details of the design.
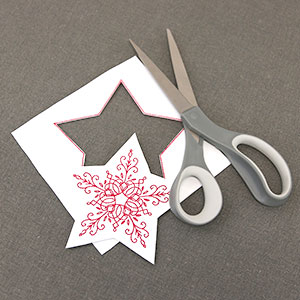
When the embroidery has finished, unhoop the stabilizer. Using scissors, carefully cut along the inner edge of the "cut line." Cutting right along the inner edge will remove the cut line from the edge of the cardstock, leaving behind the front half of the ornament.
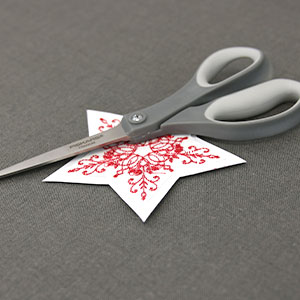
After cutting out the shape of the ornament or bookmark, turn over the design and trim the stabilizer close around the embroidered design. This will keep the stabilizer from being seen between the two pieces of paper. When cutting, be careful not to cut the cardstock or the embroidery thread.
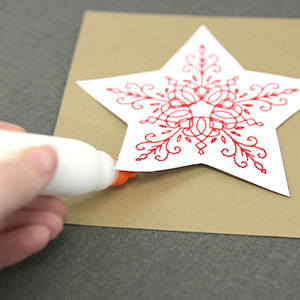
Cut a piece of the accent paper bigger than the embroidered ornament or bookmark. We cut another piece of gold paper at 5.5" by 5.5." Attach the accent paper to the backside of your ornament shape by using adhesive. We used a glue stick, but white craft glue will work as well. Doing this will hide the stabilizer and the backside of the embroidery.
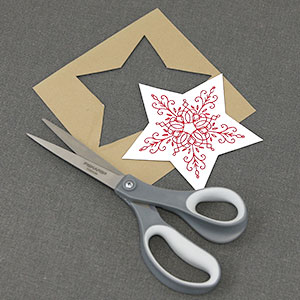
Once your adhesive has dried completely, trim the accent paper to the outer edge of the ornament or bookmark shape. In the end you want both the ornament front and accent paper to be cut to the same shape with flush edges.
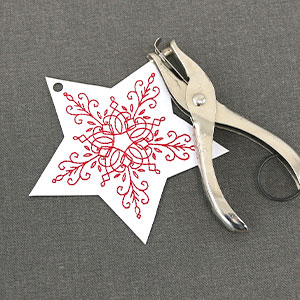
To add a hanger or accent ribbon, use a 1/4" single hole punch to put a hole into the center top of the ornament or where indicated on the bookmark.
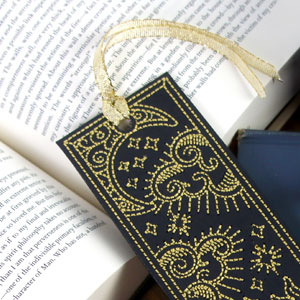
Cardstock bookmark designs have an embroidered circle at the top of the bookmark to show you where you can punch a hole and add an accent ribbon to your bookmark.
To make the hanger or accent ribbon, cut a 7" piece of ribbon or cord.
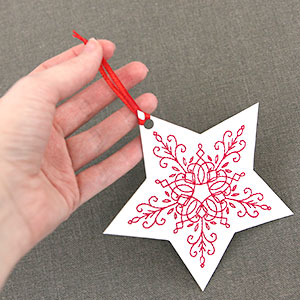
Thread the ribbon through the punched hole. If you are making a hanger for your ornament, tie the two ends together, forming a loop. We left the ribbon ends un-tied for our cardstock bookmark.


