Deck the halls with handcrafted creations! This tiny stocking stitches together completely in-the-hoop. It's perfectly sized for a gift card or other small treats and treasures -- use it to hold holiday presents, or just hang it on the tree as an ornament. Your choice of fabric and thread makes each stocking unique!
Supplies
To create your freestanding fabric flower, you'll need:
- Christmas Stocking Ornament (In-the-Hoop) embroidery design
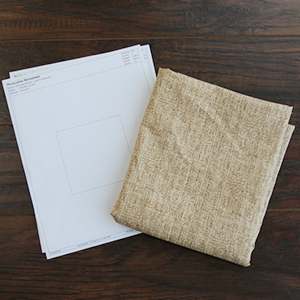
- 1/2 yard quilter's cotton
- Ribbon (for hanger)
- Embroidery thread
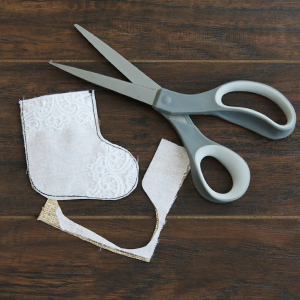
- Scissors
- Masking tape
- Temporary spray adhesive
- Tear-away stabilizer
The finished size of the In-the-Hoop Christmas Stocking Ornament is approximately 3.5" tall by 3.5" wide at the foot of the stocking. The opening is approximately 2.25" wide.
Designs Used
In-the-hoop designs are specially digitized to be embroidered and completed right in the hoop.
This stocking has three files, one is the embroidery, the other two are the dielines (marked with the letters "DL"). Dielines are used to cut the fabric to the right shape and size.
Open the dieline files with embroidery software and print them. If you do not have embroidery software, Wilcom TrueSizer is a free program to use.
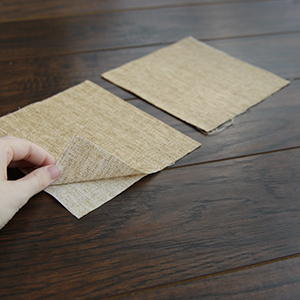
To begin preparing the fabric pieces, cut two rectangles out of the cotton fabric that are twice as big as the front and back pieces.
Fold both pieces of fabric in half with wrong sides together. Press the folded edge and spray the wrong side of the fabric with temporary adhesive to hold the folded fabric together. Adhering the two folded sides together will help prevent shifting and make the pieces easier to cut.
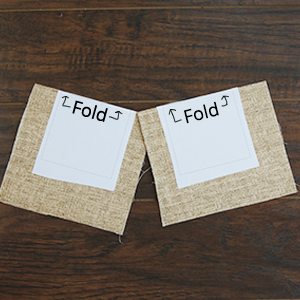
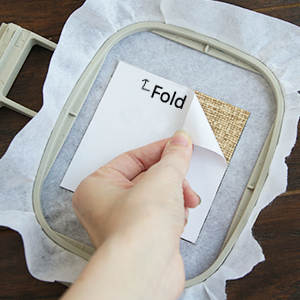
Next, spray the backs of the paper dielines with temporary adhesive, and smooth them onto the right side of the fabric, matching the top edge of the dieline with the folded top edge.
It can be helpful to label the pieces, so they don't get confused.
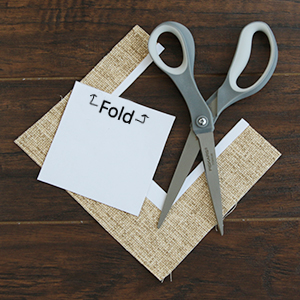
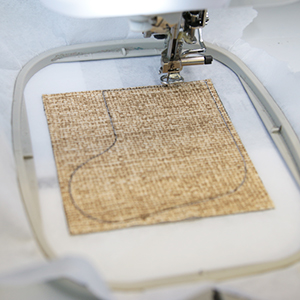
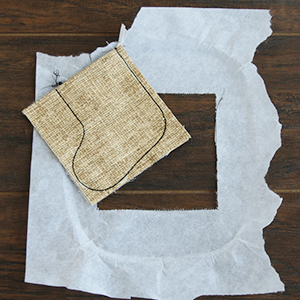
Cut the two pieces down, following the dielines as your guide.
Keeping the paper on the folded pieces will help to keep track of which piece is which and how to place them later.
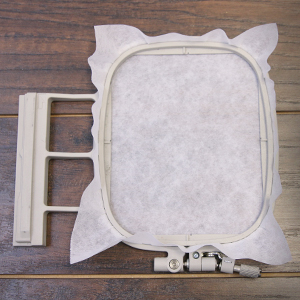
Now that the fabric pieces are ready, hoop a piece of tear-away stabilizer tightly. Madeira E-Zee Tear 1.5oz or Floriani Tearaway Medium are good choices. Those brands are more fibrous, less paper like, and will tear more cleanly.
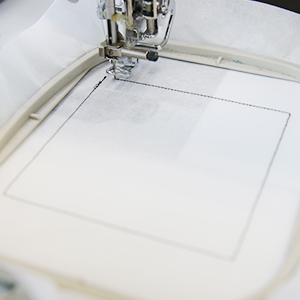
Load the embroidery file onto the machine, and begin to embroider the design.
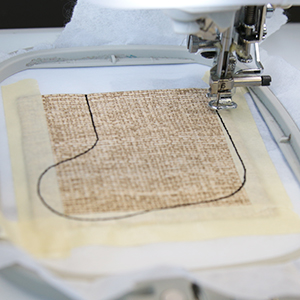
The first thing to sew out will be the placement dieline. This marks out where to place the piece that will be the front of the stocking.
Remove hoop from machine. Do not unhoop the stabilizer.
Spray the back of the front piece with temporary spray adhesive and place it within the dieline with the fold at the top. Remove the paper dieline.
Move the hoop back onto the machine and sew out the "front tackdown" step.
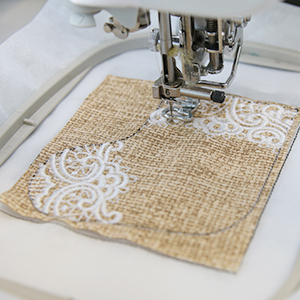
After the "front tackdown" step, the next step will embroider all of the inner details. Stop before continuing to sew the back tackdown.
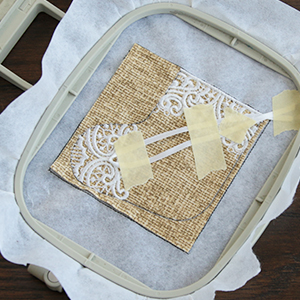
Take a 6 inch piece of ribbon and make it into a loop, line the end with the upper corner of the stocking.
With masking tape, tape the ribbon in place facing inwards (near the toe of the stocking).

Before putting the hoop back on the machine, remove the dieline paper from the back piece and line the folded edge with the top yet again.
Then use the masking tape to tape down all of the edges. Do not worry if the machine sews over the tape, it can be removed later.
Now, replace the hoop onto the machine and sew out the "Finishing Seam". Once that is done remove the hoop from machine.
With the design all sewn out, remove it from the hoop and tear away the stabilizer and remove the tape.
Next, trim around the design, leaving as little seam allowance as possible.

Finally, turn the stocking right side out and remove the tape from the ribbon.


