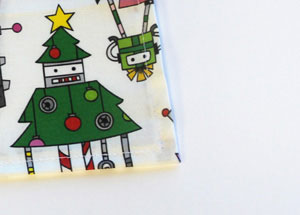
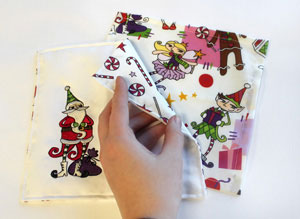
Lookit! Fabric!
Colorful wonderful fabric-y fabric, not like screenprinted or laser printed but honest to goodness fabric. For reals. With Urban Threads designs on them! Oh joy.
In case you haven’t heard, Urban Threads now has a Spoonflower store, and you can now order fabric to match some of your favorite designs. Naturally, the first thing I had to do when the fabric arrived was make something out of it!
Supplies
Since the holidays are fast upon us, and everyone and their mom are looking for fast and easy projects, let's turn our pretty fabric and our awesome embroidery designs into some cute cocktail napkins. They make great gifts and you can make a whole bunch in an afternoon. To make them you’ll need:
- Fabric (awesome UT or otherwise)
- Coordinating embroidery design (I picked Robot Santa)
- Scissors
- Stabilizer
- Iron, not pictured but very important. It’s camera shy.
Designs Used
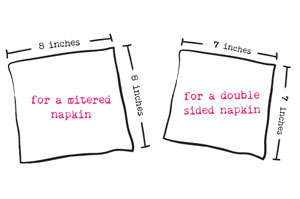
Today, I’m going to show you two different ways of making napkins. One is a simple mitered corner napkin, the other is a double sided napkin in order to hide the back of the embroidery and stabilizer.
Because of how we finish the edges on these napkins, how large you cut them depends on what kind of napkin you’re making. For mitered napkins, we fold the edges under twice, so we need a little larger piece to begin with. To make 6 inch cocktail napkins, follow the measurements in the picture (at right). This is allowing 1/2 inch double seams on the mitered corners, and a single 1/2 inch seam on the double sided ones.
The seam allowance is really up to you, I found when folding and pressing 1/2 inch made it really easy to control my seams, but you could do 1/4 inch seams if you’re handy with an iron. Just make sure you adjust your measurements accordingly. Let’s start with our mitered corners. You’ll probably want to make this kind of corner for non embroidered napkins only, as it leaves the back of the fabric open, and therefore would expose your design and your stabilizer.
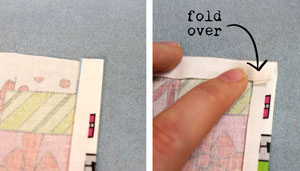
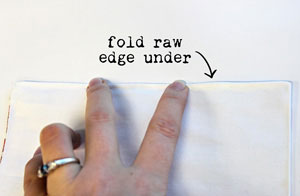
Place your fabric right side down, and press a 1/2 inch seam along one side. Working counter clockwise, fold the next side down 1/2 inch and press that also. Work your way around all sides of the napkin.
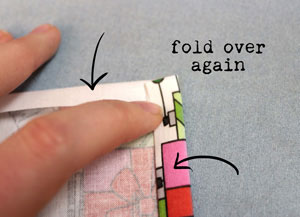
Do it again! Fold each of your sides over 1/2 inch again, and press. Work your way around all four sides.
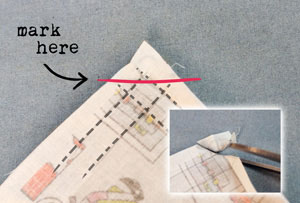
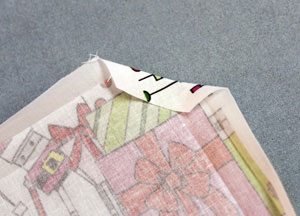
Unfold your pressed edges. You should be able to see clear creases (I added some dashes on my photo to show you) where your pressed seams cross over each other.
Right where the outer two seams meet the edge, draw a diagonal line connecting those two corners, like so. Snip off that corner with your scissors.
Fold that corner down to the line of the inner two seams, about 1/2 inch, or the same as your seams.
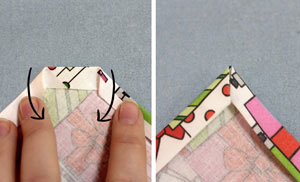
Now you’re just going to fold your seams back up. Fold them in 1/2 inch, and then again, so they meet as a perfect little folded corner. You may want to press these seams again to keep them crisp for sewing.
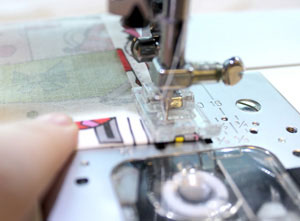
Stitch all the way around your napkin, keeping your folds in place.
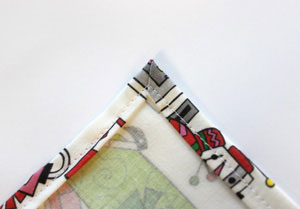
And that’s it! A mitered corner napkin. That was a snap!
If you’re happy to just play with fun fabrics, you can make a whole stack of mitered corner napkins for your next festivity. Just press, fold, snip, and sew.
If, however, you’re here because you’re an embroidery nut like me, lets make some napkins that are a little more embroidery friendly...
For the record, I’m not saying you can’t embroider some fabric and then just miter the corners, but being able to see stabilizer on the back of something like napkins kinda bothers me. So, let’s just cover it up with more fun fabrics!
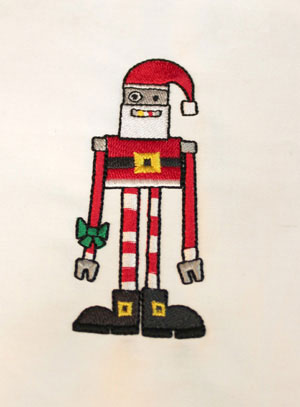
Hoop up your design with some cutaway stabilizer (or just hand embroider it) and stitch away. When you’re done, unhoop the design and cut off the excess stabilizer. I picked Robot Santa, to go with my new robot presents patterned fabric.
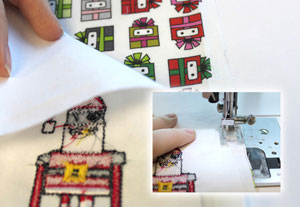
Remember, with this method we don’t need to double fold the edges, so your fabric square can be a little smaller. Mine is 7" by 7". Place your fabric pieces right side together, and sew a 1/2 inch seam around three sides.
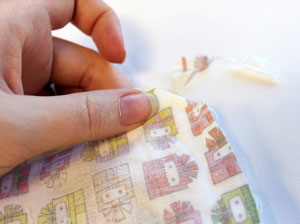
Before you turn your fabric right side out through the open end, snip off the corners near the seams. This will keep your corners a little crisper when you push them out.
Once you’ve turned your napkin right side out, fold that last open edge under by 1/2 inch, and press everything to keep it flat and neat.
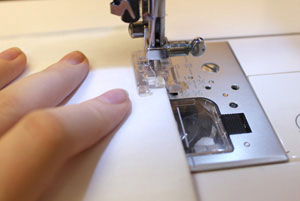
Sew a seam around all four sides.
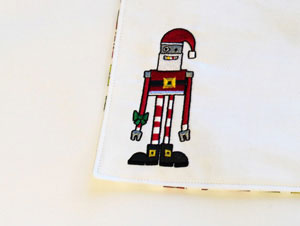
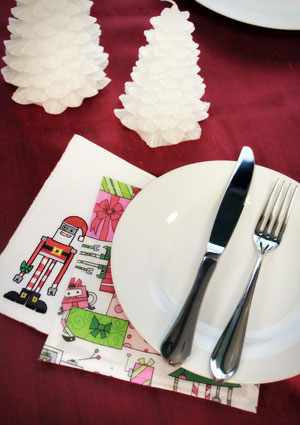
...and before you can say “jingle bells”, you’re done! One side has a cute embroidered robo-santa, the other some cute pattered fabric that goes with it perfectly. No ugly stabilizer to be seen!
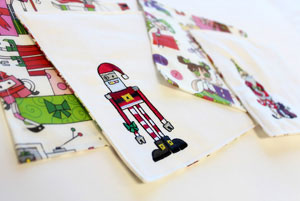
Mix and match fabric sets with designs, and create a whole series. You can whip up a bunch as gifts for all those holiday hostesses you’re likely to be visiting in the next few months.
I made a couple with our Primitive Christmas designs and fabric that are super cute too. It gives your holiday event a little Christmas whimsy.
So whether it be fabric, embroidery, or both, you can rock your favorite Urban Threads designs at your table this season, with no holiday headaches. It’s a Christmas miracle!


