Make someone's day a little sweeter with adorable embroidered cookies! These little treats make an adorable addition to your decor, or a sweet little gift for those you care about. Follow along below to learn how to craft your cookies completely in-the-hoop!
Supplies
To create your cookies, you'll need:
- In-the-hoop cookie embroidery design (we're stitching the You Wish cookie)
- Small pieces of felt for cookie and icing
- Medium weight tear-away stabilizer
- Temporary spray adhesive
- 1/4" to 3/8" ribbon for hanger (optional)
- Masking tape
- Scissors
- Printed templates of the dieline files, which come with the design and have DL in the filename (here's how to print dieline templates, or stitch if you don't have embroidery software)
Designs Used
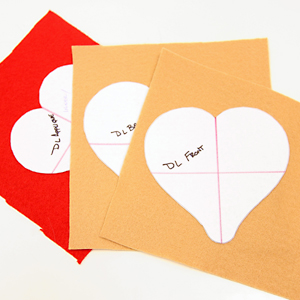
When you download an in-the-hoop cookie design you will see four files - one is the full embroidery file, and the other three are dieline files (marked with the letters "DL").
Print the dieline files at full size using embroidery software. If you do not have embroidery software, Wilcom TrueSizer is a free program to use.
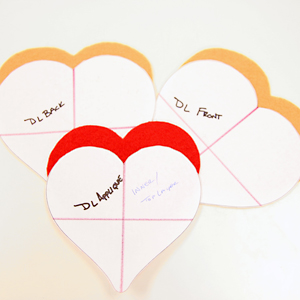
Spray the back side of the applique dieline template with temporary adhesive, and smooth it on the felt. Cut out the shape and remove the paper.
Repeat the previous step for the front and back cookie pieces.
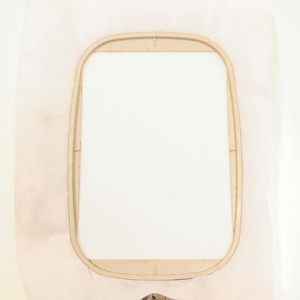
Once all the applique pieces have been cut, hoop a piece of tearaway stabilizer taut.
Use a size 11 or 75/11 sharp sewing needle, rather than an embroidery needle. A sharp sewing needle has a smaller, finer point than an embroidery needle, so that will make smaller perforations in the stabilizer.
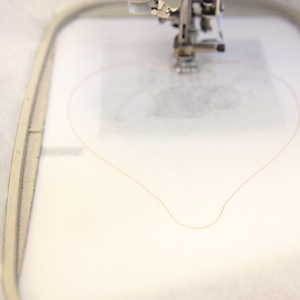
Attach the hoop to the embroidery machine, and load the full embroidery design file into the machine. The first thing to stitch is a dieline that shows where to place the front fabric piece.
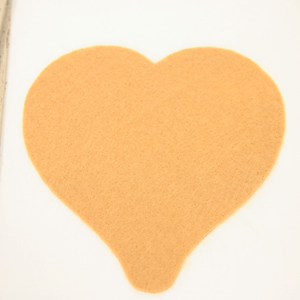
Remove the hoop from the machine, but do not unhoop the stabilizer. Spray the back side of the front fabric piece with temporary adhesive, and place the fabric right inside the dieline.
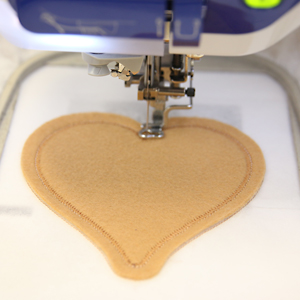
Attach the hoop back onto the machine and continue embroidering the design. The next step will tack down the fabric.
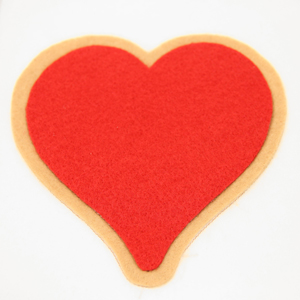
Then placement dieline for the applique fabric will sew. Remove the hoop from the machine, but do not unhoop the stabilizer. Spray the back side of the applique piece with temporary adhesive, and place it right inside the dieline.

Attach the hoop back onto the machine again, and continue stitching the design. Once the inner elements have sewn, a satin stitch border will sew out.
Follow along on the color change sheet for the design, watching for the step that says "back piece tack down". When you reach this step, remove the hoop from the machine again, but do not unhoop the stabilizer.
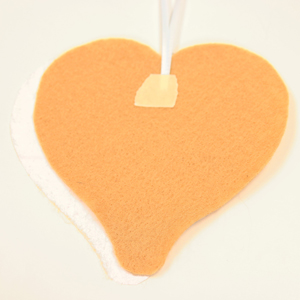
Cut a 7-9" length of ribbon, and bring the ends of the ribbon together to form a loop. Use a small piece of masking tape to secure the ends of the loop to the top of the back side of the back fabric piece.
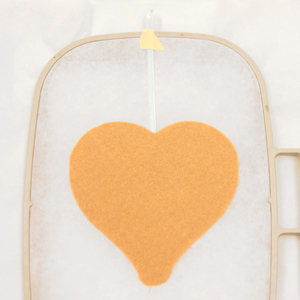
Spray the back side of the back piece with temporary adhesive. Turn the hoop over, and place the back fabric piece inside the shape on the back side of the embroidery. Tape the top of the ribbon loop to the hoop to keep it from getting caught in the stitching.
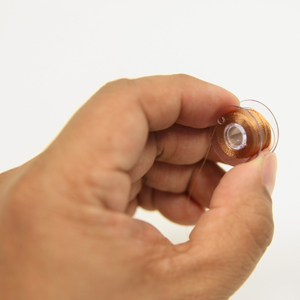
Since both sides of the cookie will be visible when complete, wind a bobbin with the same color used in the needle.
Attach the hoop to the machine and continue embroidering the design. A tackdown stitch will sew, binding the layers together.
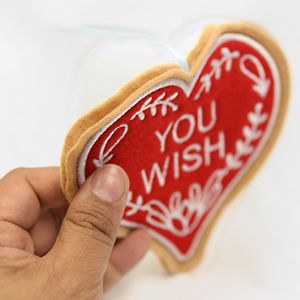
After the design is finished sewing, remove the hoop from the machine. Unhoop the stabilizer, remove the tape, and gently tear the design from the stabilizer. The outline stitches will be removed with the stabilizer.

Your cookie is done! Enjoy these sweet treats yourself, or share them with your sweetheart!


