Designs Used
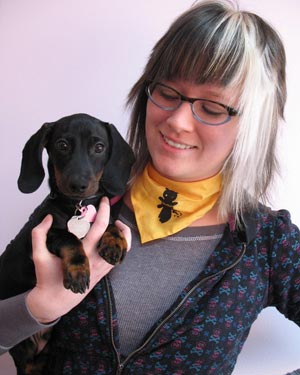
Welcome to a super-special guest edition of our fantabulous weekly projects!
This week, previous guest artist Anna Douglas, the artist extraordinaire responsible for Dodzilla, and former blog-dog Norton are going to show us how to make a seriously sweet little doggie hoodie for your favorite furry friend!
The weather is getting colder, and there’s no better time to dress up your wardrobe with some swank embroidery designs - hoodies and sweaters of course.But, what about your little fuzz butt?Our pets get cold too, and little Norton, being only still a pup, gets especially cold on chilly fall nights.If you’ve ever held a dachshund, it’s like hugging a little wiggly furnace. That mean’s they’re not retaining body heat very well.Poor little Norton. We’ll fix his chilly little problem with a swank new dog hoodie, complete with a stylin’ design.
Anna and Norton will show you how....
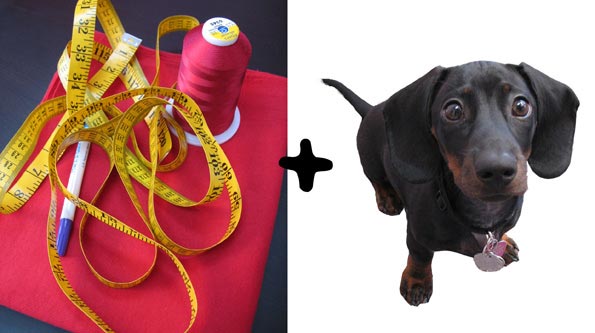
To begin, all you’ll need is some sweater knit or hoodie material, a measuring tape, a marking pen, and your pet’s favorite Urban Threads design.
You’ll also, of course, need a pooch. He doesn’t have to be your pooch.Norton is on loan from my brother, but he was more than happy to have a hoodie for him.This design can technically work for cats as well, but I don’t know if I’d try getting a cat into one if you value your eyeballs.
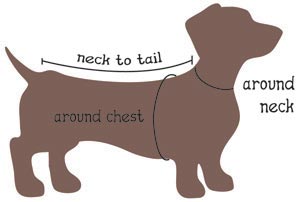
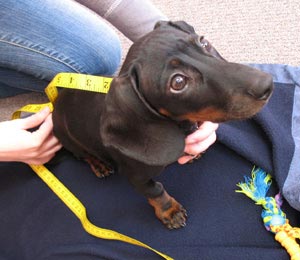
The first thing you’re going to want to do is measure your pooch.Every dog is different, and you want your hoodie to fit them right.For this dog hoodie, you’ll need three measurements. The length from the back of your dogs neck to the base of his tail, the width around their chest, and the length around their neck.
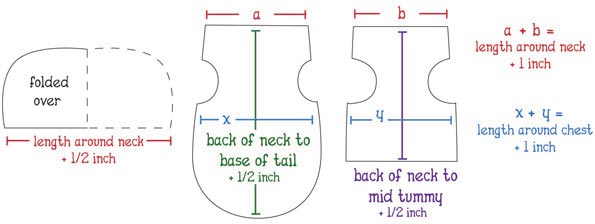
In order to make this applicable for all shapes and sizes of doggies, we’ve got a variable template. Don’t freak out about these directions, or cut anything yet, we’ll show you how to cut everything out as we go along.This is just a run down of sizes.
So, for the hood, the length should be the measurement around your dogs neck, plus 1/2 inch for seam allowance.The height should make it roughly a square when it’s folded.
The top of your dog’s hoodie is the largest piece.The arm holes are gentle curves inwards, and the bottom piece’s arm holes should be slightly deeper than the top, because their arms are lower and need more room to move.Our initial arm holes are going to be a bit smaller than needed because they’ll get bigger when they’re hemmed.
The length of the largest piece, the top, should be the measurement from the back of your dog’s neck to the base of his tail, plus 1/2 inch seam.The combined width of the two main pieces should be the width around your dog, plus 1 inch total for seam allowance.Really, it just has to have enough width to wrap around your dog, both at his neck and around his chest. However, and this is important, because most dog’s shoulders are low, the top piece is going to be one inch longer than the bottom piece.So take the total width of your dog, divide it in half, and add an inch to the top piece, and remove and inch from the bottom piece. For Norton, this means x = 7 inches, and y = 6, because he’s 13 inches around his chest, and then we add 1 inch total for seam allowance.Same principle for x and y.Right...
Still with me? Don’t panic, we’ll go through it step by step and it will make more sense as we go along...
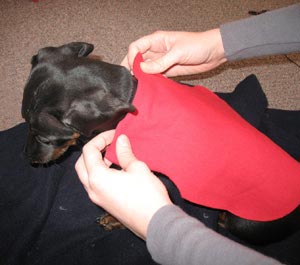
First, we’ll cut out top piece because it involves the embroidery. When you cut it out, remember to add 1/2 inch seam to both the width and the height.
To place the arm holes, take a basic measurement as to how far back your dog’s shoulders are from the base of his neck.Once you’ve cut the basic shape, fold your fabric in half (lengthwise), and cut a gentle groove out at the shoulders, so the holes are the same.Don’t cut too large, because we’re going to clip these when we seam them later, and the holes will get bigger.
This is how Norton’s looked when we cut it out. Try holding it up to your pooch to make sure things look right, and everything lines up properly.
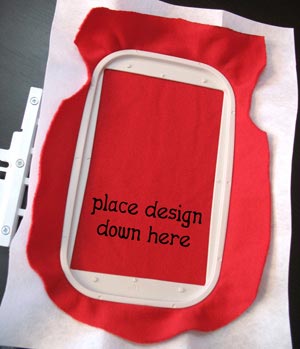
Now hoop it up.The best place to sew out the design is further down your hoodie, because when your pooch has his hood down it will cover up the top half, and you want your embroidery to be nice and visible at all times.
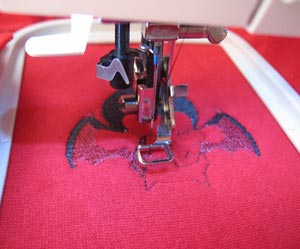
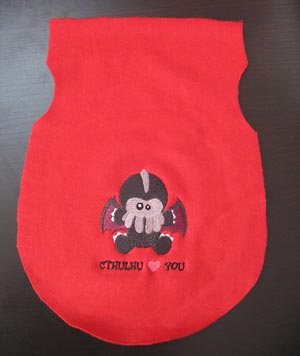
Feel free to play with colors and placement. Little Cthulhu is usually green, but with the red fabric of choice, we didn’t want to evoke Christmas. He’s not really the Christmas type. When he’s done sewing, snip away the excess stabilizer and set it aside.
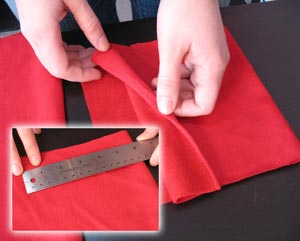
Now, on to the hood.
Cut out a piece of fabric that’s the same length as the measurement around your dog’s neck, plus 1/2 inch. Now fold it in half, wrong sides facing, and cut the height so it’s roughly a square, as shown.
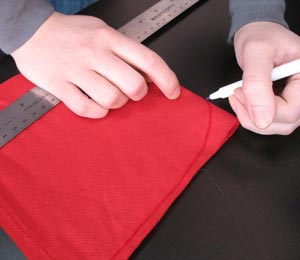
Using a fabric pen, mark the curve of the hood, as close to the edge as possible.The line will roughly follow the cut line, and then curve gently as it gets close to the fold.Our lovely Anna shows us how to draw the line.
Once you have the line drawn, cut the fabric along the line, snipping through both layers of fabric.
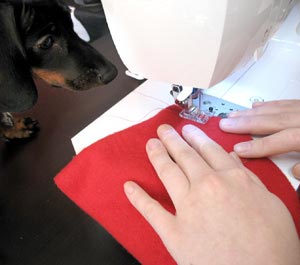
Now, turn your fabric around folding it right sides together, so the fuzzy side is out.Pin it together, and sew a seam along the curved edge, 1/4 inch in. Make sure you have your hood oriented the right way. The folded edge of the fabric should be the top of his hood, where the curve starts.
Norton watches all this with rapt fascination.
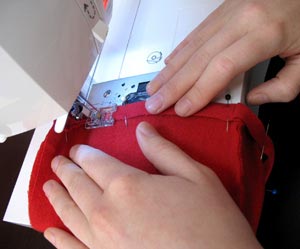
Once we’ve sewn the curved edge of the hood, turn it back right side out. We now have a hood, but it’s still got raw edges.Open up the hood and pin in the raw edge, 1/4 inch in.The side you’re pinning is NOT the edge you measured as the length of your dog’s neck. That side stays unfinished for now.
Sew a seam down the side to finish up the edge of the hood.
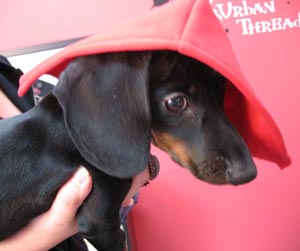
You can try your hood on your pup to see if it fits him.We thought Norton looked swank.I don’t know what Norton thought.Probably “why me?”
Once you and your pooch are happy with your hood, set it aside.
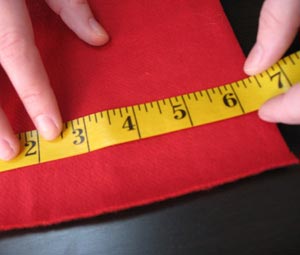
Now, for the underside of his hoodie, the last piece.Measure out a rectangle that’s one inch smaller than the width of the top piece, as explained in the diagram.The length of this piece should be the measurement from the base of his neck (from the front) to the middle of his tummy, plus the 1/2 inch for seam.
Don’t make it too long, or it will make it difficult for your pup to do his business without ruining his hoodie. Nobody wants that.
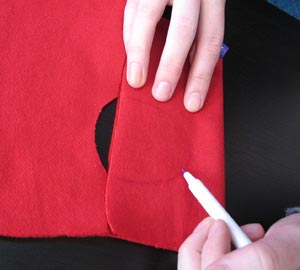
To place the arm holes properly, fold your fabric in half and line it up to the edge of the top piece, the one with the embroidery. Draw a larger hole on your fabric, marking the edges so the hole will line up when we sew the fabric together.
Remember, these holes will get bigger when we’re hemming them because we’re using a little trick to get a nice curve, so don’t cut it too large.You can always try it on your dog when it’s sewn and modify it later.
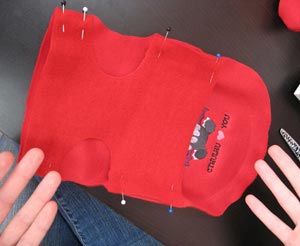
Now pin the two pieces together, right sides in.
You want to line up the fabric with the top of the embroidered piece, and make sure the arm holes line up properly too.
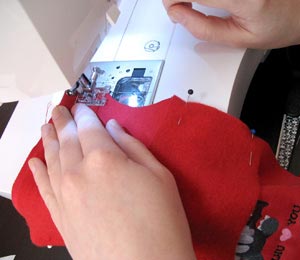
Now sew a 1/4 inch seam to secure the two pieces together.Don’t sew over the arm holes, leave them open.Basically, you’ll be doing four short seams in order to stitch together all sides. Once you’ve done this, now would be a good time to try it on your pup and see how things fit.The length and fit should all be good, although the armholes may be a bit snug.They shouldn’t be SO snug, however, that you can’t even get your dog’s arms through.We’re only going to be widening them by about 1/4 inch, so if your dog needs more room than that, cut them larger now.
If everything looks good, proceed onwards...
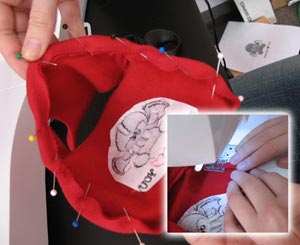
To hem the bottom edge of the hoodie, turn the raw edge in and pin it in place, then sew a finishing seam around the edges, about 1/4 inch in.
Leave the top of the hoodie raw, it will be finished with the hood.Before we get to that though, we have to finish the arm holes...
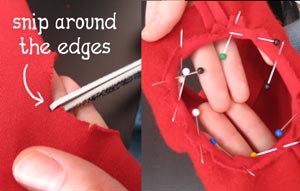
In order to get a nice curve for the circle opening at the arms, snip about 1/4 of an inch in, every half inch or so all the way around the arm holes.
This will help the fabric to not bunch and wrinkle when we sew it in a circle. This is also what makes the opening for your pup’s arms a bit bigger. Fold this raw edge inside the hoodie, and pin in place. Sew a seam all the way around. Repeat for the other arm hole.
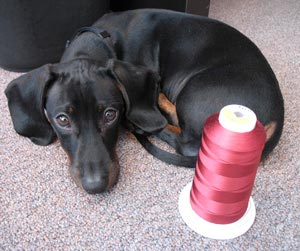
Norton is obviously very engaged in this process.He took a nap by some thread and waited patiently for his hoodie to be finished. He won’t have to wait long, as we’re nearly done...
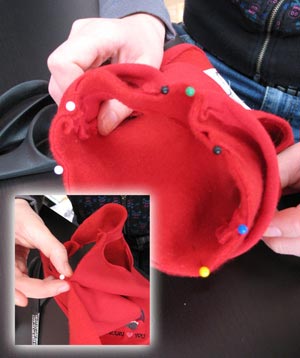
To attach your hood, find the center of the raw edge of your hood (where the fold was) and the center of the embroidered side of the hoodie, and pin them together.The right sides of the fabric should be touching.This will assure we have proper placement and don’t end up with a wonky hoodie. Pin the rest of your hoodie all the way around.
Once it’s pinned in place, sew a 1/4 inch seam all the way around your hoodie. If you find it’s a bit long, just overlap one edge a bit over the other.If you’re short, fold in the remaining raw edge between the gap and sew another quick seam.What’s most important is that it’s centered, not that it’s exactly the right length on the other side.
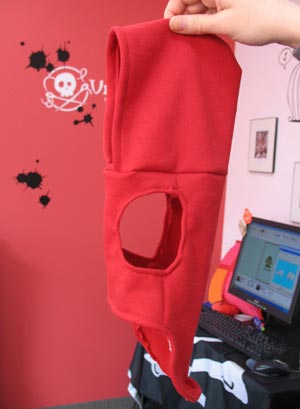
This is what your doggie hoodie should look like, sans dog.It looks much better with a dog in it.Lets see just how much better...
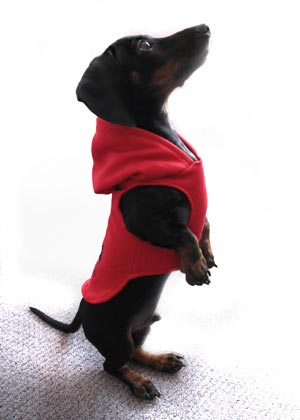
Look how swank Norton is looking now!Now he’s got a great little hoodie to keep him cozy into the cool months ahead.The little embroidery touch adds an extra personal addition to your pooch’s hoodie, and will show up nicely when they’re galloping around, like puppies do.
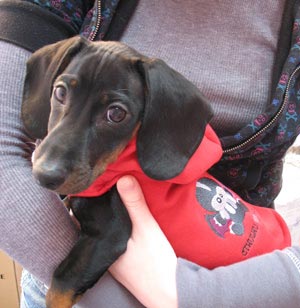
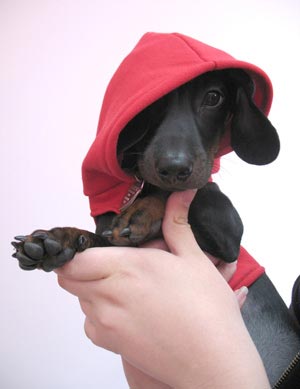
Throw the hood up for a gangsta’ look. Norton was especially hilarious in his.
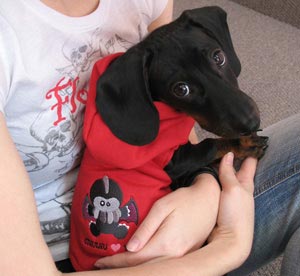
The hood, along with being endlessly amusing, will keep your pooch’s head warm, and add a stylin' touch to his wardrobe. A dog in a fluffy little sweater is embarrassing.A dog in a hoodie is hip.
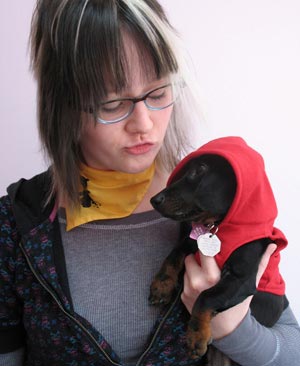
I want to give a very special thanks to Anna for coming in and offering her super sweet sewing expertise to show us how to make this great project.
Be sure to check out the awesome embroidery design she cooked up for us as a guest artist, and if you like her stuff, you can always see more at her websites, http://www.skwee.net, for swank goods, and http://www.rabidnani.net for more of her awesome illustration skills.
Also, a special thanks to little Norton, for putting up with it all, and looking so devilishly charming in the photos. And, to Maren and Pete, who borrowed us their fantastic pooch for a day. I think Norton might have just become the unofficial Urban Threads dog.
So, now you know how, you can have all kinds of fun making oodles of hoodies for your pets!Add their name, your favorite design, or even give them some seasonal flair. During Halloween season, a hoodie is a great way to stitch up a fantastic costume for your furry friend.Add some horns or little wings and you’ve got your very own custom made DIY pet costume! And, at the very least, it will keep them toasty warm as the temperatures drop. Little Norton need not shiver any more.


