Make someone's day by giving them -- not only a gift card -- but an adorable gift card holder, too! Project instructions below will show you how to stitch this machine embroidery design in-the-hoop.
Supplies
To create your in-the-hoop gift card holder, you'll need:
- Jolly Santa Gift Card Holder (In-the-Hoop) embroidery design
- Small pieces of felt or quilter's cotton
- Tear-away stabilizer
- Embroidery thread
- Ribbon (for hanger)
- Temporary spray adhesive (such as Gunold KK100)
- 75/11 sewing machine needle
- Masking tape
- Scissors
Designs Used
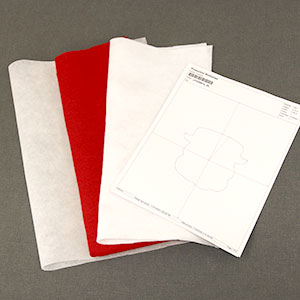
When you download the gift card holder design, you will find multiple files. Some are embroidery files, and others are dieline files marked with the letters "DL." The dieline (DL) files are used to cut the fabric to the correct shape and size. Open and print each dieline file using embroidery software.
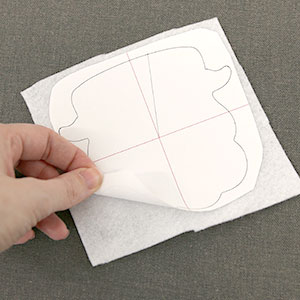
To begin, start with dieline "a." Spray the backside of the paper dieline with temporary spray adhesive and smooth it onto the right side of the fabric.
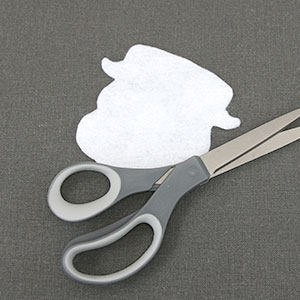
Cut out the shape along the dieline. The "a" dieline will be used when embroidering design file "a" (the pocket of the gift card holder).
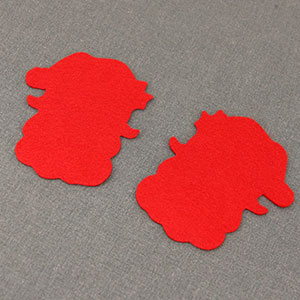
Repeat the above process for the "b" dieline. This time, however, be sure to cut out two pieces using your "b" dieline. These two pieces will be used to make the front and back fabric piece of the gift card holder. These pieces will be used with design file "b" (the back of the gift card folder).
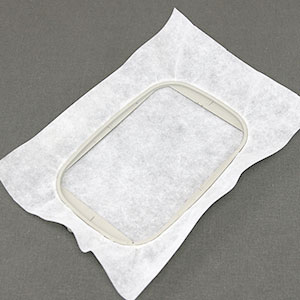
Hoop a piece of tear-away stabilizer. Madeira E-Z Tear 1.5 oz. or Floriani Tearaway Medium are good choices. Those brands are more fibrous, less paper-like, and will tear more cleanly.
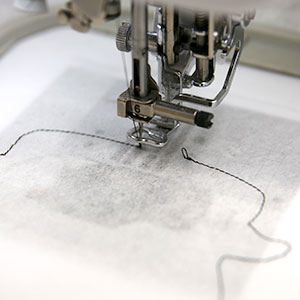
Attach the hoop to the machine and load the "a" file of the embroidery design (not the dieline files).
Use a size 11 or 75/11 sharp sewing needle rather than an embroidery needle. A sharp needle has a smaller, finer point than an embroidery needle. This will then make smaller perforations in the stabilizer.
Embroider the design. The first thing to embroider will be a dieline or outline stitch. This marks the area on the stabilizer where we'll place the front pocket fabric piece.
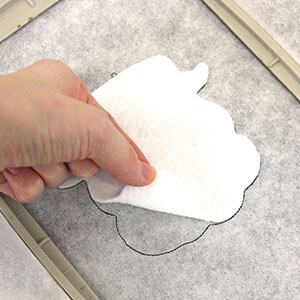
Spray the backside of the "a" front pocket fabric piece with temporary spray adhesive.
Remove the hoop from the machine but do not unhoop the stabilizer. Place the pocket piece right inside the sewn dieline.
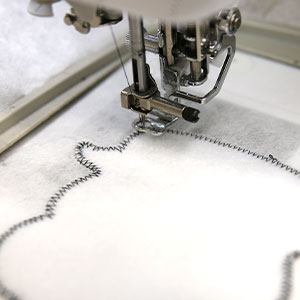
Attach the hoop back onto the machine and continue embroidering the design.
A zigzag stitch tackdown will sew next. This binds the fabric in place for the remainder of the design.
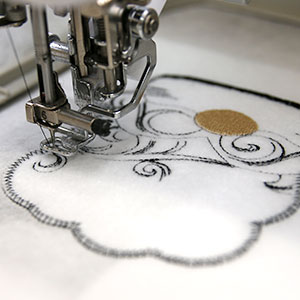
Once the fabric is stitched in place, all of the inner details will sew. A finishing boarder along the upper edge of the pocket will sew as well.
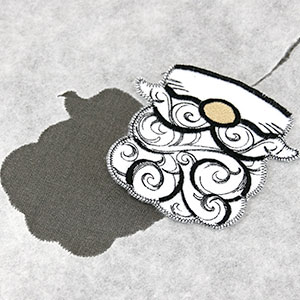
Unhoop the stabilizer and gently tear it away. Now that the pocket piece is finished, set it aside to use later on.
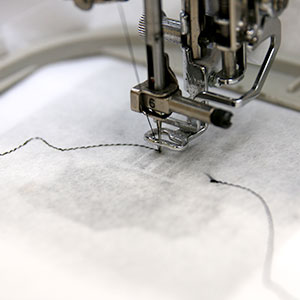
Hoop a new piece of tear-away stabilizer. Attach the hoop to the machine and load embroidery file "b" (not the dieline file).
Embroider the design. The first thing to embroider will be a dieline or the outline stitch. This marks the area on the stabilizer where we'll place the front fabric piece.
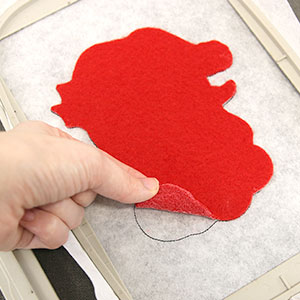
Spray the backside of the front "b" piece with temporary spray adhesive. Remove the hoop from the machine but do not unhoop the stabilizer. Place the fabric right inside the sewn dieline.
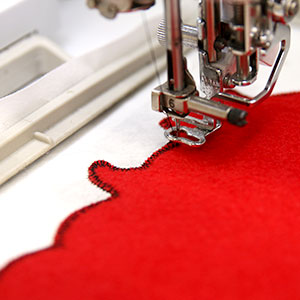
Attach the hoop to the machine and continue embroidering. A zigzag tackdown will sew next.
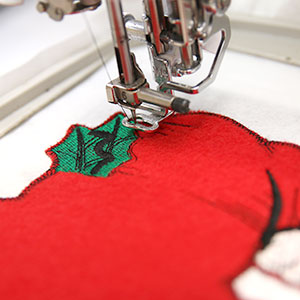
Then the inner details will sew out.
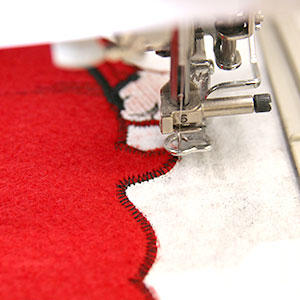
After the inner details have stitched, embroider the "Pocket dieline" step.
This dieline will show where to place the embroidered pocket piece (file "a") on the hooped fabric and stabilizer (file "b").
On the color change sheet, look for the steps titled "pocket tackdown." When you get to that step, stop the machine and remove the hoop from the machine. Do not unhoop the stabilizer.
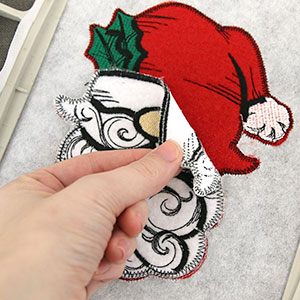
Before sewing the "pocket tackdown," remove the hoop from the machine but do not unhoop the stabilizer. Using temporary spray adhesive, spray the backside of the pocket piece (file "a") that was embroidered earlier. Place the pocket piece on top of the front side of the embroidery, lining it up with the sewn "Pocket dieline." The stitched details should be facing up.
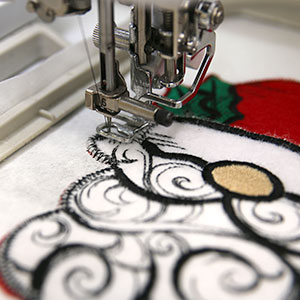
Attach the hoop back onto the machine. Continue to embroider the design. The pocket tackdown stitch will bind the layers together.
Stop before sewing the "back piece tackdown."
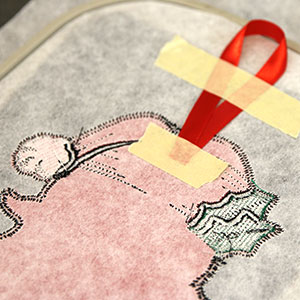
When you get to the "back piece tackdown" step, once again remove the hoop from the machine. Do not unhoop the stabilizer. To make the gift card holder an ornament, cut a piece of ribbon or cord to 7" in length. Form a loop and position it at the top center of the design. Use masking tape to hold both ends in place.
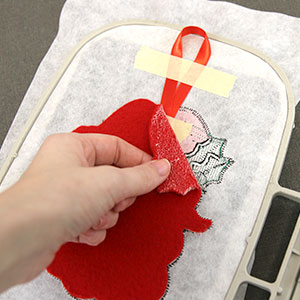
Spray the wrong side of the back fabric piece (Dieline "b") with temporary spray adhesive. Place the fabric inside the shape on the backside of the embroidery.
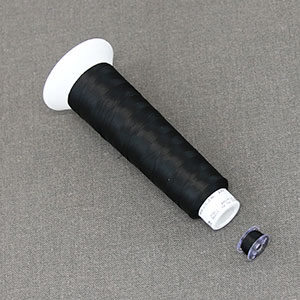
As all the embroidery from here on out will be seen from both sides, wind a bobbin to match each of the remaining thread colors used in the design.
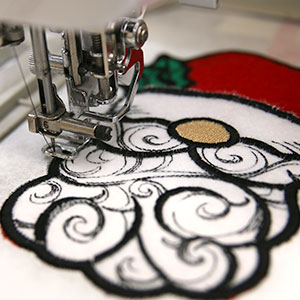
Attach the hoop back onto the machine and embroider the rest of the design. Make sure to always use matching bobbins. A back piece tackdown will sew first, followed by the finishing border around the fabric shape.
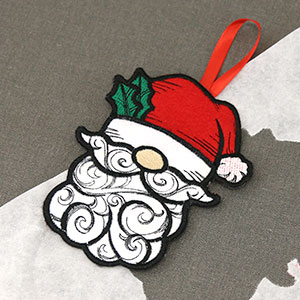
When the embroidery is finished, remove the hoop from the machine and unhoop the stabilizer. Carefully tear away the excess stabilizer from around the design.


