This is one of those great projects that's so simple to put together, but really looks cool when finished! A little glowing lightbox letter is the perfect way to light up a room in a personalized way. Spell out a little one's name, make initials for glam decor, or just make one single box for great mood lighting in a room. I'll show you how easy it is!
Supplies
All you need to make your lightbox letter is:
- Shadowbox frame. The one we used is from Ikea; you should be able to find these in craft stores too.
- Your chosen Mendhika Alphabet letter(s), snitched onto white fabric
- Battery operated wire fairy lights (Plug-in ones work too, just make sure your cord is long enough.) We got ours from Urban Outfitters, but Target and other retailers have similar light strands.
- Scissors and tape
Designs Used
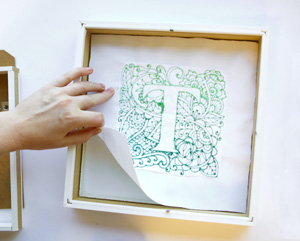
Start with your chosen letter(s) stitched out onto white fabric, using medium weight cutaway stabilizer adhered to the back of your fabric with temporary spray adhesive, and hooped tightly together. When it's finished stitching, cut the fabric around your letter to fit the size of your shadowbox, then trim back your stabilizer as much as possible.
Place your letter right side down in the frame, so the stitching is against the glass. This shadowbox came with an inset wooden frame, so I placed it inside next, to hold the fabric in place against the glass.
If yours doesn't have an inset frame, tape your embroidery in place carefully around the edges.
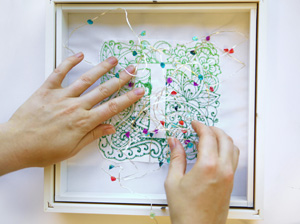
With your fabric held in place, put your lights inside. The more lights, the brighter the effect! Scatter them in your frame for even coverage of light.
Secure your light strand battery pack at the bottom inside of the frame with tape. You may want to cut a small finger hole in the back of your frame so you can press the on/off function on the battery pack without dismantling your frame every time.
If you have a plug-in strand, cut a small corner off the bottom side of your frame backing and feed the cord through the opening in your frame backing.

With your lights in place, close the backing of your shadowbox.
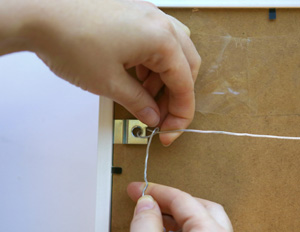
With the back secured, get your piece ready for hanging. Most frames will come with some sort of hanger or wire. This one just needed some wire strung through the back.
Turn it over, and you're ready!
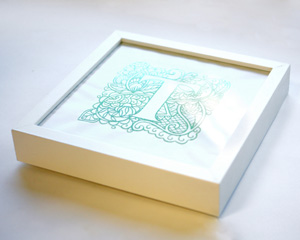
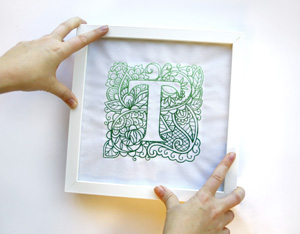
Gorgeous by day, this beautifully framed letter hides a surprise when the lights go down...
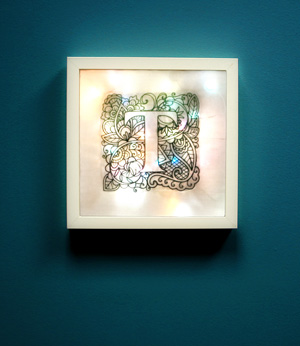
Click on the lights inside and you have a beautiful glowing lightbox! All in just a few short steps.
Enjoy your gorgeous new mood lighting!


