Combine your favorite photo with your favorite embroidery design to create the ultimate unique gifts, home decor items, and more! This tutorial provides tips and techniques for printing on fabric and how to frame your finished piece.
Supplies
To craft your photo printed creation, you will need:
- Your favorite embroidery design -- we used the 7.01" x 6.89" Long Live the Adventure design
- Medium weight cutaway stabilizer
- Temporary spray adhesive
- Inkjet printable fabric
- Access to an inkjet printer
- Masking tape or archival tape
- Scissors
- Photo frame, we used an 8" x 10" frame
- Optional: Scotchgard
Designs Used
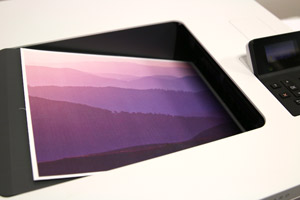
Begin by printing your photo onto your inkjet printer fabric. We recommend avoiding the "iron-on" variety and selecting a brand that has cotton or natural fibers for printing. Typical sheet sizes are 8.5" x 11", which works perfectly on a standard home printer.
Follow the directions on the packaging, but make sure to let your printed fabric dry!
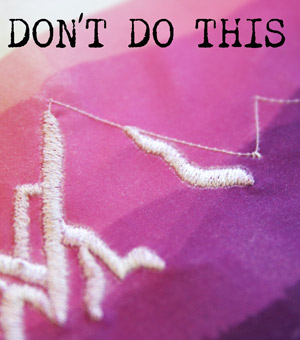
Fabric ink is lifted more easily by the embroidery needle when it isn't fully dried. For best results, wait 24 hours before you remove the backing from the fabric and begin embroidering.
Using Scotchgard on the dried fabric is also a helpful tool. Just remember to let your fabric fully dry after you apply the fabric protector.
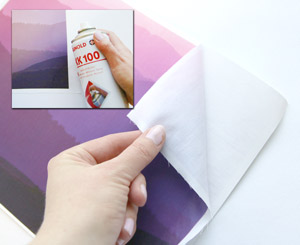
After your fabric is completely dry, peel the fabric sheet off the printer backing and use temporary spray adhesive to adhere your printed sheet to a piece of medium weight cutaway stabilizer. Be generous with the spray adhesive to ensure a good hold!
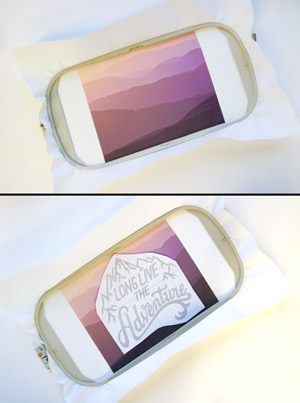
Use a larger hoop with a generous amount of medium weight cutaway stabilizer to ensure your embroidery doesn't shift and gap while stitching, and that your printed fabric isn't destroyed when hooped.
Using a printed template of your design will make it easier to map exactly where your embroidery will sit. Align the crosshairs of the template with the markings on your embroidery hoop to center the design. (Here's more on how to print templates.)
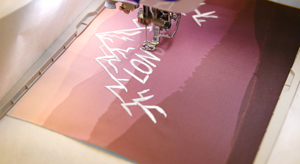
Embroider your design!
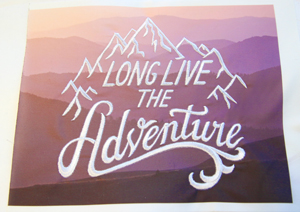
Your finished embroidery should look magical on your photo fabric backdrop -- now we just need the finishing touches.
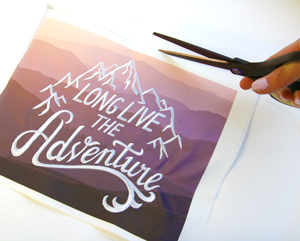
Trim the excess stabilizer around the edges of the printed fabric.
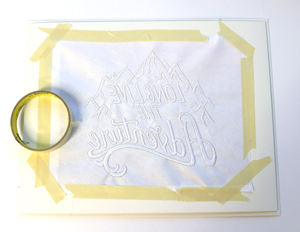
Use masking tape or archival tape to stretch the embroidered piece over the back of your frame mat.
If you are framing your embroidery without a mat, it helps to pull the fabric taut around a sturdy cardboard piece, cut to the size of your photo frame.
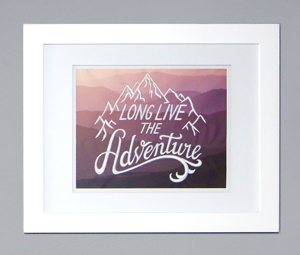
Finally, place your embroidered piece inside its frame, and decide where to display your new creation!
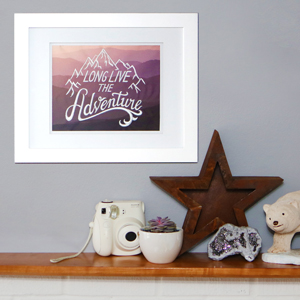
Printed fabric is best for framed pieces, but can also work for non-washable projects like throw pillows and bunting. Let your imagination run free and Long Live the Adventure!


