Tell me that you or someone in your house doesn’t do this:
You get home, arms full of work, homework, mail, keys, change, bags, etc, and the first thing that happens when you get in the door is it all gets dropped in the entryway. This is especially true of keys, phones, loose change, and wallets in our house. Then inevitably, when it’s time to leave, you find yourself running around like a maniac looking for a few dollars, your wallet, your darn phone, and where on earth are those stupid keys? All over the place, that’s where!
Supplies
So, time for a simple, quick solution. We’re going to make a cute little felt bowl for your entryway for all keys, change, and whatnots to get dropped and stay dropped in the same spot, so you know where to grab 'em on your frantic way out.
To make your box you’ll need some felt, double sided stiff interfacing, some cut away stabilizer, your awesome downloadable box template you can get by clicking the link above, and of course, a nifty embroidery design. You’ll also want an iron handy.
Designs Used
First we’re going to stitch our design. Before you do this, take a peek at that dashed square on your template. That’s about the maximum size your design can be, so choose accordingly.
Also, make sure when you hoop your design you put it in the center of your felt piece (that should be at least as large as your printed template) so you have plenty of room to make your box sides. Hoop up your felt with a piece of cut awaystabilizer.
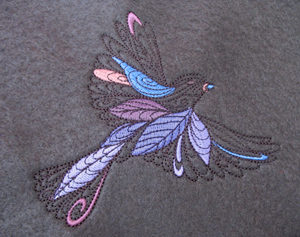
Stitch out your pretty design. Have fun playing with colors and styles, you don’t always have to stitch a design as it’s pictured on the page. I made my birdie a little more tone on tone with some bold colors. When you unhoop your design, don’t trim the stabilizer just yet.
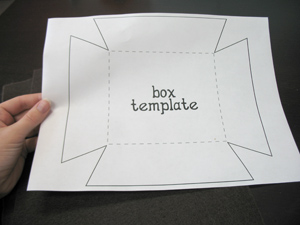
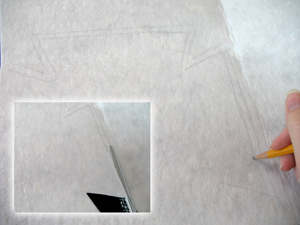
Now grab your printed box template. The funny trapezoid things are going to be the sides of the box, so you’re going to want to keep your design centered in the middle of the dashed line square-y thing. I’m so darn technical.
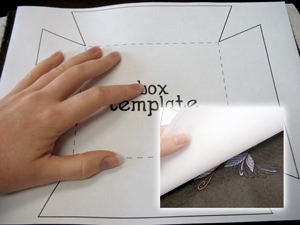
So, place your template on top of your design, lifting it up a bit to check the placement.
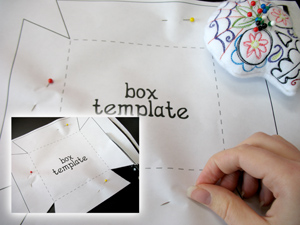
Once you’re sure your design is nice and centered, pin your template to your felt, and then cut it out carefully around the dielines.
On a side note, see how awesome and useful little skully pincushion is? Although it looks like he might have a splitting migraine coming on...
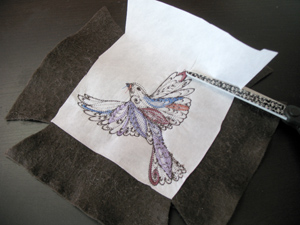
Now you can flip your felt over and trim the stabilizer back to that little square shape in the middle.
We need one more matching piece of felt, so place your embroidered felt piece on top of another one and trim around the edges. If you like, it may help to pin it in place so it doesn’t move.
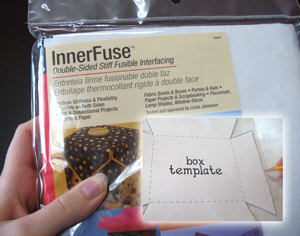
Now it’s time to grab that wonderful double sided stiff fusible interfacing. Wow what a mouthful. I like the name though, “Inner Fuse”. Sounds a bit like a superhero name. (Dun dun da duunn...it’s InnerFuse!) Or maybe one of those motivational words businesses like so much, you know, like synergy.
Anywho, grab your box template again, and trace it’s shape onto some InnerFuse (dun dun da duuunn) or whatever interfacing you happen to be using that doesn’t have as cool a name.
Once you’ve traced your shape, draw another line just inside of that, and cut out that shape along that new, smaller line. That way you’ll have a matching piece of InnerFuse (dundun da dunnn....sorry I can’t help it) that’s a little bit smaller than your fabric, and it won’t poke out the sides.
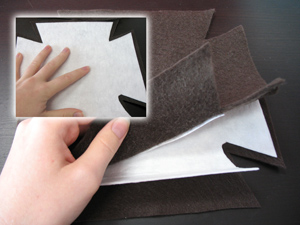
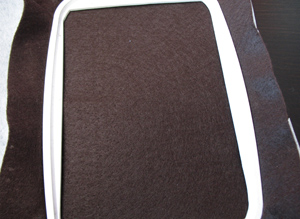
Carefully sandwich your interfacing in between your two felt pieces, keeping it centered so none of the white bits poke out the sides.
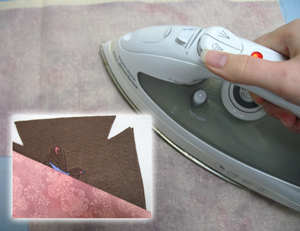
Now we just need to heat up an iron and melt the interfacing so it all sticks together.
Since my felt is polyester (as a lot of felt is, so I would err on the side of caution) that means it doesn’t like direct heat very much. Instead of felty it gets kinda...melty. So it might be good to have an extra piece of non-melty fabric around as a pressing cloth. Iron according to your interfacing directions, and let it cool and set for a few minutes.
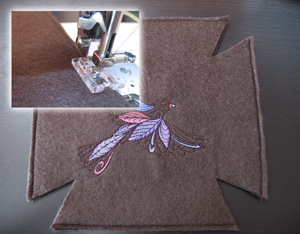
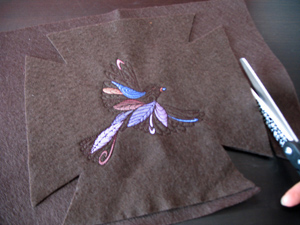
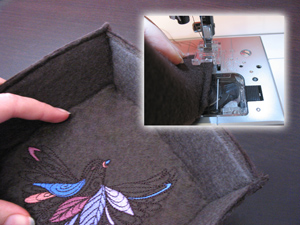
So, to turn your newly fused sturdy felt fabric into a box, we’re first going to clean up the edges, because believe me, this is much easier done now than later. Sew a 1/4 inch seam around the four sides of your box, keeping it as even as possible so it all lines up when we’re done.
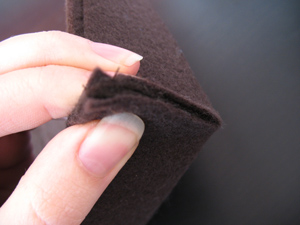
To make your creation into a little dish, pinch the corners of the sides in, lining up the edges.
Sew a seam down the side, all the way to the bottom. Make sure you have both sides neatly pressed together, so you don’t miss and edge and leave an open gap. Repeat this process on all four corners.
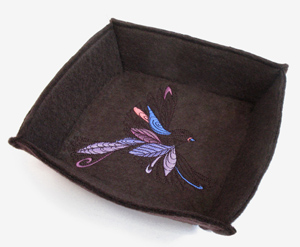
Ta da! A cute little tray in a few simple steps. These are super easy to make and great for organizing all sorts of doodads and whatsits. Make one for holding all the ceremonial pocket objects people drop on the table upon entering a dwelling or for holding mail, or change, or whatever your little heart desires.
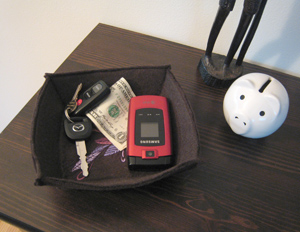
Look how pretty and organized everything is now! Even the pig is impressed, just look at those little beady eyes of satisfaction. No longer will I run around squawking about my keys, or have to call my own phone just to find it (c’mon, who hasn’t done that before?). It’s all there, looking stylish and organized in a handy homemade tray.


