It’s a simple idea, with dramatic results... stitching freestanding lace as applique accents. With just a simple application of fabric paint and some well-placed lace, you can transform a plain shirt into something chic and eye-catching and totally unique!
Supplies
Turning a plan article of clothing into something extra special is easy. All you need is:
- Shirt or sweater (light colors work best with the paint)
- Freestanding lace embroidery design(s), all stitched out and dried -- we used the Chic Collar Accents design, but you can use any flat lace design you like! Here's how to stitch freestanding lace.
- Temporary spray adhesive
- Fabric paint (similar color to your lace)
- Thread to match your lace, and hand-sewing needle
Two extra things that help: Some tag board or extra paper around to help set up a spray area, and either a mannequin or a buddy to help you position and pin your pieces in place.
Designs Used
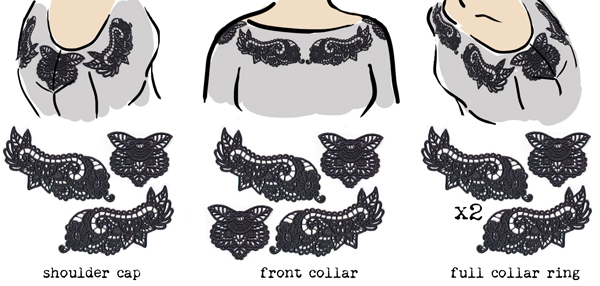
Of course you can technically use any flat freestanding lace to applique onto a project, but these Chic Collar Accents lace pieces were designed to nicely complement a neckline of a shirt. How you want to use them is up to you. The option on the left is just a shoulder cap, with the two lace neckline pieces on the front and back of a shirt. This is cool for an asymmetrical option. You can also make a front collar, with two neckline pieces and two shoulder pieces. Of course, the full effect is two shoulder caps, for a full lace ring all around your neckline. It all depends on the look you’re going for.
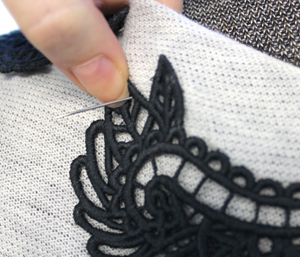
Start by lightly spraying the back of your lace pieces with temporary spray adhesive, and sticking them on your shirt where you think they look best. When you have them were you really like, you can pin them in place. You can do this on yourself in front of a mirror, or have a buddy help you out. Even better, put your shirt on a mannequin.
When you have your pieces where you want them, lightly tack them in place with a few stitches, just enough so they won’t move when you pull your shirt off.
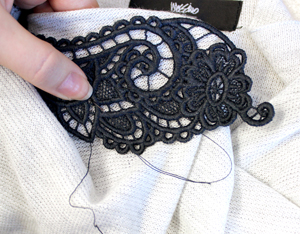
With your tack stitches in place, you can now start stitching you lace in place by hand. I find going around some of the major loops and edges works best, with a few tacking stitching in the middle of the lace to ensure it lies flat.
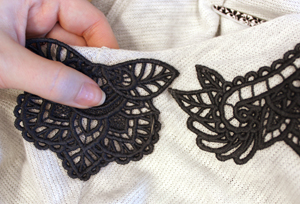
With your first piece stitched firmly in place, continue on your others. You may want to check as each piece is stitched down that the next pieces are still where they should be.
Nothing fancy here, just some old fashioned hand-stitching.
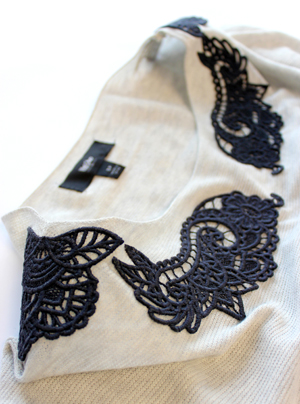
Here are my lace pieces stitched in place. I opted for a front collar swoop with the two shoulder pieces. Suddenly that plain shirt looks so much more chic!
We can go one better though. In order for your shirt to really look cohesive and slick, grab your fabric spray paint...
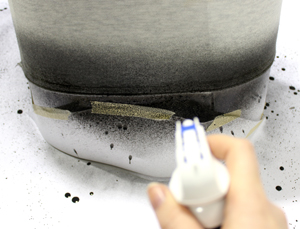
You’ll want this paint to be the same color as your lace. We’re going to add an ombre of our lace color on the bottom of the shirt to make it all cohesive.
I wrapped a tube of large paper up and slid my shirt over it. Then I lightly sprayed the bottom, building up layers to give it that gradual ombre transition.
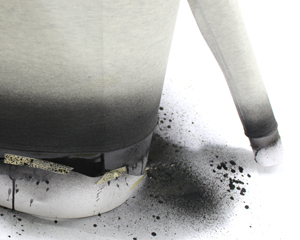
Don’t forget about your sleeves!
Once you have that gradual fading effect, leave your shirt to dry.
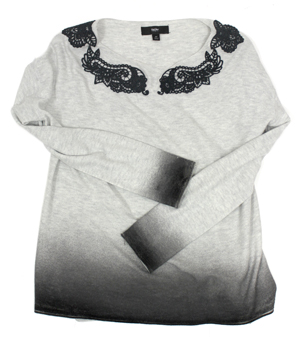
When your shirt is dry, it’s ready!
From a plain drape top to a suddenly unique and chic ombre and lace accent shirt ready for the runway.
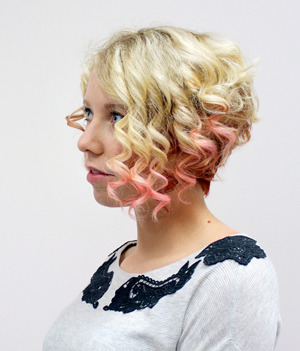
The stitched lace collar adds texture an interest up top, all without the mess of trying to hoop anything under your machine.
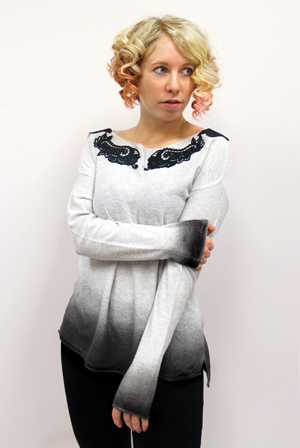
An elegant rock 'n' roll look for any season, made with just some lace and paint! Getting big results doesn’t mean you need a lot of fancy steps. Try this lace and ombre look out on any project!


