Flutter into the warmer months with this festive and chic freestanding lace butterfly wreath! This simple and quick project will make a stunning impression on your front door or in any gathering space. Follow this tutorial for the step-by-step instructions, but if you prefer to get up close to the action, check out the accompanying Lace Butterfly Wreath video to see how it's done.
Supplies
To craft your freestanding lace butterfly wreath, you will need:
- Chrysalis (Lace) embroidery designs
- Heavy duty water-soluble stabilizer, such as Vilene or Sulky Ultra Solvy
- Rayon embroidery thread (40wt.)
- Hot glue gun and glue
- Wreath
- Ribbon
- Scissors
Designs Used
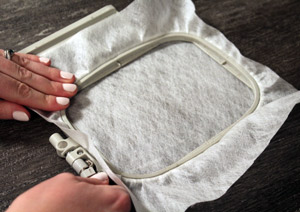
Begin by hooping a layer of heavy duty water-soluble stabilizer, taut. We recommend using Sulky Ultra Solvy or Vilene.
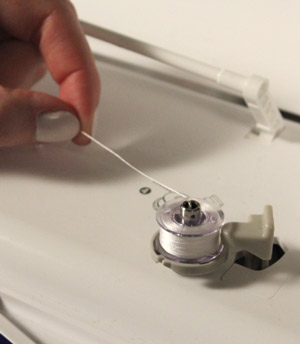
Next, wind bobbin thread to match the top thread you've selected for your designs.
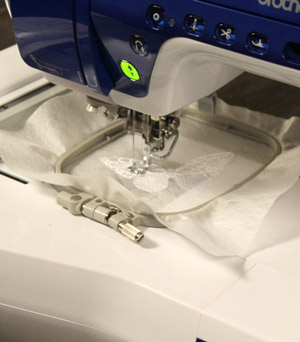
For best results, use 40 wt. rayon thread to stitch your freestanding lace Chrysalis Butterflies.
Stitch only one design per hooping, in the smallest hoop possible for the design, which in this case is a 4" x 4" (100mm x 100mm) hoop.
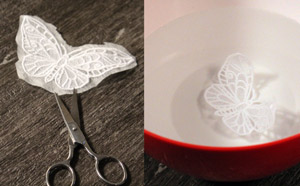
Next, unhoop the embroidery and carefully trim the excess stabilizer from around the design, then dissolve the rest of the stabilizer in water.
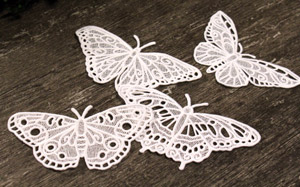
Allow each of your pieces to dry completely before attempting to adhere them onto your project.
How many butterflies you choose to make is up to you! For this 22" wreath, we used eleven lace butterflies in varied sizes.
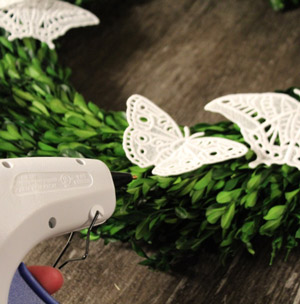
Use a hot glue gun to mark a strip down the back side of the butterfly body, then place it in position on your wreath.

Add extra appeal to your wreath with a beautiful ribbon bow at the top or bottom.
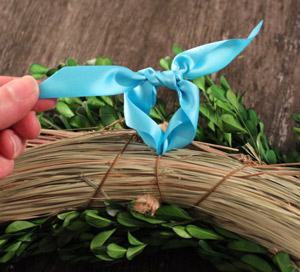
Finally, make sure that you have a hanger on the back of your wreath so it hangs evenly and securely.
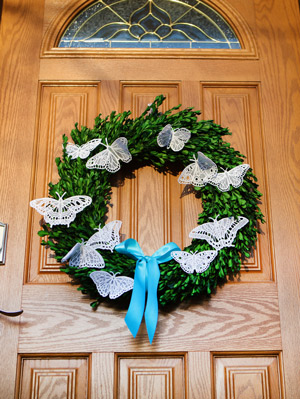
This lace wreath is a great welcome to the warm weather months and is sure to impress any onlookers!

If you love the Chrysalis collection, you may also enjoy this Spring Butterfly design from our sister company, Embroidery Library!


