Drift away with your own freestanding organza feathers! Lightweight and delicate to the touch, these embroidered feathers will leave you breathless. With a little preperation and these step-by-step instructions, you'll be on your way to crafting fabulous and unique projects with this fun design in no time. Let's get started!
Supplies
To craft your freestanding organza piece, you will need:
- Fearless Feather (Freestanding Organza) embroidery design
- Heavy duty water-soluble stabilizer, such as Vilene or Sulky Ultra Solvy
- Rayon thread (40wt.)
- Temporary spray adhesive
- Bobbin thread to match each of your design colors
- Printed templates of your design
Designs Used
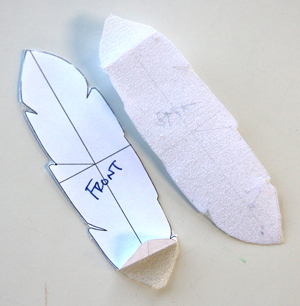
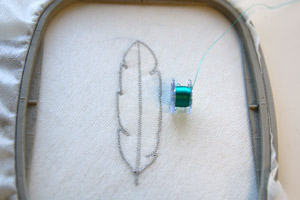
To start, use the dieline templates, labeled with "DL" in your zipped design files (for example UTZ2334_dl) to cut out the "front" and "back" of the feather applique pieces from your organza. The easiest way to do this is to lightly spray temporary spray adhesive on the back of the paper and adhere it to the organza before cutting.
If you don't have embroidery software to print the dieline templates, follow these instructions for stitching dielines.
To sew the organza feather design, hoop a peice of heavy duty water soluble stabilizer, taut in the smallest hoop possible for the design.
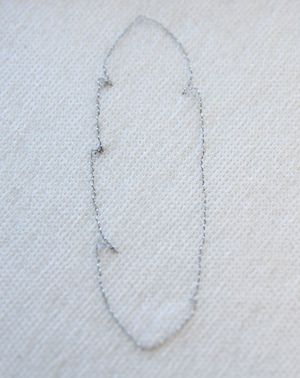
Because you are making a 3D object that can be seen from both sides, make sure to match the top and bottom thread colors for each step. The first color change of the file will stitch the dieline onto the stabilizer.
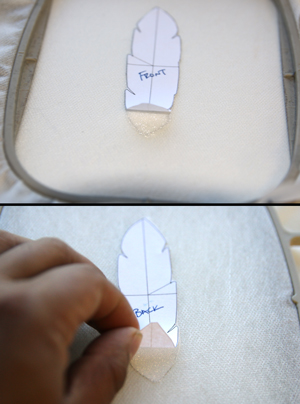
Carefully remove the hoop from the embroidery machine to attach your organza applique. Spray the back sides of both organza pieces (it helps to leave the paper dieline attatched until the organza is adhered to your stabilizer) and place the "front" piece within the stitched dieline. Flip the hoop over and place the "back" piece within the stitched dieline.
The next step will stitch the tackdown for the organza pieces.
As you change top thread colors, again make sure to match the bobbin thread.
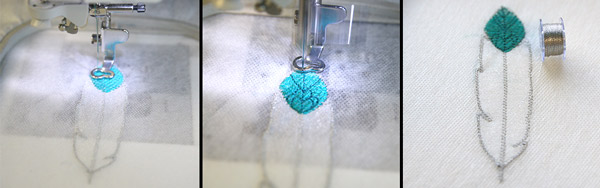
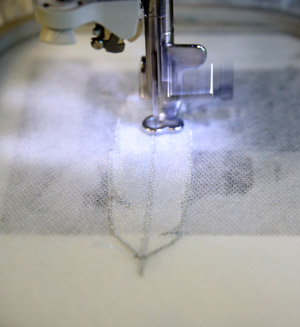
The next thing to embroider are the feather details. Once this is finished, change your top thread and bobbin
thread back to the first thread color to complete stitching the design.
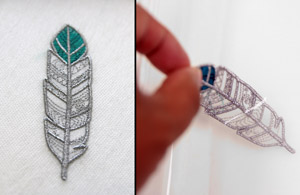
Once the design has completed sewing out, remove the design from the hoop and cut the design from the water soluble stabilizer. Then, soak the design until the rest of the stabilizer has dissolved.
Remove the design from soaking and let air dry. Once the organza feather has completely dried; you may create to your heart's desire!
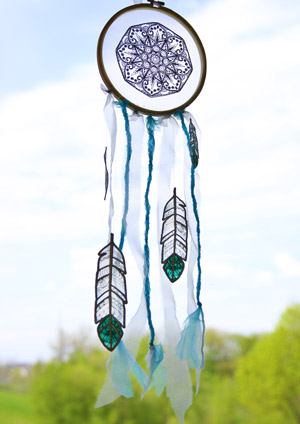
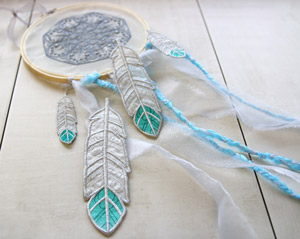
Stitch a variety of sizes to create a whimsical dream catcher! Here we braided and tied organza strips along with the Fearless Feathers to a hand embroidery hoop and paired it with the Dreamer's Medallion, also stitched onto organza.


