Learn how to stitch and assemble a stylish in-the-hoop bookmark step by step. This tutorial walks you through the full process—from selecting the right materials to stitching both pieces in the hoop and joining them together for a clean, professional finish.
With clear visuals and tips along the way, you'll see how easy it is to create a sleek, functional bookmark that slides neatly over any page. Whether you're new to embroidery or just need a quick refresher, these instructions will have you stitching with confidence.
Supplies
Note: The links below are affiliate links. We may earn a small commission if you make a purchase using these links.
- Cotton or similar fabric (for 3D piece)
- Cotton or similar fabric (for main piece)
- Medium-weight cutaway stabilizer
- Tear-away stabilizer
- Embroidery thread
- Temporary spray adhesive
- Masking tape or painter's tape
- Scissors
Designs Used
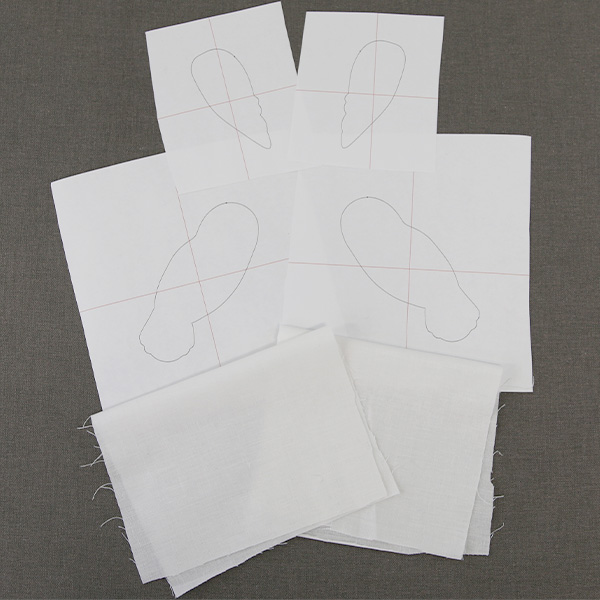
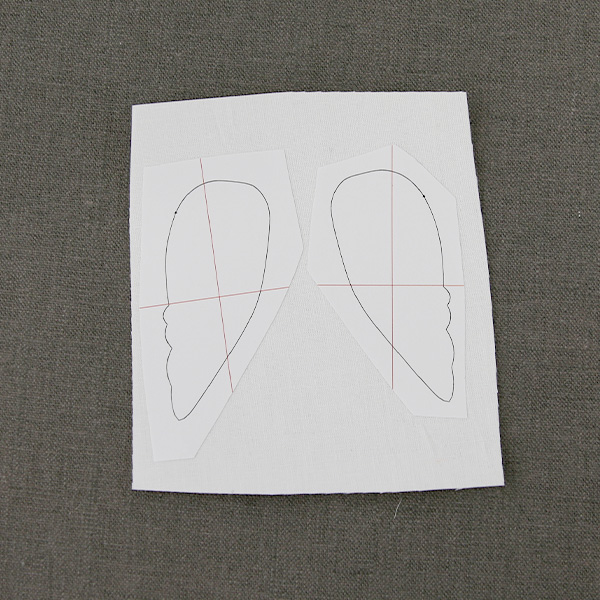
When you download the in-the-hoop design, you will find multiple files. Some are embroidery files and the others are dieline files marked with the letters "DL". Dielines are used to cut the fabric to the correct shape and size.
Open and print each dieline file using embroidery software. If you do not have embroidery software, take a look at our helpful video on using dielines.
We also recommend Wilcom's Hatch software which comes in different levels depending on what you'd like to use the software for. Hatch Organizer works well to view your designs, print dielines and templates, change design colors, and create basic design layouts. (This is an affiliate link. We may earn commission on purchases made with this link.)

For the fabric pieces, spray the wrong side of the fabric with temporary adhesive, and smooth it onto a piece of cutaway stabilizer, so the stabilizer ends up glued to the wrong side of the fabric.
Then, spray the wrong side of the first file's front and back dielines with temporary adhesive, and smooth them onto the right side of the fabric.
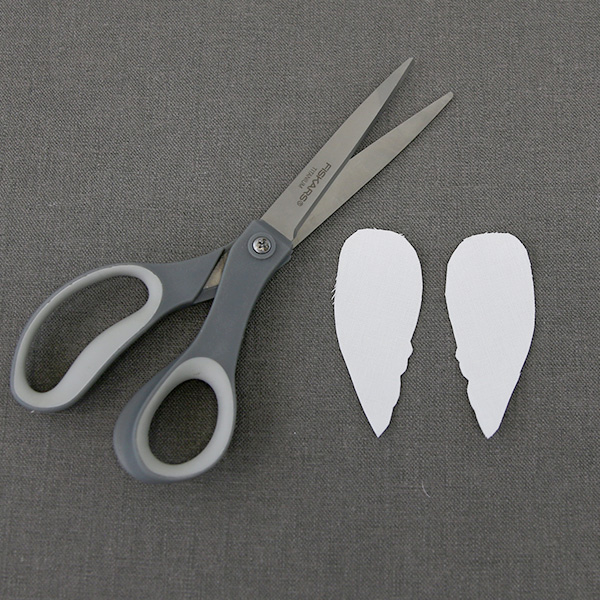
Cut out the fabric shapes for the first file, and remove the paper dieline.
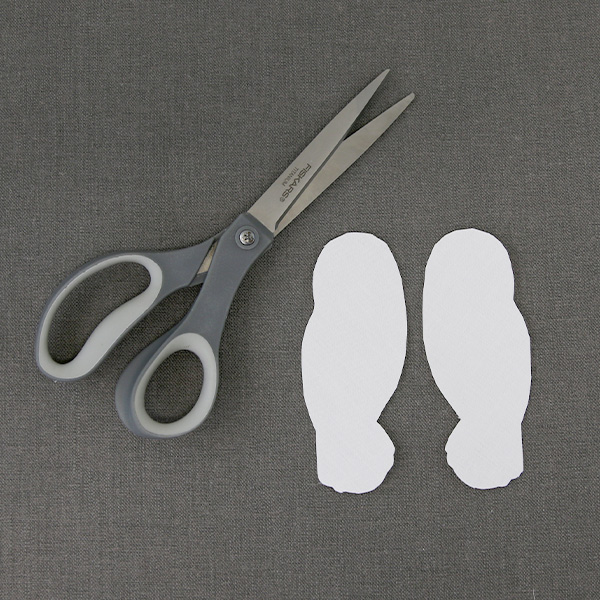
Repeat the steps to cut out the front and back pieces for the second file as well. Make sure both the front and back piece are cut from fabric with cutaway stabilizer on the wrong side.
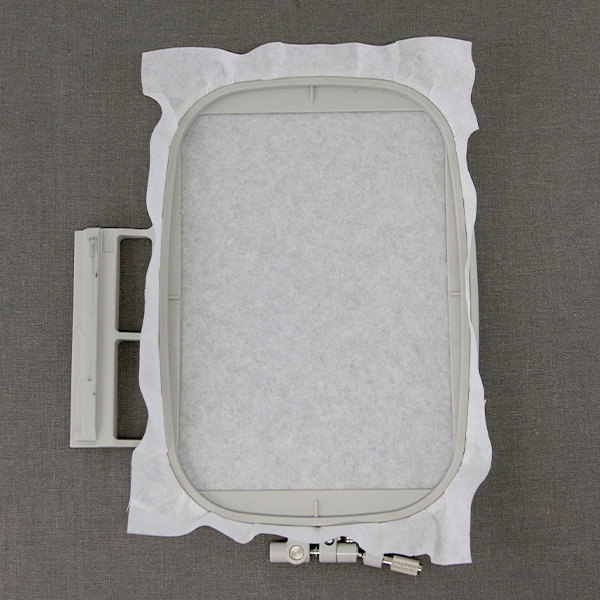
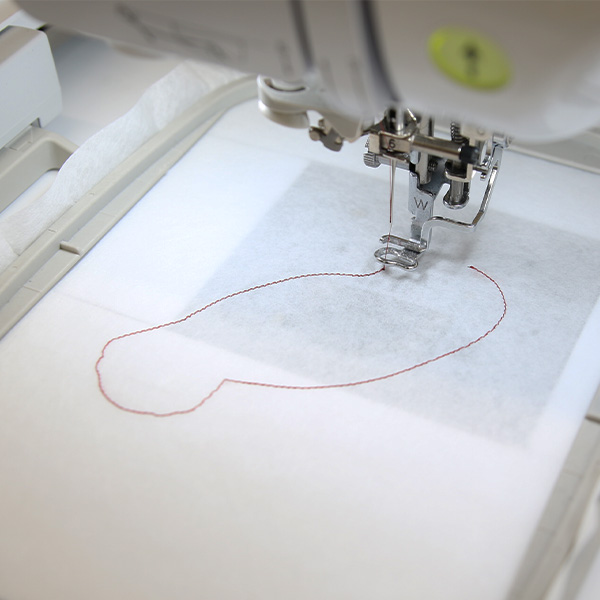
Hoop a piece of tear-away stabilizer firmly. Make sure it is hooped tightly and has no wrinkles.
The embroidery files of this design need to be sewn in order. It is important to embroider the first file (labeled with "a") before the second file (labeled with a "b"). Attach the hoop onto the machine and load the first embroidery file labeled with the letter "a" (not the dieline files). Use a 75/11 sharp sewing needle instead of an embroidery needle. The sharp sewing needle has a finer point and will make smaller perforations in the stabilizer.
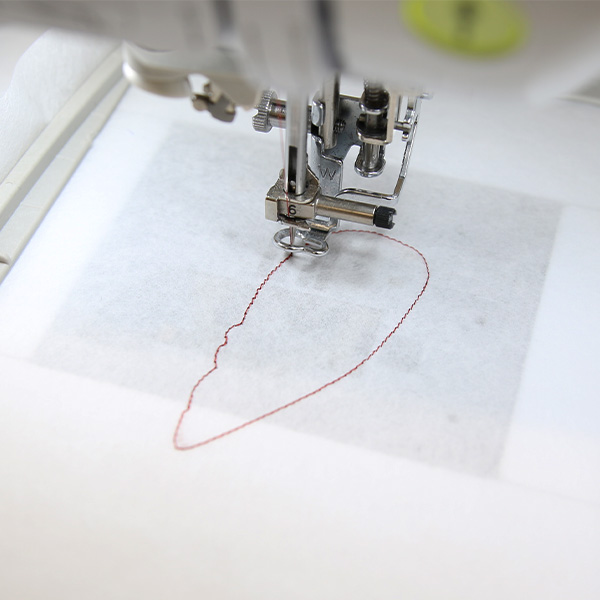
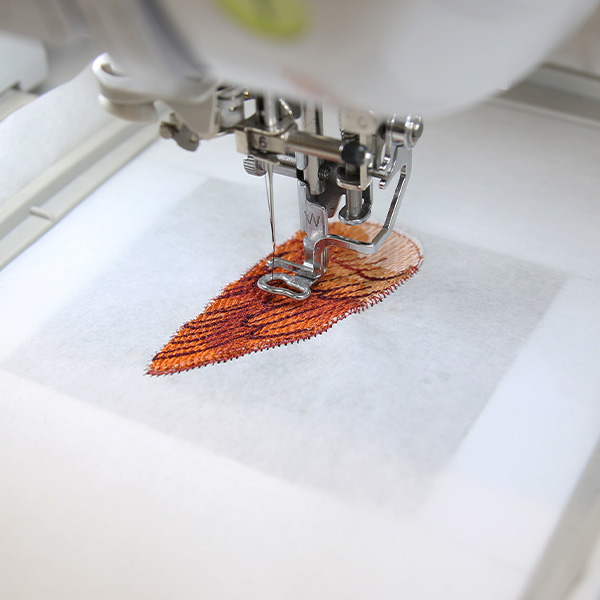
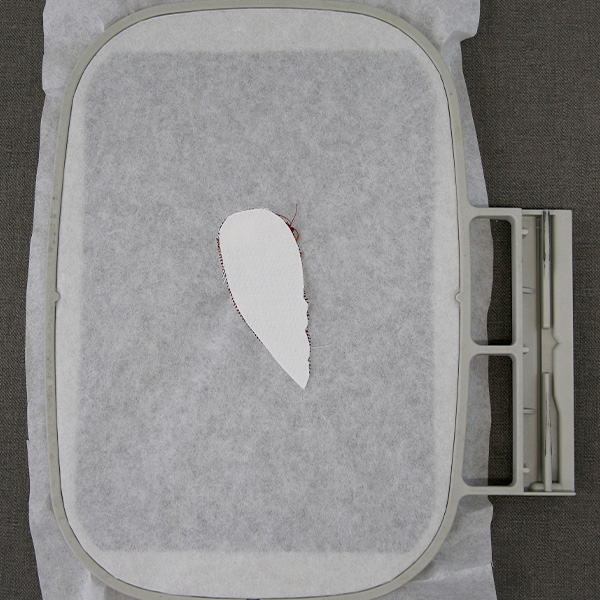
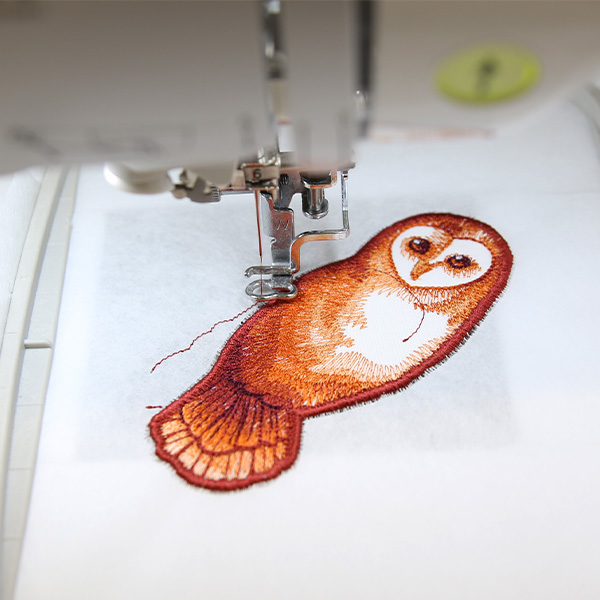
Begin to embroider the design. The first thing to embroider will be the dieline (or outline stitch) for front fabric piece. This will mark on the stabilizer where the fabric pieces will be placed.
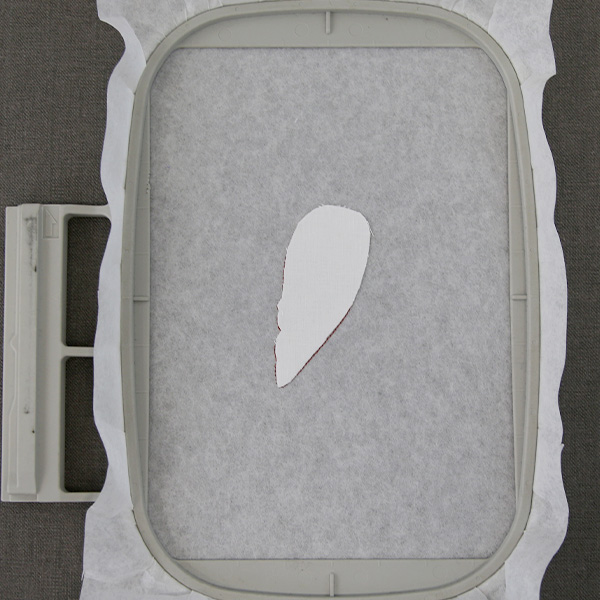
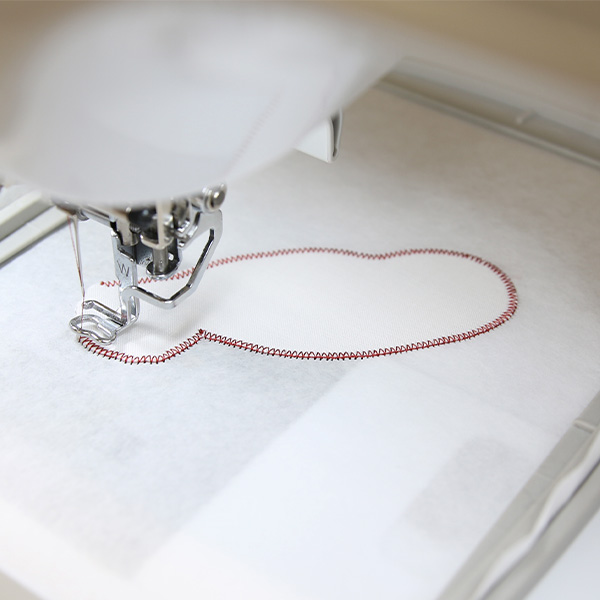
After the dieline has sewn, remove the hoop from the machine but do not unhoop the stabilizer. Spray the stabilizer side of the front fabric piece with temporary adhesive. Smooth the fabric piece onto the stabilizer inside of the sewn dieline.
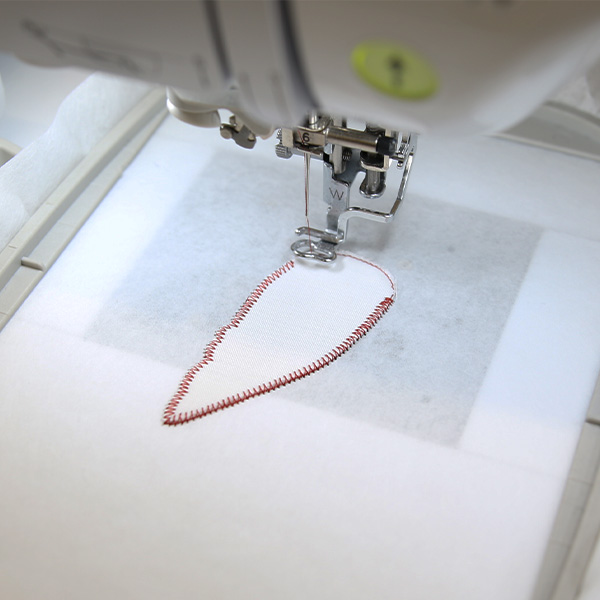
Then, place the hoop back onto the machine and embroider the tackdown for front fabric piece. The tackdown will hold the fabric piece in place for the remainder of the design.
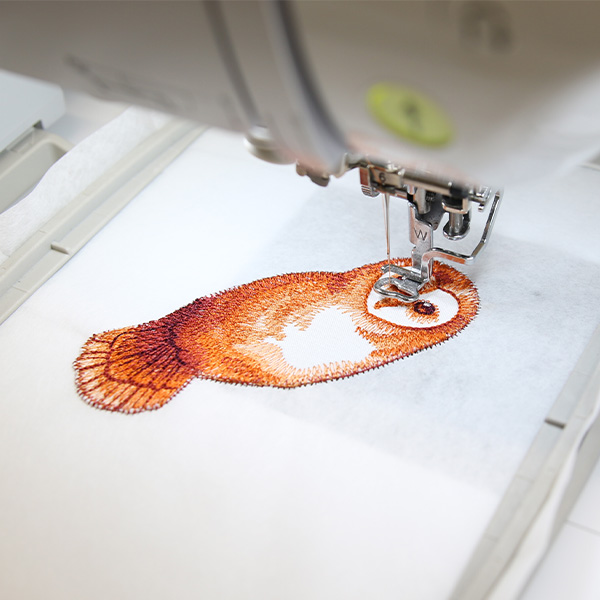
Follow the color change sheet and continue to embroider the details. Stop before sewing the back piece tackdown.
Remove the hoop from the machine but do not unhoop the stabilizer. Flip the hoop over, so the back of the hoop is facing up. Spray the wrong side of the back fabric piece, and smooth it into place on the back side of the hoop inside of the embroidery shape.
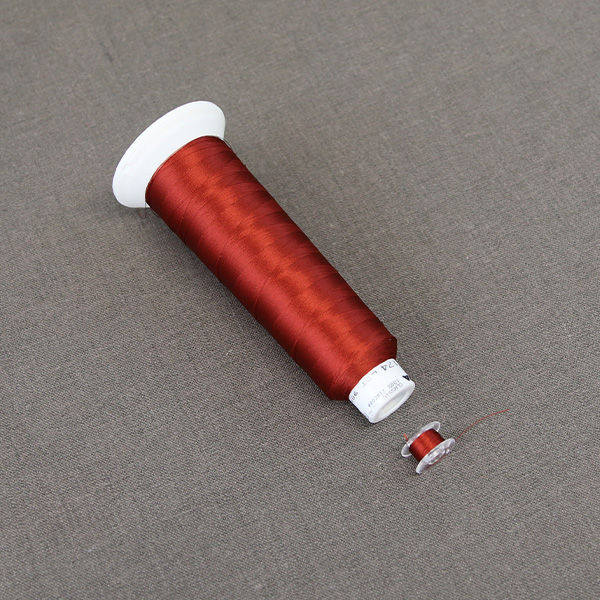
Since the embroidery of the tackdown and finishing border steps will be seen on both the front and back, wind a bobbin with the same thread being used in the top needle.

Load the matching bobbin into the machine, attach the hoop, and continue to embroider the design. A tackdown will sew first to hold the back piece in place. Then a final border will sew around fabric edges. The top edge will not get a final border yet. Along this raw edge is where this piece will be sewn onto the second piece later.
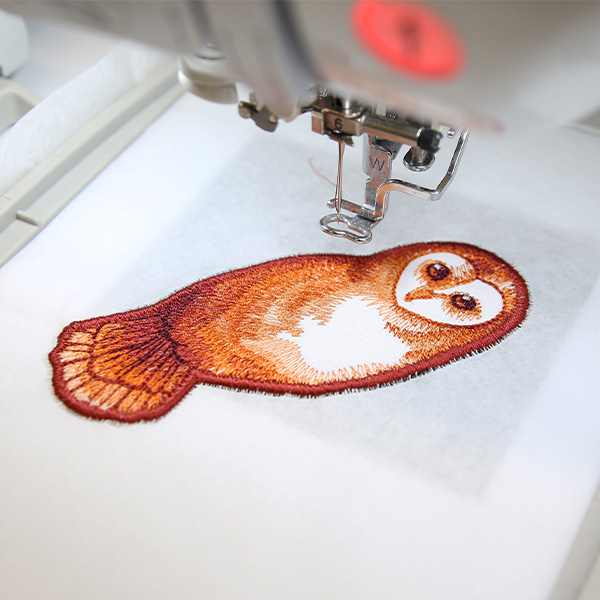
Once the first file has finished embroidering, unhoop the stabilizer, and tear away the excess stabilizer from around the design. This will be the 3D piece of the bookmark. Set it aside for now, and it will get attached at the end of the second embroidery file.
Hoop a new piece of tear-away stabilizer firmly, and place it on the embroidery machine.
Load the second embroidery file on the machine (labeled with a "b"). Then, embroider the design. The first thing to embroider will be the dieline (or outline stitch) for the second file's front fabric piece.
After the dieline has sewn, spray the back side of the front fabric piece with temporary adhesive and smooth it into place inside of the sewn dieline. Then place the hoop back onto the machine and embroider the front piece tackdown.
Follow the color change sheet and continue to embroider the details. Stop before sewing the back piece tackdown.

Remove the hoop from the machine but do not unhoop the stabilizer. Flip the hoop over, so the back of the hoop is facing up. Spray the wrong side of the back fabric piece, and smooth it into place on the back side of the hoop inside of the embroidery shape.
Match the bobbin for all of the remaining embroidery steps as they will be seen from both sides of the finished bookmark.
Attach the hoop back onto the machine, and continue to embroider the design. A tackdown will sew first to hold the back piece in place. Then a final border will sew around fabric edges.
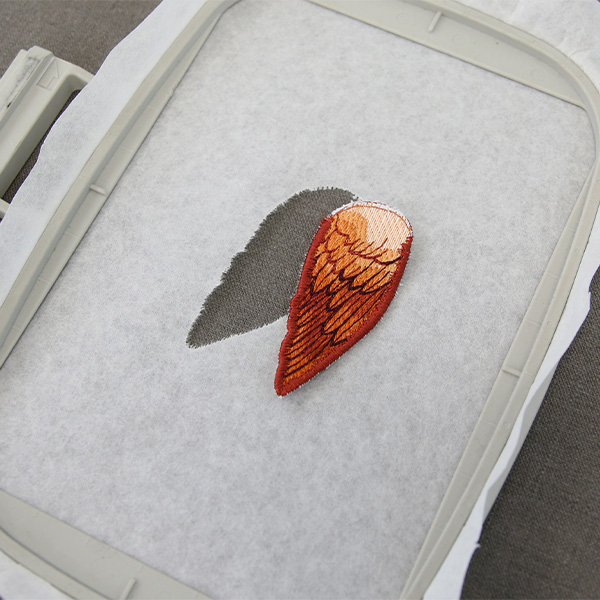
Next, placement lines will sew. These lines show where to place the 3D piece that was made while embroidering the first file (file "a").
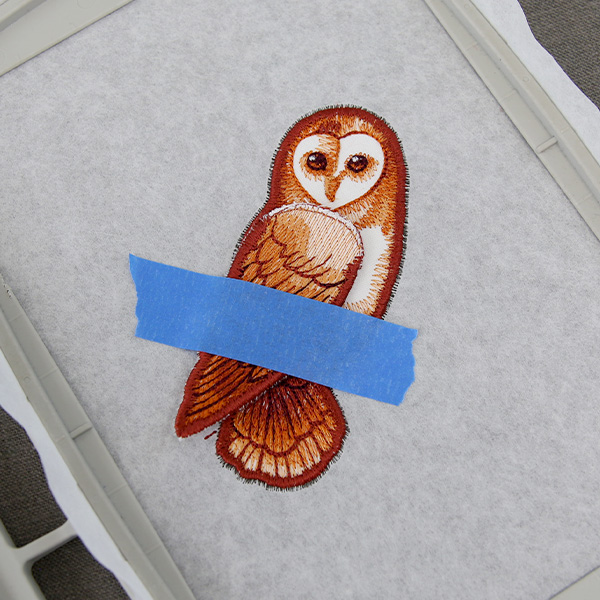
Remove the hoop from the machine but do not unhoop the stabilizer. Spray the wrong side of the 3D piece, and place it inside of the sewn placement lines.
For best results, only spray temporary adhesive along the raw edge without the border, and use tape to secure the rest of the 3D piece in place. This will help the bookmark be less sticky from the spray adhesive, so you can use it sooner.
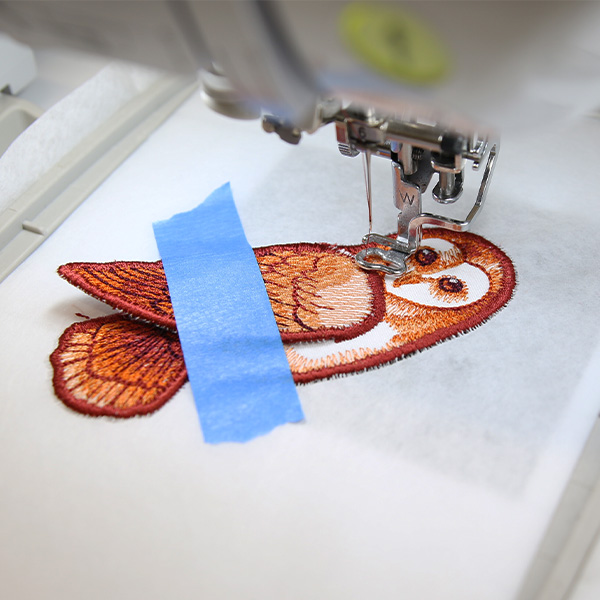
Place the hoop back on the machine, and embroider the rest of the design. A tackdown step will sew first to hold the 3D piece in place, and then a finishing border will sew to finish the raw edge of the 3D piece. Use a matching bobbin for these steps as well.
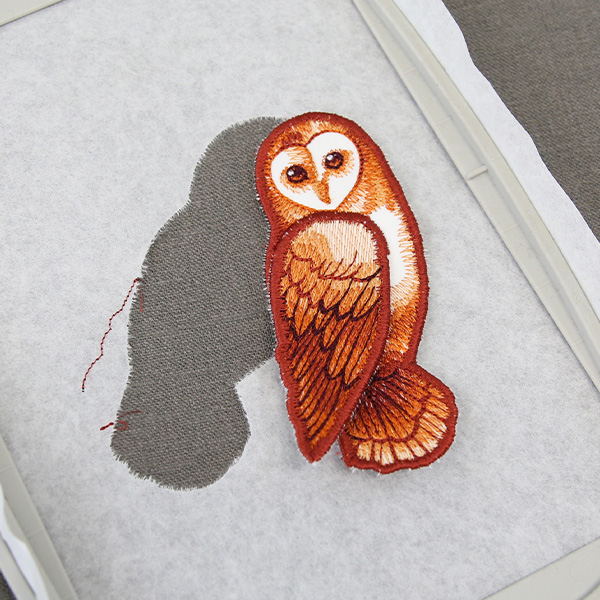
Once the second file has finished embroidering, unhoop the design, and tear away the excess fabric from around the bookmark.
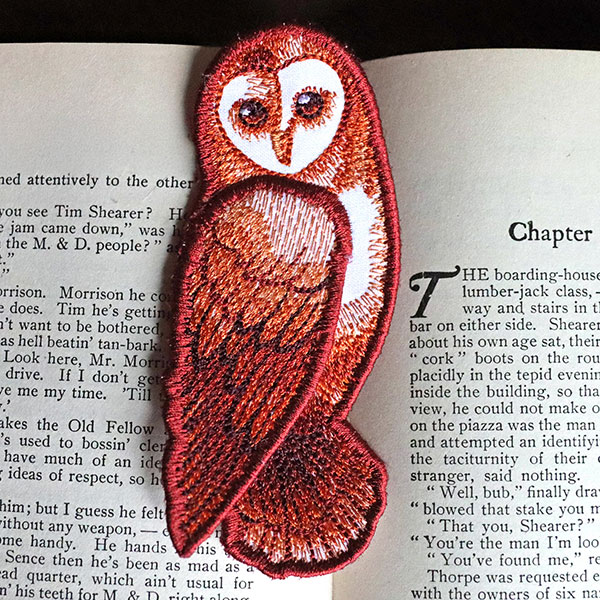
Enjoy tucking this bookmark into your favorite book, marking your page while journaling, or make one to gift to the reader in your life.


