Trick or treat?! It's time to prep your home and office space with this spooky and lovely freestanding lace coffin! This simple creation makes a great candy dish and is perfect for Halloween parties and festive decor.
Supplies
To craft your freestanding lace coffin, you will need:
- Coffin (Lace) embroidery design
- Rayon thread (40wt.)
- Hot glue gun and glue
- Hand-stitching needle and matching thread
- Optional: spray starch
- Optional: permanent marker to match your thread color
Designs Used
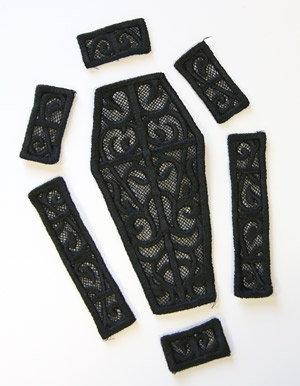
Begin by stitching the eight pieces of freestanding lace onto water-soluble stabilizer using 40 wt. rayon thread for best results.
Once you're done stitching, rinse and dry each piece completely (here's more on stitching freestanding lace).
This is how the pieces will line up to stitch. (The two large pieces, for the bottom and lid, are identical.)
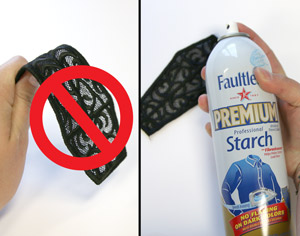
Don't let your pieces flop! Use spray starch to stiffen them up a bit.
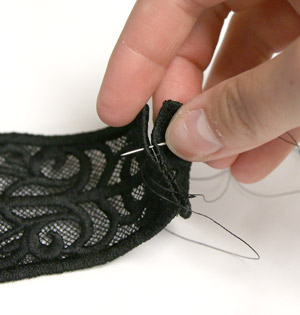
Start by hand stitching or hot gluing your pieces together. I like to place the front sides of the lace inward facing each other, then use a whip stitch over the edges.
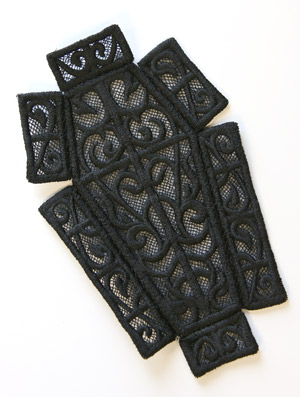
This is what it will look like once you've stitched all of your side pieces to your main coffin piece.
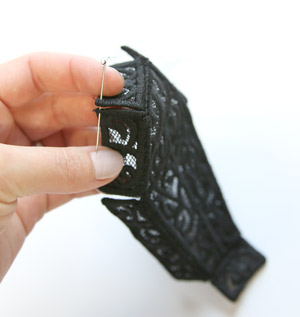
After you've stitched all of your side pieces on, stitch up the sides together.
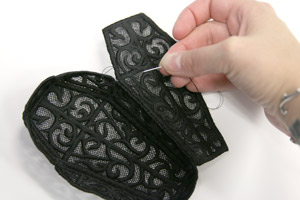
Next, stitch one long side of your coffin lid on.
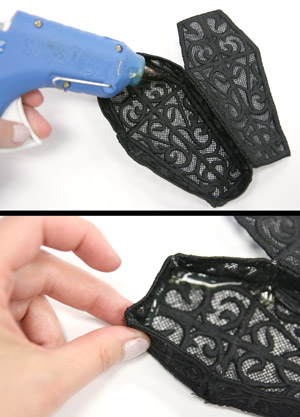
To strengthen and reinforce the shape of my coffin, I ran hot glue along each seam and gently pinched the edges up and together.
Once the glue is dry, you can use a matching permanent marker to "cover up" and discguise the hot glue. (This works best with black thread and black marker.)
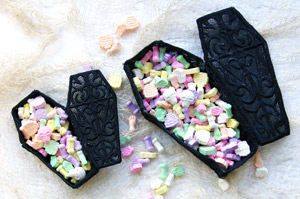
When you're finished, and the glue is dried, fill your coffin up with some sweet treats! This lovely lace creation is perfect for Halloween parties as take-aways, or as a home decor piece.
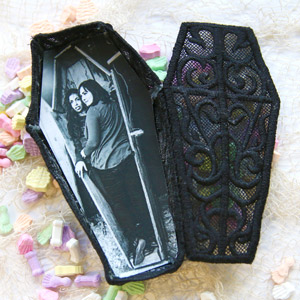
You can also put creepy pictures of your friends into your coffin! No matter how you dress it up, this is a unique find for the season of mischief.


