If you’ve downloaded our lace fascinator pieces, you might be wondering, how exactly do these things work together? Well, they can work in any number of ways, actually, but today I’m going to show you a quick and easy way of making them, gluing them together, and decorating them with the greatest of ease!
You can make this fascinator for any occasion. Today, I’m going to make mine suitable for a glorious wedding accent, in pretty white hues and delicate beading and feathers. Follow along with me and I’ll show you just how simple it is.
Supplies
To make your lace fascinator, you’ll need:
- The machine embroidery design
- Barrette or headband to attach your lace
- Hot glue gun
- Water soluble stabilizer
- Feathers
- Thread and some empty bobbins
- Beaded accents (found in the wedding aisle of my local craft store)
Designs Used
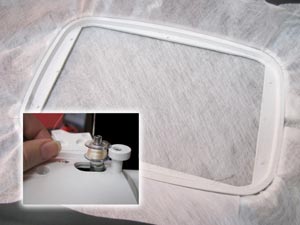
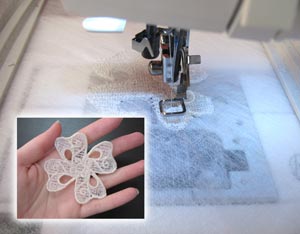
We’ll start by sewing out our lace pieces. Remember, for each lace piece, you’ll need to hoop up a piece of water soluble stabilizer, and wind a matching bobbin for the lace piece that’s stitching. I’m stitching each layer of my lace fascinator a slightly different shade of white or cream.
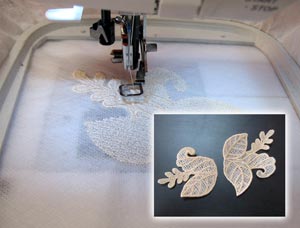
I stitched the bottom two pieces out first, the leaf pieces. After they’ve finished stitching, soak them in water according to the directions on your stabilizer, and pat them dry.

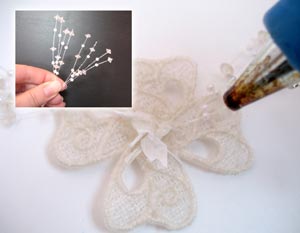
I’m going to assemble each layer one at a time - that way it’s easier to control all the elements. First, I slightly overlapped the two leaf pieces as shown, and used my hot glue gun to secure them together. Next I grabbed some of my looped beaded accents.
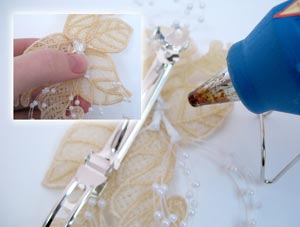
I glued the beaded accents first to the back of the lace leaves, and then glued the back of it to the top of my barrette. Try to keep most of your heavy gluing to the middle, where it will be more easily hidden by the top layers.
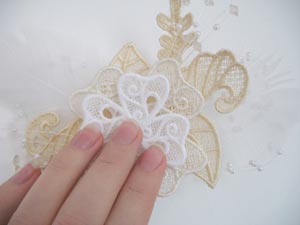
Always look at your lace fascinator from the front before the glue sets, to make sure your beaded accents and such are where you want them, and that you can’t see any of the wire edges from the front.
This is what mine looked like from the front. Don’t worry too much if you’re starting to see the glue or the wire edges through the lace in the middle; it’ll be covered up soon.

As well as the looped beaded accents, I thought some fluffy white feathers would be fun and elegant. I glued them onto the back of my clip as well.
Next, stitch out the larger of the lace flowers. Remember, if you’re sewing each of your lace pieces in a different color like I am, you’ll need to wind a new matching bobbin for each.
For this piece, I took some of my straight beaded accents, and glued them to the back of the new flower. As you’re building your fascinator, try and keep each layer as flat as possible, or it might start getting too bulky as the layers add up.
I then glued the flower, with its beaded accents on the back, to the rest of the lace. It’s nice to layer a few of the beaded accents in between the lace layers for a more dimensional effect, instead of having all the accents at the very back.
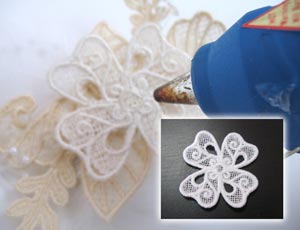
Finally, stitch out your last little lace flower, soak it to remove the stabilizer, and a dab of glue to the middle of your large flower.
If you like, you can keep adding beaded accents or feathers before you add your last and final flower top.
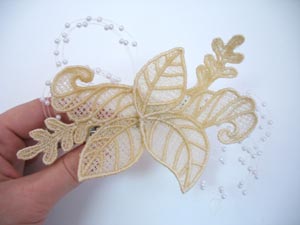
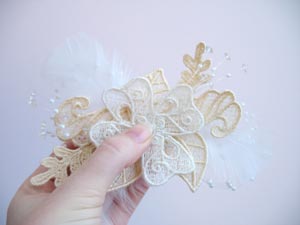
If you’re happy with your accessories, place that last flower down on top of the large one, and your fascinator is finished! Of course, you could always keep adding a few more touches - a jewel to the center of the top flower, more feathers, whatever you like.
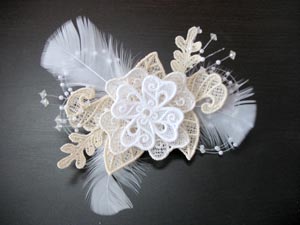
In no time at all, you have a wonderfully embellished lace headpiece that makes a perfect accent to everything from party dresses to wedding gowns.
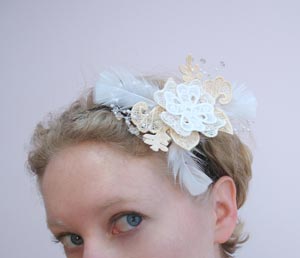
Clip it to your hair for a handmade elegant accent. It instantly adds a bit of class to the simple headband I was wearing today.
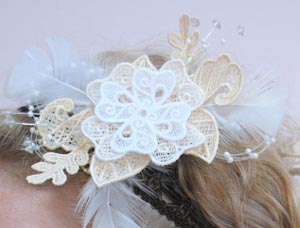
Beautiful beading, lace layers, and feathery touches look gorgeous together but are simple and cheap to make!
Enjoy your new lace fascinator for all occasions, knowing not only are you glamorous, but you’re crafty too.


