Simple and sweet, this lace kite is sure to take flight into all kinds of projects, from mobiles to wall hangings and more. Plus it's super easy to assemble!
Supplies
To make your lace kite, you'll need to stitch out the lace kite embroidery design. If you need a refresher on how to stitch freestanding lace, click here.
I would recommend stitching the bow design multiple times for a nice long kite tail. Once you have your pieces dry and ready to go, we can start assembly.
Designs Used
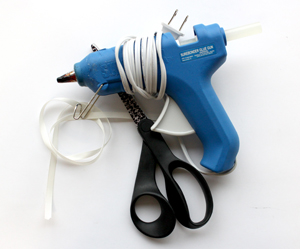
The simplest way to assemble your kite is with a ribbon, scissors, and some hot glue.
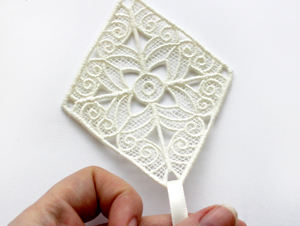
First, wrap your ribbon through the bottom loop of the kite.

On the back, secure the end of the ribbon to itself with a dab of hot glue. While you're gluing that area, you might as well also add a dab of glue to one of your bows, and glue it to the front of the ribbon. This will help hide where the ribbon connects.
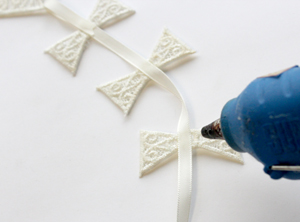
Continue adding glue and more bows down your ribbon.
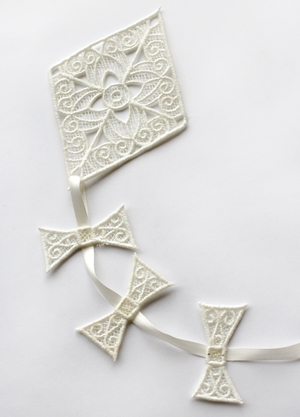
That's pretty much it! You can add as many bows as you like down your kite "string," it all depends on what you want to do with it.
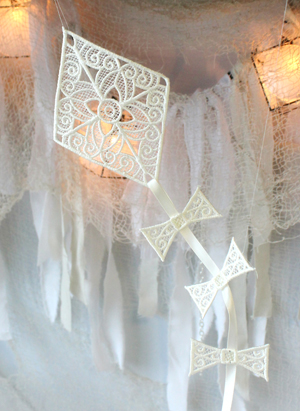
Hang it up just as it is for a darling accent, incorporate it into a mobile, hang it from a window and let the light shine through as your kite sails through the sky!
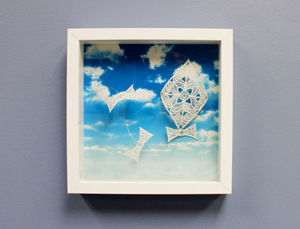
You could even skip the ribbon and mock it up in a fun shadow box diorama in rooms that need a little breath of fresh air. Assembly is simple, so have fun with it!


