Many of us remember Polaroids, even if only as a somewhat vague phenomenon. They were those great photos that were the closest thing to instant selfies and instagrams before the smartphone took over the world. There's still quite a nostalgic charm to the original instant photo look, and now you can bring it back in a classy and crafty new fashion... with lace instant frames!
Supplies
These lace "frames" are meant to evoke the look of old film, but they just happen to be perfect for today's modern equivalent - Instagram photos! (Or really any square photo you wish.) Strung up in a cute frame, it's a fun way to bring the digital back into the physical world.
To make your lace memory frame, you'll need to stitch out the lace Instant Frame design. If you need a refresher on how to stitch freestanding lace, click here. You will also need...
- A large blank frame
- Printed photos (around 2.75 inches square)
- Twine or string
- Scissors
- Hot glue
- Small wood clothespins
Designs Used
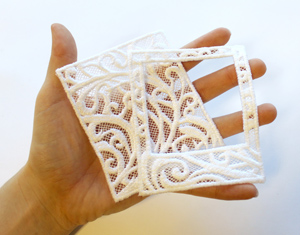
Let's start with those frames. Each frame is two lace pieces, a back and an open frame front.
You'll want a bunch of these lace pieces to hang up multiple photos in your large memory frame. How many is up to you! I started with five. It's always easy to add more as the memories grow!
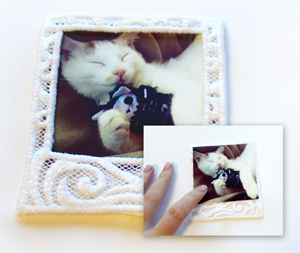
To assemble your photo in a frame, it's first best to test the placement. A 2.75" square photo fits best, but it should be noted that you will lose the edges of the photo at this size. It's more secure within the frame, but if you don't like how it crops your photos, make them a little smaller.
I tried my first photo out in the frame, and it looked pretty good with the size I chose. Now to assemble it!
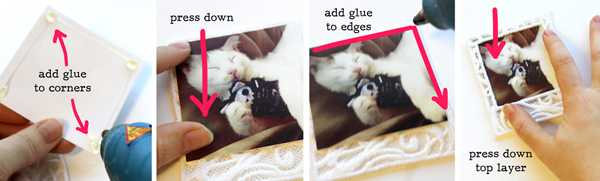
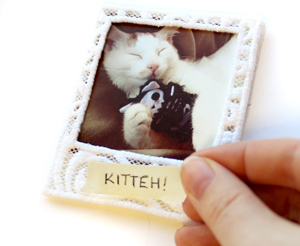
Start with the photo. Add a dab of hot glue to the four corners, and press it down in place in the top section of your frame backing. Remember to keep it a little bit high so it peeks through the front frame correctly. Once your photo is glued to the back, run a line of hot glue all around the edges of the back lace piece. With the glue still hot, carefully place the top lace frame, and press down. Squeeze along the edges and take care they all line up straight. The glue will dry pretty quickly, and create a nice strong bond.
That's it! Just two pieces of lace, a photo, and some hot glue is all it takes to create a cute keepsake! Continue assembling the rest of your photos in their lace frames. Once they're done, set them aside for a moment.
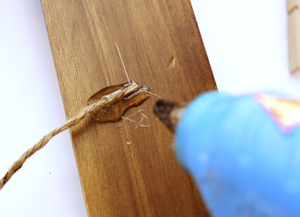
Now it's time to add your twine to your frame, so you have something to clip your photos to. Start with a long uncut piece of twine, and glue one side to the back of your frame, about five or so inches down from the top right side.
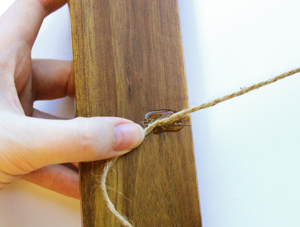
Once that side has dried, stretch the string across to the other side in a zigzag pattern a few inches down from your first spot. Glue that piece in place.
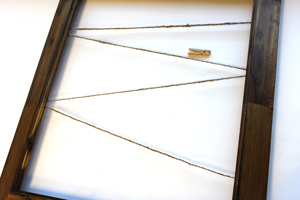
Continue zigzagging your string across the back of your frame, so you have lots of places to clip your fun new lace photos. If you don't care for the zigzag, just go crazy! More string offers more places to clip photos.
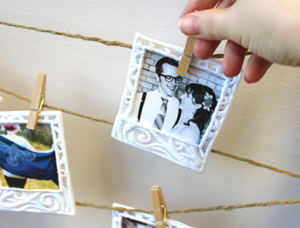
With your glue dried, you can now clip your photos in place.
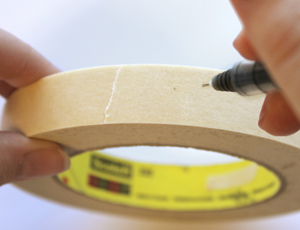
But wait! As an extra bonus, you could add a small tape tag to the bottom of your photo frames, similar to the way you used to label instant photo prints. This is totally optional, but gives it a cool DIY retro vibe.
Write your caption out and add it to the blank area at the bottom of your frame.
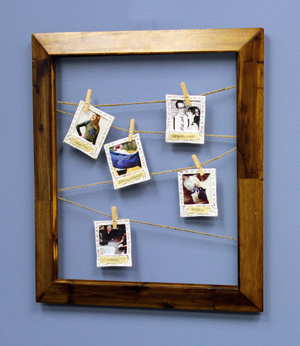
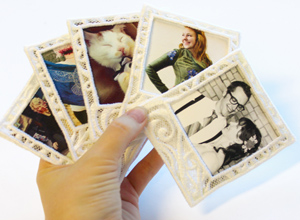
And you're done! Clip those cute photos in place and proudly display your favorite memories, from cell phone pics to selfies, and beyond.
This frame makes great decor for bedrooms and craft rooms, or as gifts for someone to remember special moments. Make one with all your favorite photos for Mom on Mother's Day or as a collage or special moments for a friend!
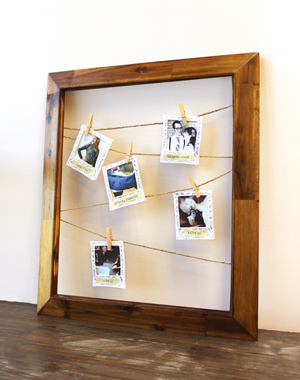
It can always be changed out or added to, and can quickly become a crafty keepsake of fun moments not stored only on the internet. Bring back the joy of having real photos around, and display them in an equally fun and nostalgic way!


