All Hallows' Eve is creeping closer, and whether you’ve got a big masquerade bash in the works or just plan on enjoying a bottle of wine while greeting your neighborhood ghouls and goblins, it’s always a little fun to dress up your surroundings for the occasion. Stitch this simple little bottle cover that easily slides onto any bottle and makes it a spooky addition to any party.
Supplies
So, to make your simple bottle label, you’ll need:
- Awesome Witches Brew in-the-hoop label design (the medium size is shown here)
- Dieline templates (here's how to get them)
Fabric (it’s OK if it frays, as long as you’re into that look) - Tearaway stabilizer
- Cutaway stabilizer
- Scissors (also, I learned later a small sharp scissors is also handy!)
- Ribbon
- You may want temporary spray adhesive to keep your pieces in place while they stitch
You’ll also want a bottle of wine, eventually. But then again, when isn’t that something you’d want?
Designs Used
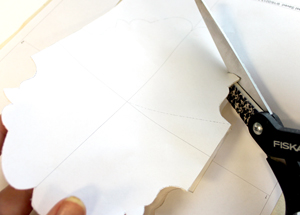
Let's start with our fabric pieces. We need to cut them out with the help of the dieline file (it'll come with the embroidery design and have "dl" at the end of the filename). Here's how to print or stitch dieline templates.
You'll want to cut out two label-shaped fabric pieces using the dieline template. For one of them, use a bit of temporary spray adhesive to stick some cutaway stabilizer to the back of the fabric, before you cut out the piece. Carefully cut out each piece using the template shapes.
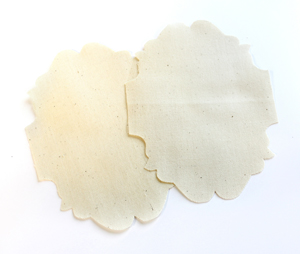
You should have two fabric pieces ready to go. One will be the front of your label (that should have stabilizer on the back); the other can be just fabric. Hoop up a piece of tearaway stabilizer.
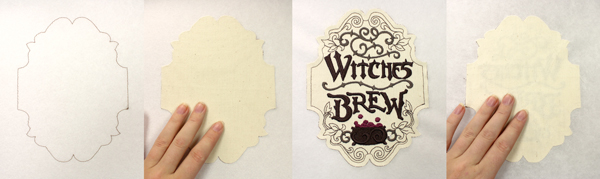
Your machine will start by stitching a dieline. Once this has stitched, spray the back of your front piece with temporary spray adhesive and place it carefully inside the dieline. Start your machine stitching again. It will sew a tackdown, and then all the inside elements like text and accents. When it finishes stitching your text, turn your hoop over (but DON’T un-hoop it) and spray and add the back piece.

There will be one more tackdown, that will stitch these two layers together, and then three satin stitch circles will sew on each side. These are where we can cut out holes to lace our label.
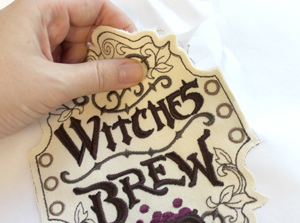
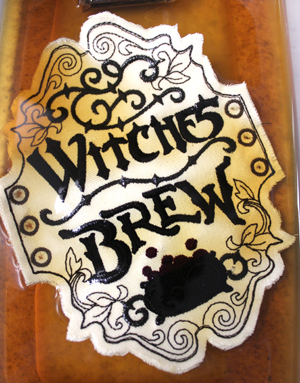
When your stitching is done, you can tear your label free from the stabilizer.
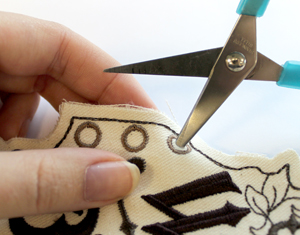
Now taking a small sharp scissors, you can punch through the fabric inside the stitched grommets. Work your scissors in there but don’t be so aggressive you slice through the satin stitches.
If you just cut the fabric, the satin borders will keep it from fraying further. If you wish, you can also cover these holes with real metal grommets, as in this tutorial.
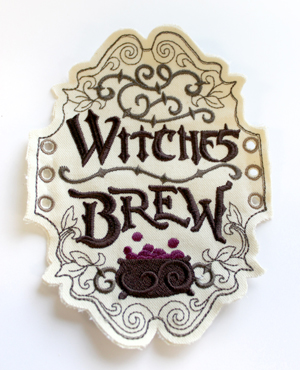
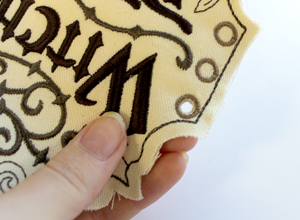
Here’s my label with all the holes cut out and ready!
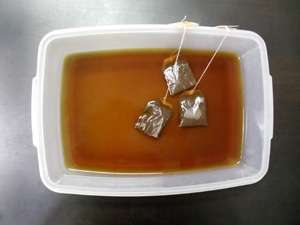
Now here’s an extra step that is totally optional. You can boil up some water, and pour it into a flat container with a few tea bags. Let it sit until the tea is cold.
If you want your label to have an extra air of vintage creepiness, toss it into the tea! The tea will stain the label a nice vintage brown. As stated before, this is totally optional!
The longer it sits, the darker it will get. When you’re happy with it, pull it out and let it dry.
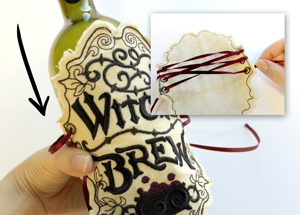
Now the final easy step! Cut a long length of ribbon, and lace it up like a shoelace (or a corset, depending on your perspective) at the back of the label.
Pull the ribbon away from the label at the back, and slip it over your wine bottle.
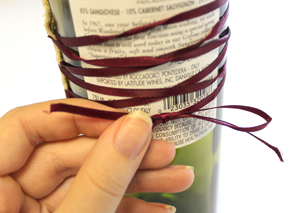
Tighten up those laces at the back, and tie it up in a neat little bow! This method means it will fit on any size bottle easily!
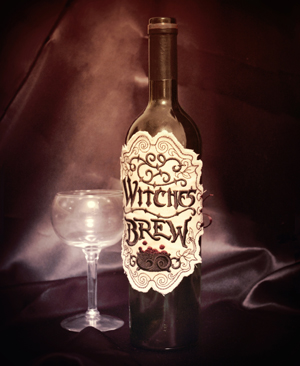
Your spooky new wine is ready to serve to your ghouls and goblins. Make a cover for the wine you bring to a party and leave it as a Halloween hostess gift! If you’re hosting yourself, make a bunch to cover your wine choices and get some fun and spooky bottle toppers to help guests choose wine.
Any bottle can become a witches brew just right to let the “spirits” flow during this dark and spooky season.


