Craft light and lovely flourishes with layered organza embroidery! These specialized designs come together in the hoop, combining multiple layers to create a beautiful finished motifs. Follow the step-by-step instructions below to stitch your own!
Supplies
To create your multi-layer organza design, you'll need:
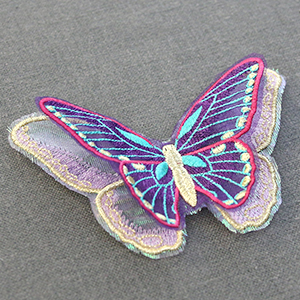
- Multi-layer organza design. We're using Enchanting Butterfly (Freestanding Organza)
- 1/4 yard of organza for the top layer
- 1/4 yard of organza for the bottom layer
- Water-soluble stabilizer (such as Vilene or Sulky Ultra Solvy)
- Temporary spray adhesive (such as Gunold KK100)
- Embroidery thread
- Scissors
Designs Used
These layered organza designs have been specially digitized to sew on organza hooped with a piece of water-soluble stabilizer.
After the excess organza is cut away and the stabilizer is removed, beautiful embroidery and organza remains.

There are a couple of different kinds of water-soluble stabilizer. One is clear and plastic, and that brand is Sulky Ultra Solvy. The other is soft and fibrous, called Vilene. Both work well. Vilene is used in this demonstration.
Use a size 11 or 75/11 sharp sewing needle. A sharp sewing needle has a smaller, finer point than an embroidery needle. That means it will make smaller holes in the stabilizer.
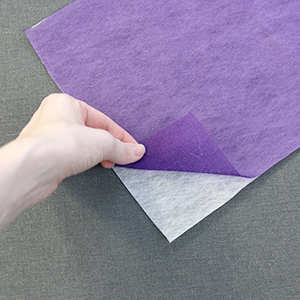
Cut a piece of both organza and water-soluble stabilizer that are larger than the hoop. Spray the water-soluble stabilizer with temporary adhesive, and smooth the piece of organza on top of it.
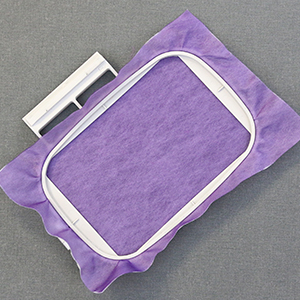
Hoop the organza and water-soluble stabilizer together firmly. Make sure it is nice and taut with no wrinkles.
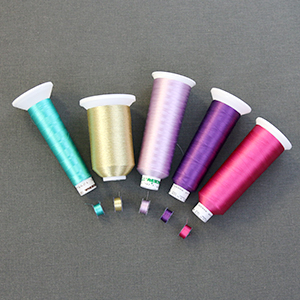
As these designs will be seen from both sides, wind a bobbin to match every thread color used in the design.
It is very important to sew out the first embroidery file (file "a") before sewing the second (file "b"), as file "b" sews the two files together.
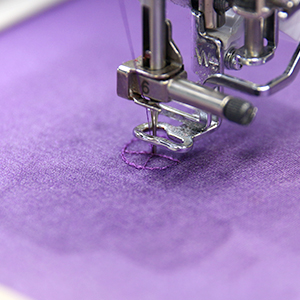
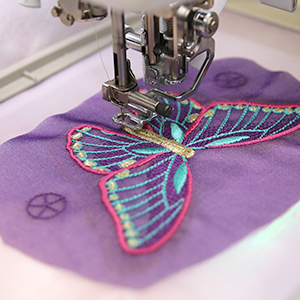
Attach the hoop to the machine, and load the first embroidery file (file "a"). Follow the color change sheet, and embroider the "placement dieline". These two marks will later help with the placement for file "a" on top of file "b".
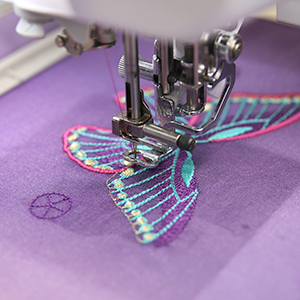
Then follow the color change sheet to embroider all inner details, and the outer border.
Once all the embroidery is finished, unhoop the embroidered organza and stabilizer.
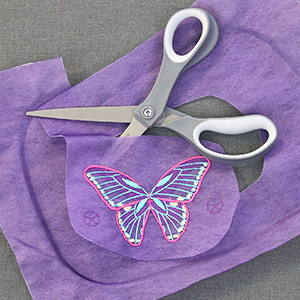
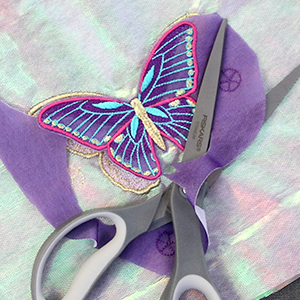
Leaving a 1/2" margin of organza around the embroidery, cut a circle around the embroidered design and the two placement markers.
Do not cut perfectly around the design yet, as some embroidery details in the second file (file "b") may sew over or past the outer borders of this first piece (file "a").
After the top piece (file "a") is sewn out, hoop another piece of organza and water-soluble stabilizer that are adhered together with temporary adhesive.
Still matching all bobbins, embroider the "placement dielines" and the inner details, if there are any.

Without unhooping the second fabric piece (file "b"), take the top piece (file "a"), and spray the wrong side with temporary adhesive.
Lay it on top of the hooped piece (file "b") with the wrong side of the "a" piece facing down against the right side of "b".

The "placement dielines" are circles with a star inside. There is one on the left and right sides of the design.
To place the pieces correctly, match up the edges of the circles, and then rotate the top layer piece (file "a") until the points of the stars match up as well. Matching up the points of the two sets stars will allow the two layered pieces ("a" and "b") to be lined up nicely.
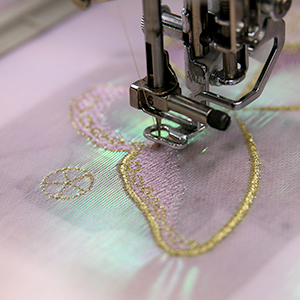
Then place the hoop back on the machine, match the bobbin, and embroider the "top layer tackdown". This will adhere the top piece (file "a") in place on top of the hooped "b" file.
Once all the embroidery is finished, unhoop the design, and carefully cut around the outer edge of the "outer borders".
Cut as close to the embroidery as you are comfortable, but make sure not to cut into the embroidery. If you accidentally cut the embroidery, using a small amount of clear fabric glue can help adhere the stitching in place so it does not unravel.
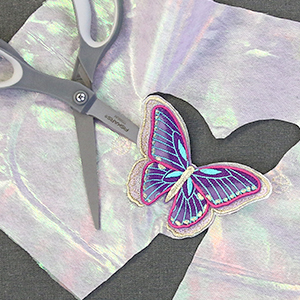
Continue to carefully cut around the outer edge of the "outer borders" until both the "a" and "b" layers are all cut out. The dielines will also be removed when cutting out the final shapes.
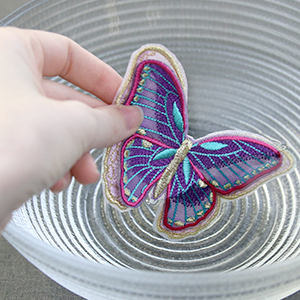
The stabilizer's packaging should give instructions for removing the remaining water-soluble stabilizer. For Vilene, soak the embroidered layered organza design in water for a few hours.
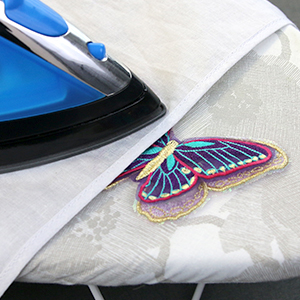
Allow the design to air dry. If needed, press the layers with a pressing cloth on top to remove any wrinkles in the organza.


