We all have our plethora of tech gadgets these days, and given how unreasonably attached we get to some of them (and of course the decent amount of green we put down to get them) it’s not all that illogical that we would want to keep them safe. There are all kinds of cases and whatzits you can buy to keep tablets safe these days, but if you just need a simple cover to keep it cozy from point A to point B, how about stitching up something yourself, in a classy cover of leather gloriously embroidered with your favorite light stitching design.
Supplies
Seriously, making these things is ridiculously easy. You’ll wonder why anyone buys 'em. Especially plain ones! Yeesh. So, to make your leather cover, you’ll need:
- Leather. This may seem a given, but leather comes in different types. Heavier leather will hold its shape better, but is a little rougher on your needle. Softer, more supple leather will lead to a softer case. Both will work, but you’ll just need to keep the weight in mind. If you need a leather punch for it, it’s too thick!
- Medium weight cutaway stabilizer
- Scrap paper to make a template
- Tape and pen
- Scissors
- Your iPad or tablet for measurements
(Tip: If you're having a hard time finding real leather, try sourcing a thrift store leather jacket!)
Designs Used
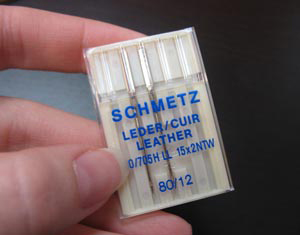
Let’s talk about embroidering on leather. Our best in-depth tutorial on it is here. Have a gander at that, but here are the basics: With leather, and especially thicker leather, you’ll want to use a special, sharper needle. You don’t want to be using leather that’s so thick you could use it for tooling. Also, scrap fabric under your hoop can help reduce “hoop burn” that can sometimes scratch your leather. Otherwise, the next most important thing is a nice, light design! Running stitch only, no satin stitch or solid fills. The new Anima collection is perfect. Big and bold, but light enough for leather.
So! Hoop up your leather with some medium weight cutaway stabilizer on the back, and some scrap fabric under your hoop to prevent burn. Especially if you have thicker leather, you’ll want to use one of those special needles. A regular needle can work, but it’s going to be a bit rough on that needle. Leather is tougher to punch through than fabric!
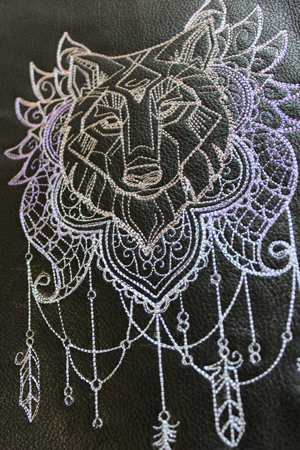
Stitch up your beautiful embroidery design. I LOVE how these designs come out on leather.
OK, once you have your leather stitched, we’re going to want to make a template for your case. Though iPads are very popular, other tablets come in all shapes and sizes, so I’ll show you and easy way to make a template no matter what your tablet size.
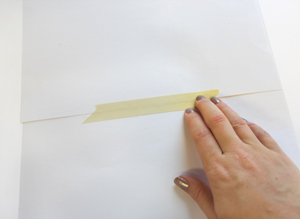
To start, tape two pieces of letter sized scrap paper together. Once piece isn’t usually enough to make a whole template.
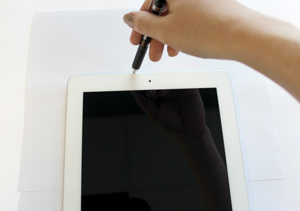
Start by tracing a straight line across the top of your tablet. Extend that line about 1/2 inch wider than the tablet itself, out to the sides.
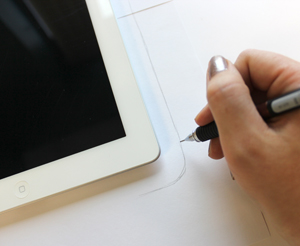
Now extend that line down around your tablet, keeping about 1/2 inch away from all sides. Gently curve the edges of the square at the bottom.
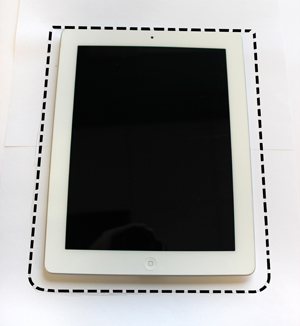
This is roughly what your template shape should look like. Flat and even with your tablet on top, and then a 1/2 inch edge all the way around, with lightly rounded corners at the bottom.
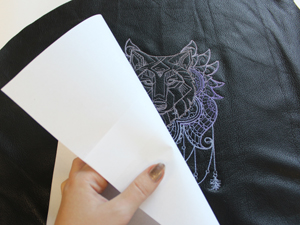
Cut out your paper template and place it on top of your stitched design. Use it to get the placement of your design just right in the template shape.
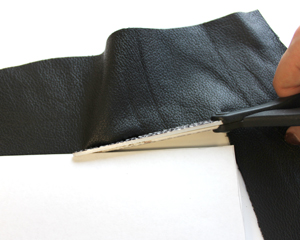
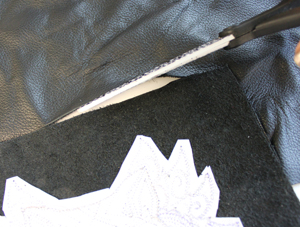
Holding or taping your template in place, carefully cut out your cover shape from the embroidered leather. This will be the front cover.
Now take that piece of leather you just cut for the cover, and turn it right side down on top of another piece of leather, and cut around it to make the back of your cover.
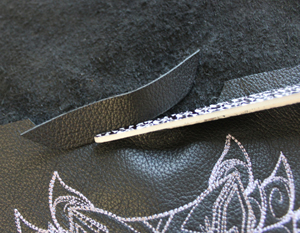
Finally, you’ll want to cut a small notch in the top of your front cover. I’d recommend folding it gently in half (this may be tough with thicker leather) and cut in a small impression, then opening it up and snipping it across, like so.
This is so you have an easy place to grab your tablet without having to dig too far into your case.
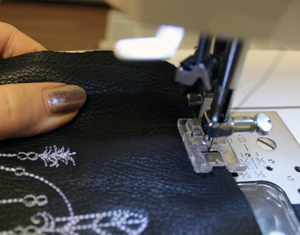
Now it’s time to stitch your cover together. Get a nice sturdy cotton thread, and set your machine to a nice wide stitch. Text your needle a few times to see if it goes easily through two layers of leather. If you’re having difficulty, now is definitely the time for that leather needle. Take it slow, and stitch a 1/4 inch seam down the side, around the bottom, and up the other side, leaving the top open.
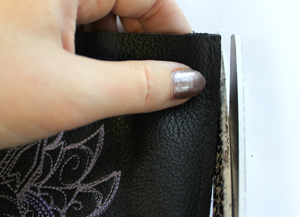
Once you’ve stitched your seam, take a nice sharp scissors and clean up those edges to get a nice, crisp edge for your case.
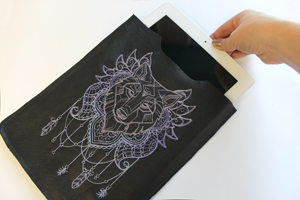
That’s it! Slide your shiny tech toy into its new fancy leather home.
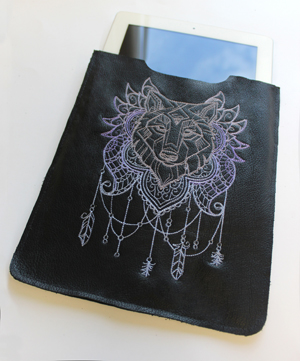
Easy, no? Light stitching embroidery brings the classic look of leather to life, and really lets it shine. Choose the animal that best represents you to guard your favorite gadgets! This softer, lighter leather makes it more of a cover and less of a “case” for your goods, but it still does a beautiful job of keeping it scratch free.
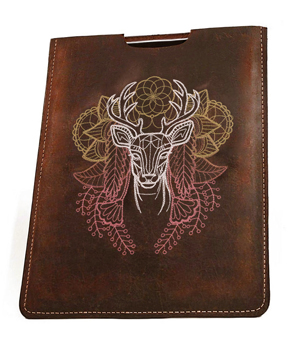
Wondering what it looks like with different leather? Thicker leather lends to a slightly sturdier case and a more fancy look, but it a bit tougher to work with, both in embroidering and stitching. It’s worth the end result, though! This is more akin to the leather we used in our original leather tutorial.
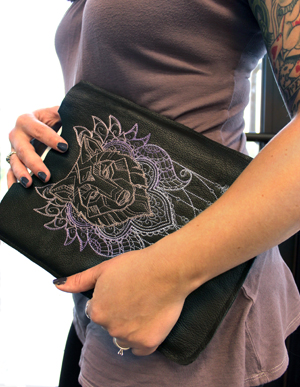
Whatever you choose, you’ll be rocking a new luxury leather case for your gear in no time. Plus you get to showcase your favorite new embroidery!


