Quilting is a beautiful craft, but sometimes it can be a little time-consuming. However, you don't always have to make a full quilt to use fun patchwork effects. I wanted to make a simple quilt block to feature our Fairytale Shadows designs, and decided that the log cabin quilt block is perfect, not only because it mimics a frame, but it’s also super simple to make! Instead of starting with a pillow size in mind, you can start with your chosen embroidery design, and work from the center out to make it a perfect frame. Then all you need to do is stuff it full to make a gorgeous showcase pillow piece for your design!
Supplies
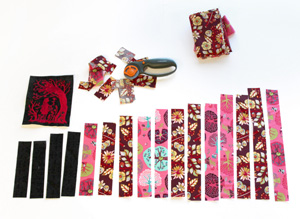
To make your own custom log cabin style fairytale pillow, you'll need:
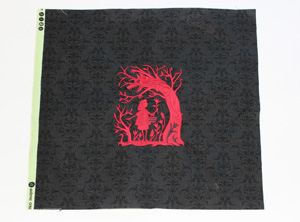
- Embroidery design from the Fairytale Shadows design pack (I used the 4.84"x5.83" Red Riding Hood design)
- Quilter's cotton (Light, medium and dark values)
- Rotary cutter (or scissors) and cutting mat
- Medium weight cutaway stabilizer and temporary spray adhesive
- Pins
- Needle and thread
- Polyester stuffing or similar pillow form
- Iron
- Log cabin pillow layout PDF
- Printed templates of the design for reference (here's how to print templates)
Designs Used
Before you begin, take a peek at the layout PDF so you know what to expect with how we're going to use our fabric.
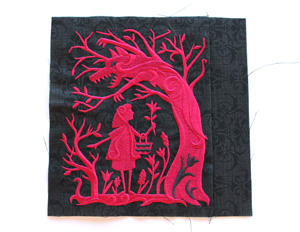
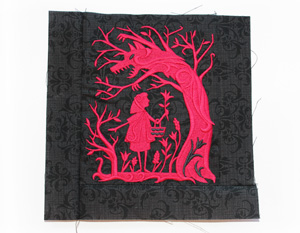
Once you know how you’re going to use all your pieces, we can start with our design. Sew out your embroidery on your fabric of choice, backed with a medium weight cutaway stabilizer. In this case, I started on the dark fabric.
With silhouette style designs such as these, it can help the effect if you match those "open" areas to the color of your fabric, in order to make it look more like negative space.
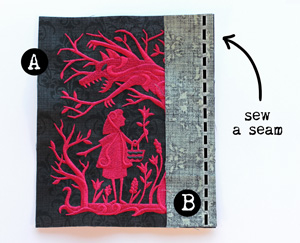
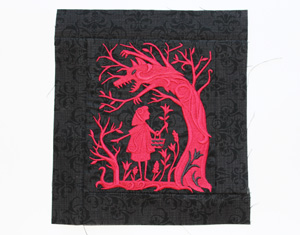
Next we’re going to cut our design space down to size. (In the layout, this is piece A)
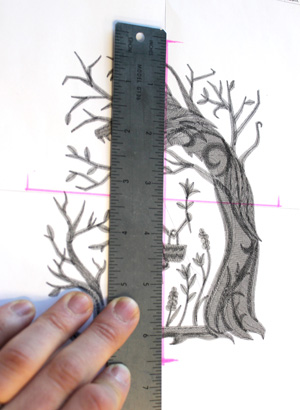
Note: Use a printed template of your design to find the center of the design, in order to get a perfectly even cut. Here’s how to print templates.
Once you’ve done that, you can center the 5.5" x 6.5" rectangle using the same point.
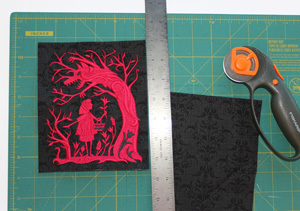
Based on your placement measurements, cut a 5.5" x 6.5" rectangle around your embroidery design.
This is your starting piece. Everything will built out from here.
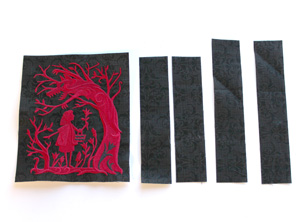
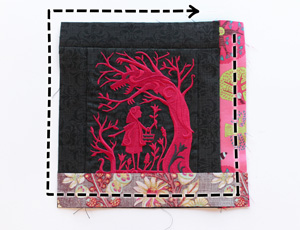
Next, cut out your fabric strips according to pattern provided in the layout. I started first with the rest of my dark fabric... (Pieces B, C, D, & E)
... then moved on to cutting the rest.
Try to keep them in order, or if it helps, label them with their corresponding letter from the pattern on the back of each fabric piece. This will help you keep them straight as you work.
As each of these strips is 1.5" wide, it can often be a great excuse to use up those strips of extra fabric you have tucked away in your fabric stash!
Now, the finished log cabin pattern may look complicated, but it’s actually pretty easy. The key is that you work outwards in a clockwise spiral. I’ll show you how.
Start by placing the A rectangle and the B strip right sides together, with the B strip lined up on the right, like shown. With the B strip facing right side down, sew a 1/4" seam allowance down the right side.
Then press your sewn seam open again, like shown. Easy, right?
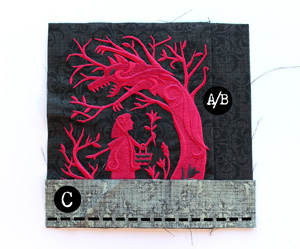
OK, now we just keep repeating this, moving in a clockwise spiral around the design, as your pattern indicates.
So that means next you place your C strip and the A/B unit right sides together, this time lining up the bottom edge. Once again, sew a 1/4" seam along the edge, and then press it open.
Continue adding strips! This shows our design with the D strip now added and pressed.
Just keep following the letters clockwise around your design as the pattern indicates, pressing each seam toward the strip you just added.
Once you get to strip E, we’ve completed the dark color frame, and it’s time to move into the other fun colors!
Keep moving clockwise. Make sure you keep track of your fabric strips, so you don’t sew one in the wrong order.
If you get confused, just check back with the pattern provided in the pdf. Once you get the hang of it, it actually goes pretty fast.
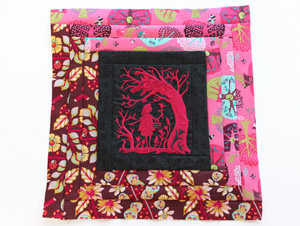
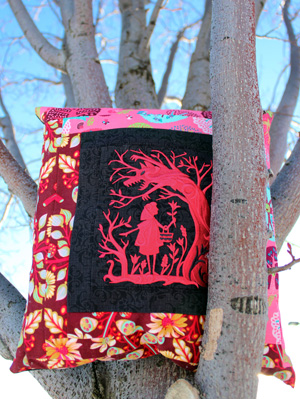
Continue adding strips until you’ve completed your frame! The finished block should be 13.5" high by 12.5" wide.
For an advanced quilter, these quilt blocks could be sewn together to make a quilt top.
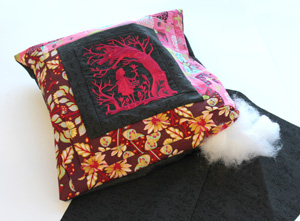
To finish your pillow, cut your final piece of fabric for the back. It should be 13.5" high by 12.5" wide, or the same size as your completed block. Place pieces right side together and sew a 1/4" seam around it, leaving a gap for turning and stuffing.
Once it’s stuffed, you can close it up with a slip stitch, and your pillow is ready to go!
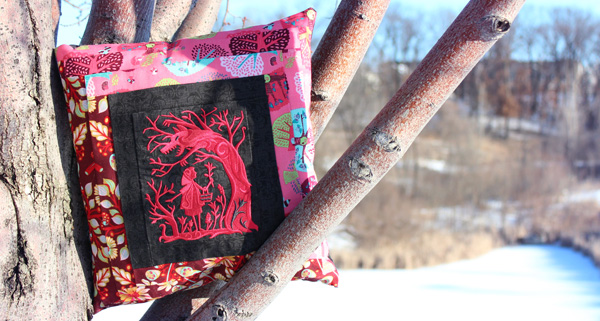
The finished pillow looks delightfully complex with its different fabric strips and colors, but now you know just how easy it is to make. It’s the perfect way to "frame" up your favorite design, and you can play with the standard log cabin pattern to create different effects using different fabric colors and values.


