Quick! You only have a short time in an afternoon to pull together a crafty and creative project. Not only should it involve awesome embroidery, but it should also help organize your crafty space. Oh! And no sewing. What are you gonna make? Huh? You feelin’ lucky, punk?
Well yes, actually, because with a few supplies an embroiderer is likely to have around, you can create this super cute no-sew wall pocket to help you keep your crafty supplies in order. It is so so simple to make!
Supplies
So to make your little wall pocket organizer, you’ll need:
- Embroidery hoop
- Back fabric (I’m using lace, but you pick whatever!)
- Front fabric
- Scissors
- Tape
- Spray adhesive (being all ninja invisible in this photo...oops)
See? Simple stuff.
Designs Used
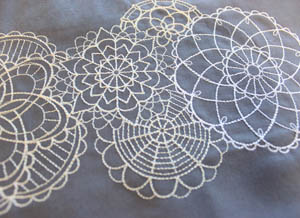
Let’s start with embroidery. Because it’s us, you know we have to put embroidery on everything. Hoop up your fabric and stitch a fun design you’d like as part of your organizer. I chose this light and lacy border design to match my lace backing.
Your embroidery can be anything! Keep in mind some of the design will be lost in the round shape of the hoop, so decorative rather than graphic is best.
You may even have some stitched samples around your studio that would work perfectly for this! Waste not, right?
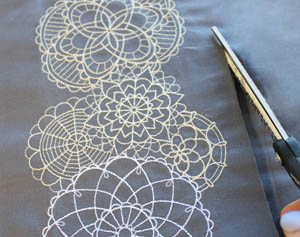
Once your embroidery is finished and unhooped, cut it just about a half an inch above where you want the fold of your pocket to be.
Of course, nothing says that the embroidery has to be the pocket piece. Maybe your stitches go on the back! But either way, whatever your pocket fabric is, snip the edge that’s going to be the top of the pocket.
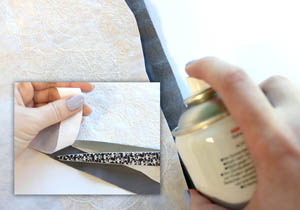
If you pocket piece is embroidered, cut away a strip of the excess stabilizer from that top edge, so the fabric can stick to itself a little better.
Grab that ninja spray adhesive (oh there it is!) and lightly spray this fabric edge.
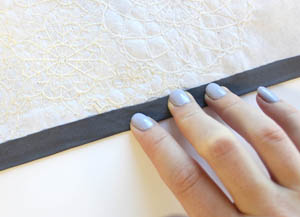
Fold and firmly press that edge onto itself, so you have a clean, crisp fold. If you wish it to be really crisp, you can even iron the fold. Just make sure it’s folded and stuck nice and tight.
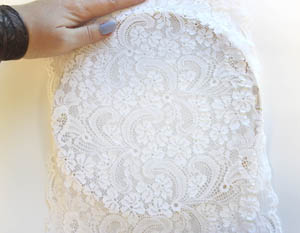
Now it’s time to assemble!
Place your backing fabric on top of your back hoop. Make sure all edges overlap the hoop for a nice tight fit.
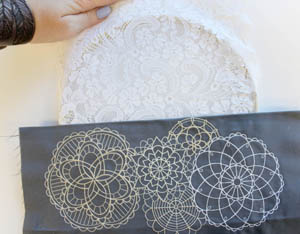
Now overlap your pocket piece, with that folded edge at the top of your pocket. You can place it as high up or as low down as you like. Just keep in mind, too low, and it won’t hold much! In the middle is good for most things.
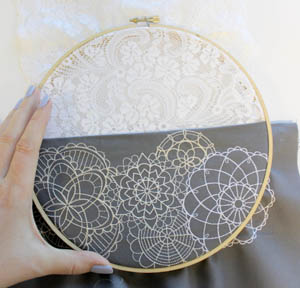
Now hoop the whole thing together! Be sure that the metal part of the hoop is lined up horizontally with your pocket edge, as it will be the point we hang our hoop from, and we want our pocket to be level!
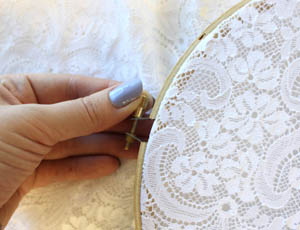
This next step is important: tighten your hoop! Start with your hand, but for best results, you may want to grab a small pliers to really get your hoop screwed on tight. This is to make sure your hoop doesn’t pop open once you load up your pocket with things!
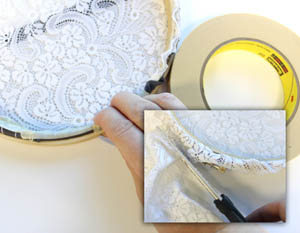
Once your hoop is super tight, flip the whole thing over.
Grab your scissors and cut off all the excess fabric save for about a centimeter of fabric you’ll fold over the edge of your hoop and tape in place. If you’re using a see through fabric like lace, you’ll want to be nice and neat with your taping. If not, don’t fret, no one will ever see the back! The point is to just get the excess fabric wrapped up and out of the way of the back of the hoop.
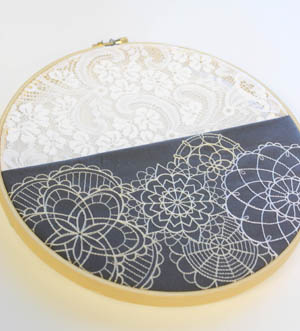
And like magic, we’re done!
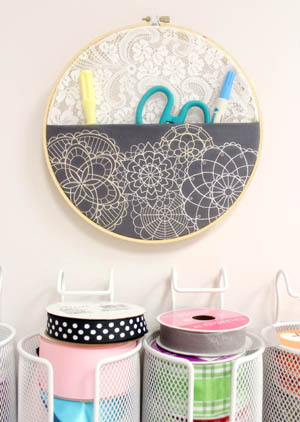
Using the top hoop tightener as a place to hang your hoop, stick it up on your wall near your favorite craft supplies and fill it up with small useful tools you’re always losing otherwise. That little scissors you use to trim threads? That screwdriver for your machine? All those little doodads are perfect for this little pocket to keep them safe and within easy reach.
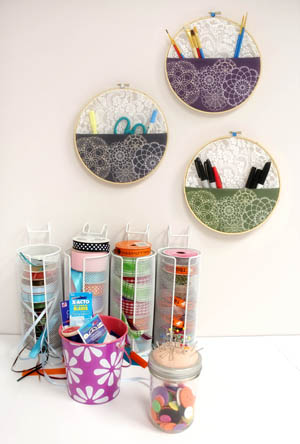
Make a whole bunch! Show off your fabric fabrics and designs all while organizing your crafty odds n’ ends. Coordinate with the same design in different color schemes, or mix it up with different fabrics, designs, even hoop sizes!
Dig into that stash of stitch tests and fabric samples. Make a whole wall of crafty pockets to decorate and organize your craft room, all in an afternoon and without even touching your sewing machine. Just stitch, fold and hoop!


