Do you have a special someone in your life? Maybe a beloved pet? Do you wish you had a special crafty way of displaying their photo? Me too.
Craft Bunny is the beloved mascot of Urban Threads, but since he lives in my studio most of the time I don’t have a loving reminder of his destructive scissors-eating ways while I’m sitting at my desk. I have plenty of photos of Craft Bunny, but no way to display them. Well, Craft Bunny and I are going to stitch up a fantastic fabric photo frame so he can have a place of honor on my cube wall. It’s easy!
Supplies
So, to make your crafty photo frame, you’ll need:
- Felt or other non-fraying fabric
- Fabric for frame
- Awesome picture frame embroidery design
- Frame templates (front and back dielines come with the frame design; either print them from embroidery software if you have it, or hoop and stitch a sheet of paper to create a template)
- Tearaway stabilizer
- Temporary spray adhesive
- Scissors
- Dashing photo of Craft Bunny (or any other beloved harbinger of destruction)
Designs Used
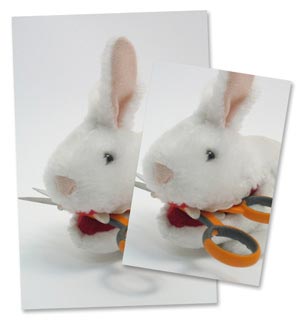
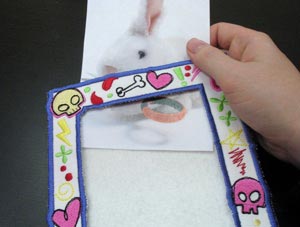
We have two different frame sizes on the site. The larger frame is sized to beautifully fit a regular 4 by 6 photo, but may be a bit larger than some hoops can handle. The smaller frame is made to fit a 5 by 7 hoop, but your photo will need to be trimmed down.
You can see here a comparison of the photo sizes. The larger photo is a standard 4 by 6, the smaller one is a trimmed down version, to about 4 1/4 inch to 2 3/4 inch. You’ll have less photo, but you’ll still be able to stitch a frame! My advice is not to trim your photo until after you’ve stitched the frame out. You will have to lose some edges, but as you can see, it still makes a cute bunny photo.
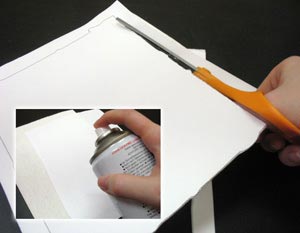
To start, grab your felt or non-fraying fabric, and the back piece template (that’s the one that’s a solid rectangle). I’m using stiff felt to make a nice sturdy backing, but it’s not required.
Lightly spray the back of your template with some spray adhesive, and place it on top of your felt. Cut out around the dieline to get your back piece.
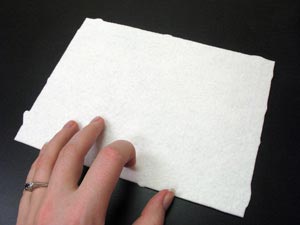
Here’s your back piece, all pretty and cut out.
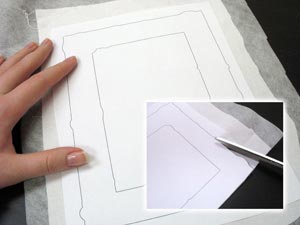
Now we can repeat that process on the front piece template. For this one, you’ll probably want to also back your fabric with some of your stabilizer to give it a little bit more rigidity.
So, your layers should be: stabilizer, with fabric on top, with the template on top of that. Carefully cut out your frame, and don’t forget to cut out the opening in the middle!
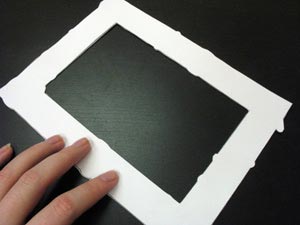
Here’s your frame piece all pretty and ready to be stitched! Now to assemble it...
Grab your hoop and hoop up a piece of tearaway stabilizer. Choose what color you’re going to want your frame edges to be (the satin stitches that go all the way around your frame) and wind up a bobbin of that same color that you’ll use later to finish your frame.
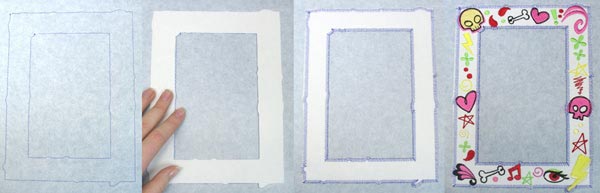
First, your machine is going to stitch a dieline for the front frame. Grab the piece you cut out (with the paper template removed) spray the back, and place it carefully inside the dieline. After that, a tack down will stitch, holding your frame in place. Following that, all your pretty frame details will sew out. Ohh the colors...
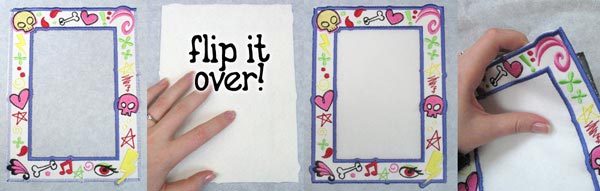
Before the back piece is added on, your machine is going to sew the final satins of the inside and top of the frame. It sews the inside so we don’t stitch the two layers together later, and sews the top so it leaves a gap for you to slip your photo into. Next, carefully take your hoop off the machine (but don’t un-hoop it!) and flip it over. Spray the edges of the back piece, and place it inside the dieline. Also, change your bobbin to match the satin border colors. Start it up again, and it’ll sew the last three sides of the frame. Once it’s done, carefully tear it free of the stabilizer.
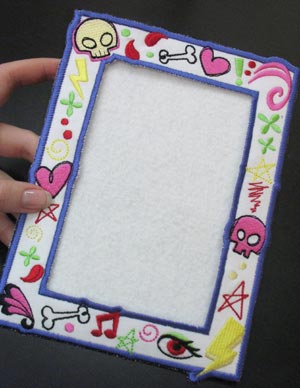
Be sure to tear out the middle piece too. Your frame is complete!
Slide your favorite photo inside your frame. Your frame will probably keep it in place, but you can always add a little bit of tape on the back of the photo to keep it secure.
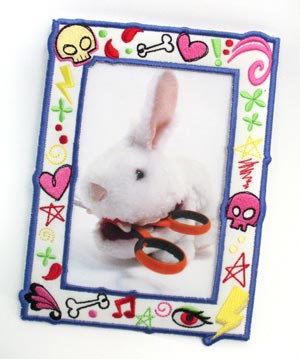
What an adorable little bunny! I mean photo frame...
Custom colors and fun funky doodles make this frame great for all occasions. And doesn’t Craft Bunny look especially crafty in his new stitched frame?
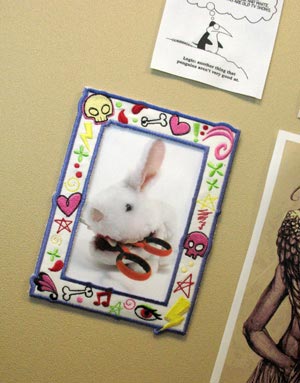
A little bit of tape or some magnets glued on the back, and this little frame makes for some excellent wall decor. Now I have a wonderful crafty reminder of my favorite little furball, in its own nifty little frame. Make as many as you have photos to display!


