Cute little ornaments that adorn the tree are one of the magical things about the holidays, especially when you make them yourself. What’s even better is when you can also use this little handmade accent to commemorate one of your favorite people, pets, or moments, with a photo ornament! It’s one of our fastest projects to make, and with a simple photo template, you can decorate your tree with any moment you like.
Supplies
So, in order to assemble your ornament, you’re going to need a couple things. The first of course, is the two lace pieces from the lace photo ornament embroidery design, already sewn out and ready. Check out these tips and tricks to make your lace look great! In addition, you’ll need:
- Your chosen photo (with your main subject only about 2 inches wide)
- Scissors
- Printed photo template (this is the dieline that comes with the design file -- here's how to print it)
- Hot glue OR matching thread and needle
- Ribbon or thread for hanging
Designs Used
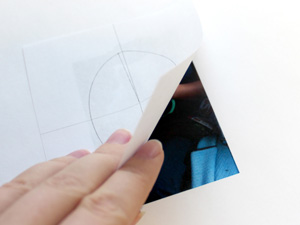
Let’s start with your photo and your template. You can see the template is a small oval shape. The ornament hangs from the top only, so you’ll need it to fit over a vertical photo.
Place the template over the photo you plan to use, centering the crosshairs roughly over the face or focus piece you want framed in the photo.
A tip! If you don’t want to destroy an original photo, or if the photo is too large, you can scan it in, resize it, and print it on photo paper for a version that fits perfectly!

Once you have your template just where you want it, cut through both layers following the template dieline.
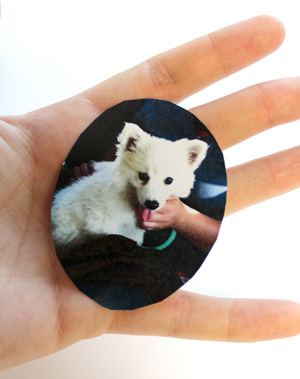
When you’re done, you’ll have a little oval photo the perfect size for fitting inside your stitched ornament.
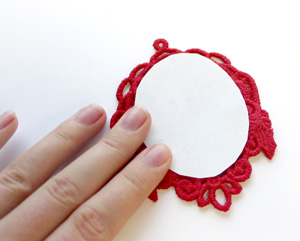
Place your frame piece right side down, and then place your photo right side down on top of it, like so.
The next step sort of depends on whether you want to be able to remove or change your photo out at a later date.
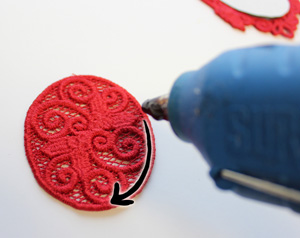
If you want this to be a permanent photo ornament, the fastest most secure way to assemble it is by running a line of hot glue all around the edges of the wrong side of the back lace piece.
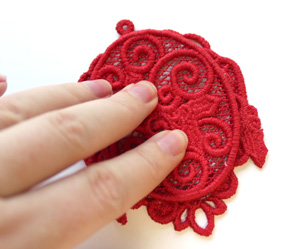
Then you place the back piece (with its glue) over the back of your photo. The photo section is small enough that most of the glue should stick the back side of the front frame, securing the two halves together with the photo in the middle.
If you’re worried this will lock your photo in (and it will, that hot glue is pretty secure stuff) you can also just tack together with a few stitches the two satin borders of the front and the back. You should be able to do this without sewing through the photo, so that if you wish, you could cut the stitches later and change everything out.
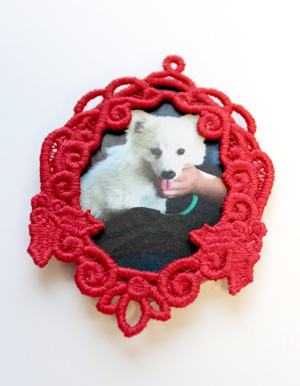
With your stitches and glue in place, your ornament is ready! All you need to add is a small loop of ribbon or string through that top loop on the ornament, and it’s all set for your tree!
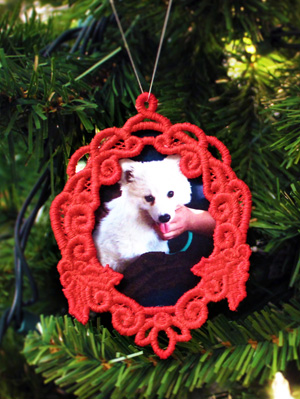
You can make one for your pet (like this adorable little fuzzball, who actually belongs to my little sister) or kids, family, friends, whomever! Any photo can be cut to fit, and they make gorgeous personalized gifts to dress up the season. I mean at this point, your tree could practically be all lace ornaments, right?


