Plushies! Who doesn’t love plushies? Big plushies, little plushies. Little fuzzy ears and arms...
There’s never a bad reason to create a fuzzy friend, and creating professional-looking little plushie buddies is easier than ever, nearly all in-the-hoop! This tutorial will show you the simple techniques needed to make any of your Plushie Pal friends.
Supplies
So, I’ll give you the basic example of how to make this kitty, with a couple of tips for each individual plushie along the way. The supplies you need to make your plushie are:
- Plushie Pals embroidery design(s)
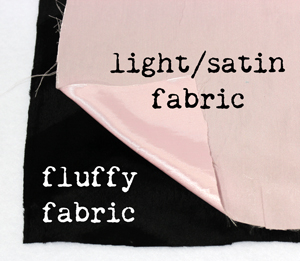
- Fuzzy fabric (OK, not required, but super cute for plushies!)
- Soft or satin fabric for the insides of ears
- Scissors
- Tape
- Tearaway stabilizer
- Temporary spray adhesive
- Light water-soluble stabilizer (if you need it for topping extra furry fabric)
- Printed dieline templates for the body shapes
- Needle and thread
- Polyfill stuffing
Designs Used
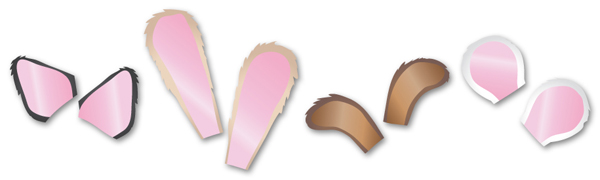
The biggest difference between these stitch-and-turn stuffies and others is the little furry appendages. Often we’ve made extra appendages out of felt, but this time we thought it would look even cuter in fur like the rest of your plush. However, cutting out these tiny pieces of fabric and hoping you can get your machine to catch them without missing an edge sounds like a nightmare! Luckily, there’s an easier way to make these little furry pieces without messing with that kind of stuff.
Basically, we’re going to let the machine stitch out the ear/appendage shapes first, and cut them out later. That way you know your stitches will go where they need to go.
In order to do this, we’re going to hoop our ear fabric together as two big layers in the hoop. For example, for these kitty ears, hoop your furry fabric and your satin fabric facing right sides together. These two get hooped snugly together, no stabilizer required.
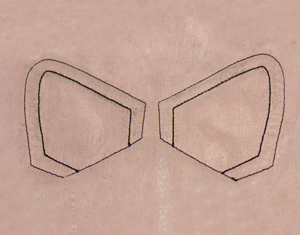
With your two ear layers hooped, the first thing your machine will stitch is your plushie's appendages, in this case, our kitty ears.
These stitched directly onto our fabric sandwich of satin and fur. When your machine is done stitching, you can unhoop everything.
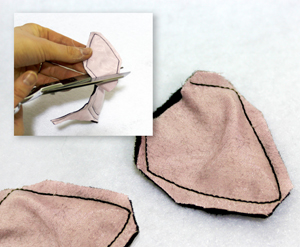
Now you just cut them out! Cut along that outside dieline, and make sure especially to cut high enough to open up the bottom of your ears, like shown.
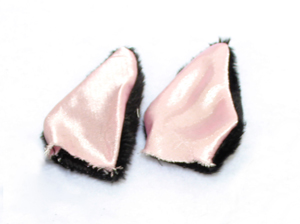
Turn your ears right side out. Shiny and cute and perfect! No messing around with cutting these shapes out first -- everything is done as one piece to ensure it goes nice and smoothly.
This technique does take more fabric, but trust us, it’s a lot easier than doing them one tiny piece at a time!
If you like, you can add a tiny bit of polyfill stuffing inside the appendages. We liked many of them better sans stuffing. Your call.
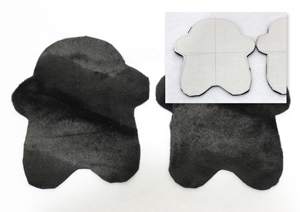
The rest of your plushie is made just the same way we usually make plushies. Use your dieline templates to cut out the fabric for the body of your plushie, both sides.
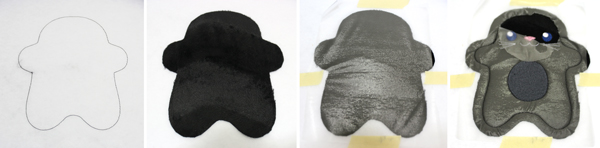
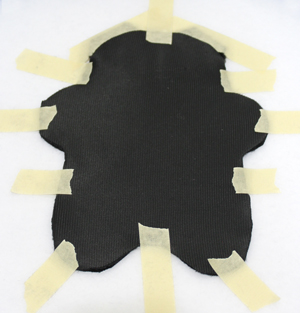
Start your next step by hooping up your tearaway stabilizer. The first thing that sews will be your dieline. Lightly spray the back of your body piece, and place it fur side up inside the dieline. To keep the fur from interfering with your stitches, we recommend placing a piece of light water-soluble stabilizer on top, with a few pieces of tape to keep it in place. Then, let your plushie's face and tummy stitch out. When that step is done, you can carefully remove the water-soluble topping.
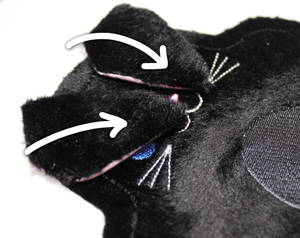
Now it’s time to add those ears you stitched before! These ears were designed with lots of excess fabric at the bottom, so when you flip them in towards the center, you can leave a comfortable margin over your seam line to make sure they get stitched in place.
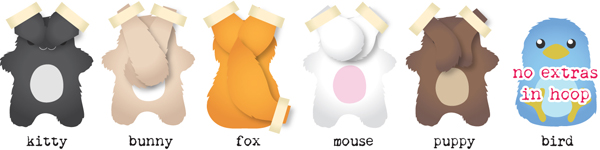
Each of your plushies has their ears folded in, in a similar way. Remember, they’ll fold out directly opposite out from the way you point them in, so usually your ears will cross over each other when you place them down. This little chart gives you a good idea of where to place your ears on each critter. Note, the birdie’s wings are not added during this step! They are the only appendange to stitch on afterwards, so your birdie is just a regular plushie right now. Tape each appendange in place to keep it from moving.
Finally, with your ears in place, place your top body piece fur side down, covering everything up. Tape it carefully in place. We usually spray it with temporary spray adhesive, but in this case that would make our fur sticky and hard to turn.
Start your machine stitching one more time, and it will stitch your final dieline.
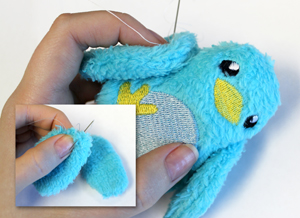
Tear your plushie free from the stabilizer, remove the excess tearaway from the back, and turn it right side out.
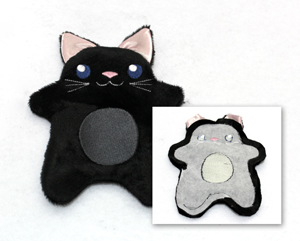
Look at our adorable little kitty. He looks like he’s ready for some stuffing!

Fill up your plushie with polyfill, and carefully stitch the opening shut with a needle and thread.
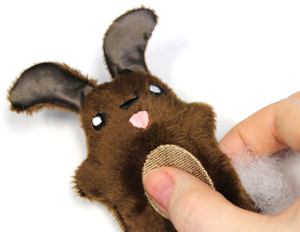
This same technique works on plushies big and small! This is the tiny 4"x4" puppy getting his final touches. Look how cute his furry little ears are!
Hey, what about that birdie? We haven’t added his wings yet!
Easy. Just turn your stitched wings right side out, and stitch them shut along the openings. Then after stitching and sewing shut your birdie body, add them to the side of his body with a few well-placed stitches near the top of the wing.
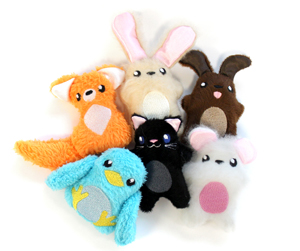
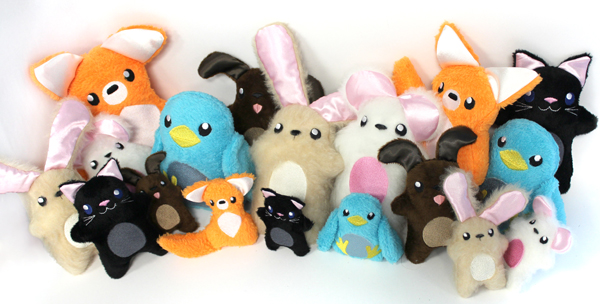
So, now you know how to make little plushie pals, of any size!
From the cute little fuzzy guys from a 4"x4" hoop...
To the hand size plushies from a 5"x7" hoop...
To the big ol’ 6"x10" plushies from your larger hoops.
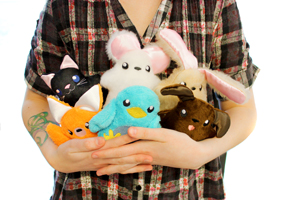
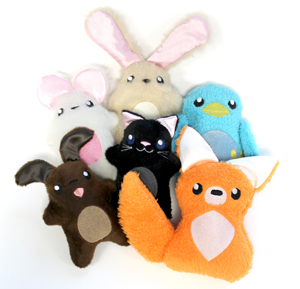
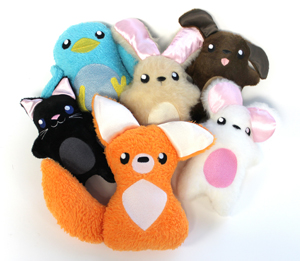
Any size is a good size for an armful of plushies!
So no matter what your hoop size, you can create an army of adorable plush little critters just waiting to invade your studio, gift baskets, your kids' rooms, and more. A little plushie pal is sure to brighten anyone’s day!


