As a not-so-savvy sewer, I found making a doll a little intimidating, but this project is so simple and refreshing to make, I decided to dive right in! I was excited to mix and match elements from the Misfit Factory embroidery design collection and make my own misfit doll to match my personality. This adorable nugget of a doll is perfect way to use your new Misfit Factory designs, as well as some of your favorite Monster Factory and Kawaii Factory designs.
Supplies
To create your own misfit doll you will need:
- Your favorite 4" x 4" face design (or combination of designs) from the Misfit Factory design pack
- Doll template (download the PDF here)
- Fabric for the front and back of your doll
- Thread that matches your doll's body
- Polyester stuffing
- Dressmaker's pencil or chalk
- Medium weight cutaway or tearaway stabilizer
- Temporary spray adhesive
- Scissors and pins
- Optional: fabric scraps to make doll hair
Designs Used
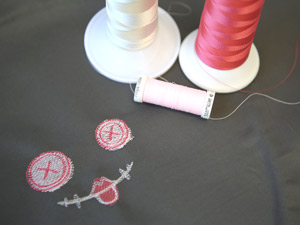
Let's start with your embroidered face! Most of the Misfit Factory designs come with the eyes and mouths as separate files -- so they're easy to mix and match to your liking.
I combined my doll's eyes from the Button Face and mouth from the Mime Face using my embroidery software. You can also get this effect by printing templates out and arranging the face pieces (here's how to use templates for placement).
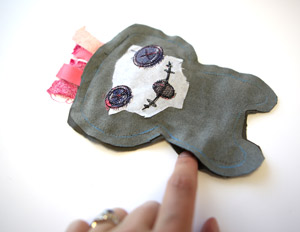
Hoop up your fabric with stabilizer, and embroider your doll's face. Make sure you have enough fabric around the edges to cut out your doll shape later.
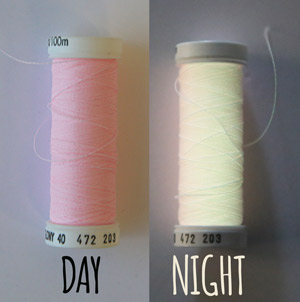
I also chose to use a special, glow-in-the-dark thread for the button eyes.
Note: this thread can be stretchier than the rayon thread we typically use, so make sure to run your machine more slowly than you normally would to prevent thread breaks.
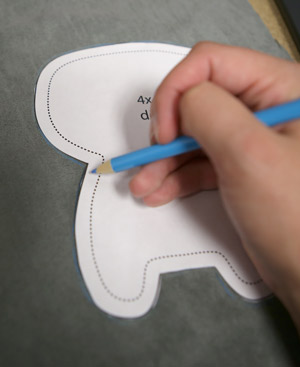
Next we will need to cut out our doll's body. I found it useful to trace the paper template using a dressmaker's pencil.
Since I used extra fabric for my embroidery, I folded over the fabric and cut two equal doll pieces from the same fabric.
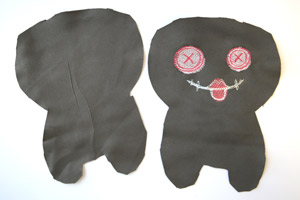
This is what your two finished pieces should look like after they've been cut out.
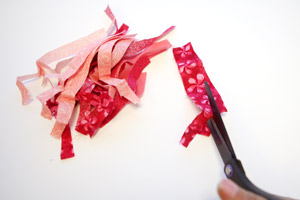
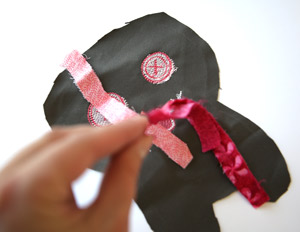
This next part is optional but oh so fun! I used scrap fabric in varying patterns and weights cut into 0.5" strips. The longest strips measured at 6". This will make our doll's hair.
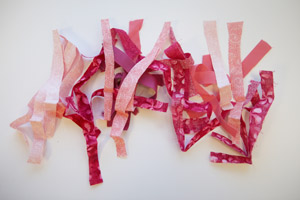
Collect your pile of hair neatly and place each "strand" with the fabric pieces each right side up.
Set this aside for now, we will come back to it in a minute.
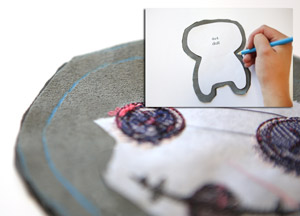
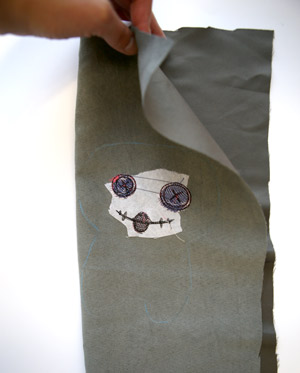
To make sure my stitches end up in the right place, I cut the doll template down to the dotted "sew line" and traced the area on the back side of my embroidered doll piece.
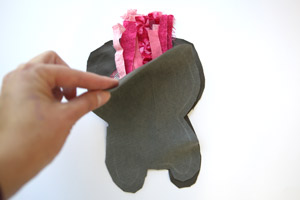
Next, to add in the doll hair, start with your embroidered doll piece right side up. Carefully add the strands at the top of the head, with 3/4 of each strand inside the doll body area, and 1/4 sticking up past the fabric.
Be careful not to lay your hair over the sides of the body, or these will get stitched into your doll the wrong way!
Place the non-embroidered doll piece on top of your embroidered piece, right side down.
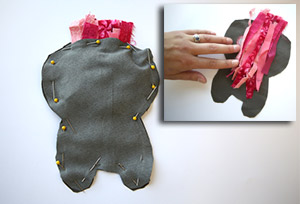
Start pinning your two doll pieces together, making sure that your hair is only pinned at the top, not through the sides.
Leave a small opening at the side. We will wait to sew this section after we have added our doll stuffing.
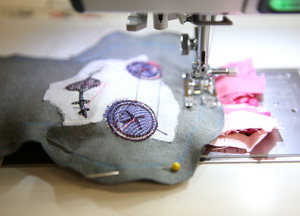
Start sewing! With my pencil stitch line in place, I just followed my markings around the doll, carefully removing my pins as I went.
Make sure to sew the legs completely and leave an opening on the side to stuff your doll. This will make it easier in the long run.
When you are finished sewing, use the opening at the side to flip your doll right side out again.
Use your polyester stuffing to fill out the shape of the doll. Be generous and make sure to fill the legs!
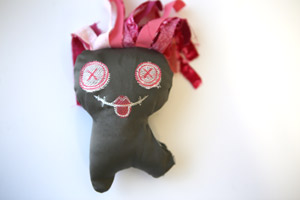
These little dolls can take a lot of filling, so keep it going to ensure you don't have any empty spots. This is roughly what your doll will look like at this point.
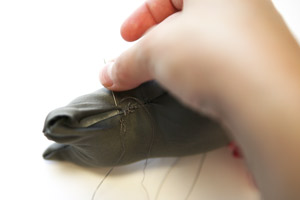
Hand stitch the last side opening of your doll to close it up! Continue to stuff as you go.
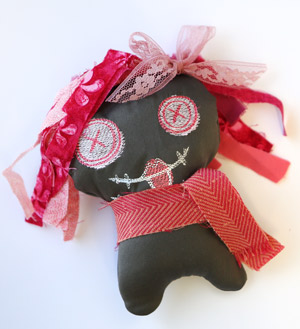
Ta-da! Your misfit doll is ready for action. Dress up with bows, accessories, and other fun gadgets.
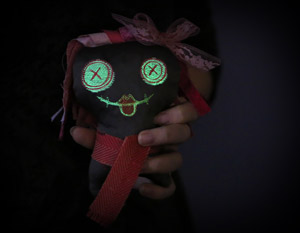
And if you used glow-in-the-dark thread like me, you can look forward to this haunting face at night!


