So, looking for more ways to add a little vintage charm to your home? How about adding some sweet-smelling herbal sachets to hang around your house! They’re a snap to make in the hoop, and you can fill them with whatever yummy herbs you'd like, to fill the air with intoxicating aromas.
Supplies
To make your sachet, you’ll need:
- Fabric for the sachet
- Printed or stitched dielines
- Spray adhesive
- Tape
- Ribbon
- Scissors
- Sheer fabric (like organza)
- Tearaway stabilizer
- Scented Herbs & Smelling Salts (Sachet) design
Now, to fill your sachet, you can buy all kinds of herbs and such, usually from craft or home decor stores. Sometimes they come in their own little packets, but in case you want to make your own, all you need is:
- Dried herbs, flowers, anything you’d like to add to your scent
- Sheer piece of mesh fabric (the more open the better, as it allows the scent through)
- Small piece of twine to tie the bundle
Designs Used
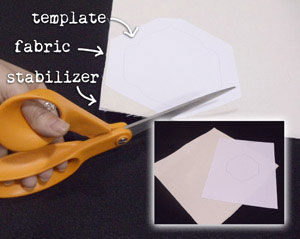
Let's start the assembly!
First, take your sachet fabric (not the organza) and your front dieline (that will be the one that is one solid piece).
Cut a piece of stabilizer to match your fabric, spray it, and adhere it to the back. For the template, you can cut away the excess paper around the template shape, then lightly spray the back and stick it onto your fabric.
Carefully cut around the printed (or stitched) dieline to cut out the front of your sachet, cutting through all your layers.
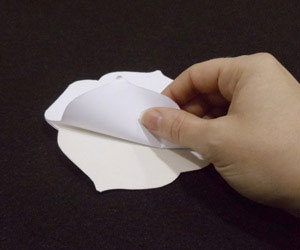
Carefully remove the paper template, leaving behind your fabric backed with stabilizer. Set this aside for now.
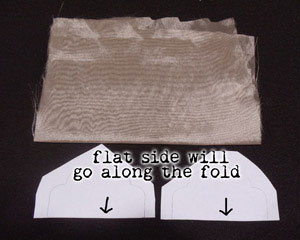
Next, we’re going to need a folded piece of organza and your back piece template. You’ll notice it comes in two parts. I recommend cutting loosely around the edges, but cut right up to the flat side on both tags. This is because that flat side will line up with the folded edge of the organza and, it will make the next step easier.
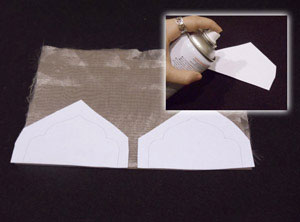
Lightly spray the back of the templates with adhesive, and stick them carefully along the folded edge of the organza, like so. If you like, you can press the organza so it holds a flatter fold.
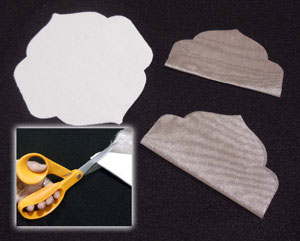
Carefully cut out those two template shapes. You will not need to cut along the folded edge.
Once you’re done, you should have two folded organza pieces, like shown, and your fabric front piece from before.
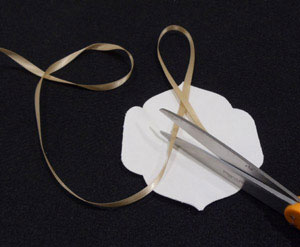
All you need now is a little loop of ribbon to hang your sachet from! Snip it to size, so it goes about an inch inside the sachet, and set it aside.

Here’s how the assembly goes. Start by hooping up a piece of tearaway stabilizer. The first thing that will stitch is a dieline. Spray the stabilizer side of the front piece and place it carefully inside the dieline. Next, a tack down and all the inside elements are going to sew. Once these are finished, carefully take the hoop off your machine (but DON’T un-hoop it yet!) and turn it over.

Lightly spray the back pieces with adhesive. First, place the bottom piece. You’ll notice these do NOT line up with the outside dieline. They are a little smaller than the front piece. This is intentional. Also, tape your ribbon in place, taping it onto the back of the sachet, and also adding a piece to keep your ribbon from moving around in the hoop. Next, add the top piece (on top of your ribbon) also lining up with the inside dieline. Finally, wind a bobbin to match the outline (likely black), set everything back under the machine again, and the final satin tackdown will stitch.
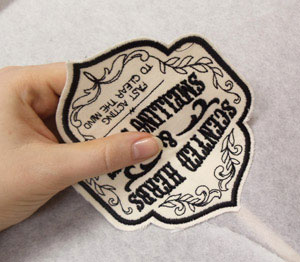
Once your design is finished stitching, remove it from the hoop and carefully tear it free from the stabilizer.
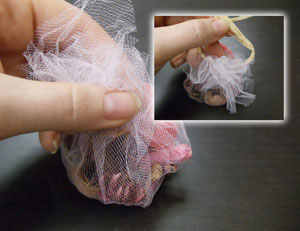
If you need to make your little herbal pouch, place it all in the center of your mesh fabric and gather it up into a little bundle.
Take a piece of string or twine and tie the bundle in place.
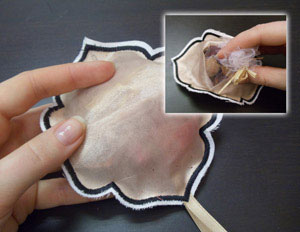
Carefully place the little scented bundle into the little pocket at the back of your sachet. Once it’s snugly inside, you can fold the edges back again and smooth them closed.
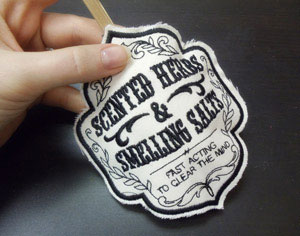
That’s it! A cute little sachet to hang anywhere you want to keep smelling fresh.
But wait! Didn’t we learn from the vintage tag tutorial that there’s a simple way to make these things look even cooler?
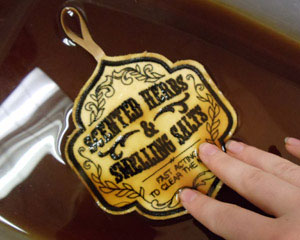
Tea time!! (Be sure to remove your little herbal packet at the back first, unless you want it smelling like tea... which I guess isn’t all bad.)
Finish your by applying or soaking in tea to stain it, allow it to dry naturally before you add your herbs back in.
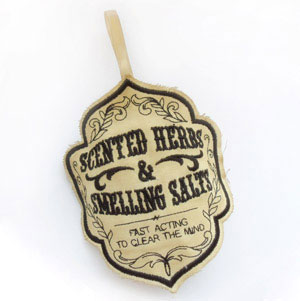
Finished and tea stained, your little sachet has a charmingly worn, vintage look, and smells like herbal remedies of days past.
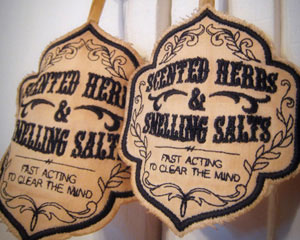
Hang them on cupboard doors or anywhere you want a little freshening up. You can change the herbs as needed to keep things smelling rosy!
Or lavender-y. Or sage-y.
Or whatever scent you might have chosen. You get the idea.


