There are all kinds of simple and fun ways to use your favorite embroidery designs, but here's one you might not have thought of yet... turning them into simple plushies! It's a lot easier than you'd think, and all kinds of designs can work well for it. And ultimately it's a unique way to show off your mad embroidery skills! Check out the instructions below, and the accompanying Turn Any Embroidery Design into a Plushie video, to see how it's done.
Designs Used
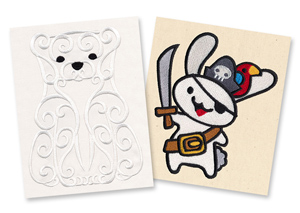
So let's talk first about designs. The key is to pick designs without too many heavy fills, that make your plushies stiff. You'll also want to choose a design that's sort of a "character" of sorts, so it makes sense as a plush.
You can either use a design that's mostly scribble or satin stitch outlines on it's own, or you can choose a design that has a black outline that's all on one stop, so you can stitch just the outline.
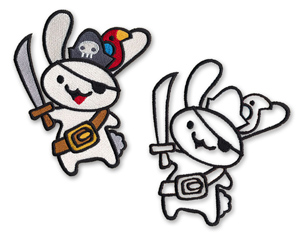
If you decide to use a design with fills and outlines, you'll just need to know how to remove the extra fills.
Removing the fills on designs is actually pretty simple, and there are a couple of different ways of doing it, depending on how you work with your designs.
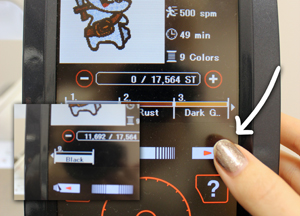
Many machines will let you do this trick on their on-board computer. Go into your settings (once you've loaded your design) and look at the different color stops. On my machine, it lets me skip past each color with a little arrow until the outline, usually at the very end.
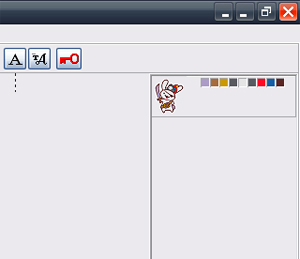
Alternately, if you've got embroidery software, you may be able to edit out the parts of the design you don't want to stitch.
Here's how to do it in Embird: Open the design and go into Editor mode. Look for the thumbnail color swatches in the right corner of the screen. Right-click on one of the color squares and select "Separate All Colors."
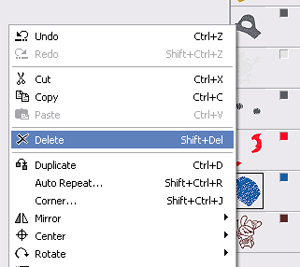
Then right-click on each part that you want to take out of the design and select "Delete." In this case, I'm deleting everything expect the bunny outline at the bottom of the list. Save the newly edited design, transfer it to your machine, and you're good to go!
However you do it, it's usually pretty straightforward to transform any fill design into a nice simple outline light enough for plushies.
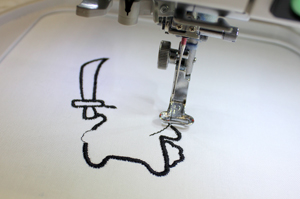
So whether you're stitching this kind of design, or a regular outline-only design, load up your file.
Choose a piece of lightweight fabric, with medium weight cutaway stabilizer adhered to the back of your fabric with temporary spray adhesive. Leave enough extra fabric around where you plan to stitch your design, so you can easily turn it into a plushie.
Hoop up your fabric and stabilizer and stitch out your design.
Now you're ready to make a plushie!
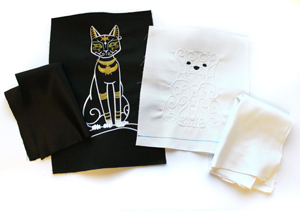
Now we just take our stitched designs and assemble them into their plushie form.
Here are some examples of larger, regular designs you can use to make plushies. You can see, each of these has wide open areas so your plushie stays soft.
Once your design is stitched, cut a piece of fabric large enough to fit the back piece of your plushie.
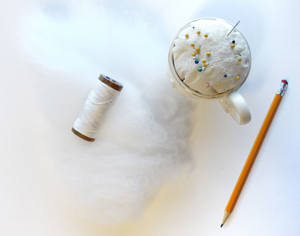
In addition to your embroidered fabric, you'll want:
- Polyfill stuffing
- Pencil for marking on stabilizer
- Scissors
- Needle and thread
- Pins
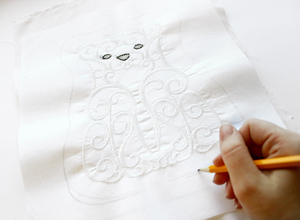
Place your embroidered piece on top of your backing fabric, right sides facing inward.
Grab your pencil and draw a loose outline around your embroidered sharp, about 0.5-1 inch away from the edge of the embroidery.
A tip: I found getting a little closer to things like tails and ears (maximum of 0.5 inch) makes your plushies look better.
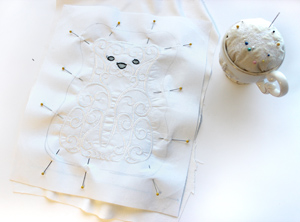
With your outline in place, pin the two layers together following the shape of your markings.
Choose a place on your plushie to leave an opening. For a lot of critter designs like this, the bottom flat area (or any straight area if a design) is the easiest to close up later. I left my opening at the bottom of my bear, down by his feet.
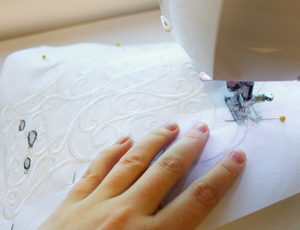
Start stitching around your drawn outline, making sure to backstitch at the beginning and end, so it holds up when you turn it right side out. Go slowly so you can follow the gentle curves around your design.
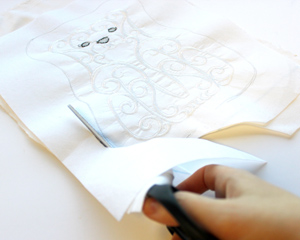
Once your two layers are stitched in place, you can trim the excess fabric away from the edges.
If there are any sharp curves that go in toward the design, it's a good idea to cut in a few notches to from it from bunching up when you turn your plushie right side out.
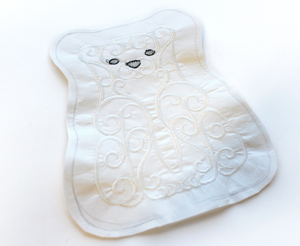
Here's my plushie all ready to turn right side out. He's such a simple shape, he didn't need any notches.
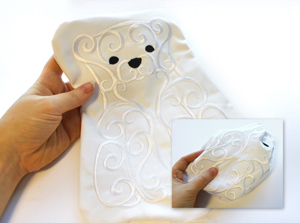
Through the opening, turn your plushie right side out, pushing out all the corners and edges.
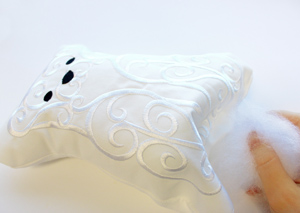
Finally, grab your polyfill and begin stuffing your critter!
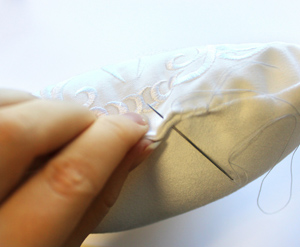
Once your plushie is good and stuffed, stitch the bottom closed with your needle and thread.
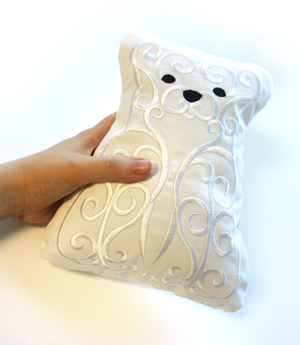
Bam! From embroidery to plushie with just a few simple steps.
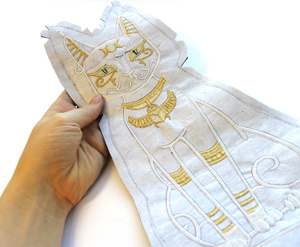
It's simple to do and works for any lighter-stitching designs you think might make a good plush friend. These are obviously the larger sizes of the designs, but plushies can be any size, big or small.
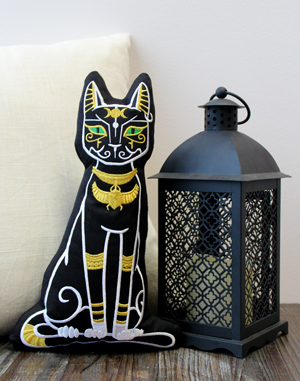
Transform your favorite critter designs into cute designer embroidered plushies in just a few simple steps.
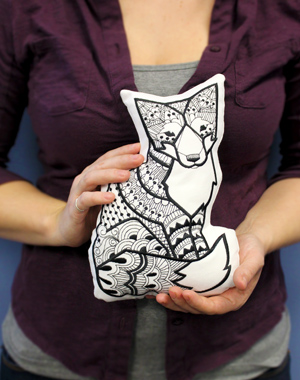
Plushies look cute, great and small. Even with smaller hoops, tiny plushies make great little gifts, desk companions... even kitty toys! Experiment with your favorite designs to see what plushie magic you can make -- no pattern needed!
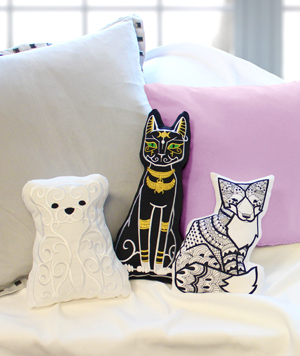
Now you can see how easy it is to make plushies, you can make a bunch and display your embroidery in a whole new way.
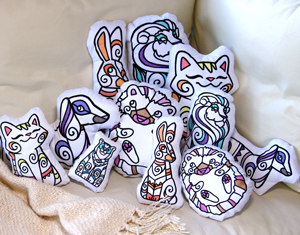
Looking for more character ideas? The Wild Whimsy designs were specially made for making into simple plushies? Check them out here.


