Craft a naturally gorgeous decor piece with this succulent design! Stitch each piece separately onto water-soluble stabilizer, then assemble by hand. Shaded coloring around the edges will make your succulents really dazzle. Follow along below to learn how to create your unique succulent!
Supplies
To stitch your adorable succulent, you'll need:
- Supple Succulent (Freestanding) embroidery design
- Heavy duty water-soluble stabilizer, such as Vilene or Sulky Ultra Solvy
- 40 wt. rayon thread for your embroidery
- 12 gauge floral wire
- Hand sewing needle
- Scissors
- Needle nose pliers
- Wire cutter
- Fabric glue
Designs Used
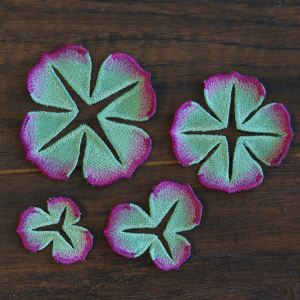
Begin by stitching the four freestanding pieces onto heavy duty water-soluble stabilizer (such as Vilene or Sulky Ultra Solvy), using 40 wt. rayon thread for best results. Once you're done stitching, rinse and dry each piece completely. (Here's more on stitching freestanding lace).
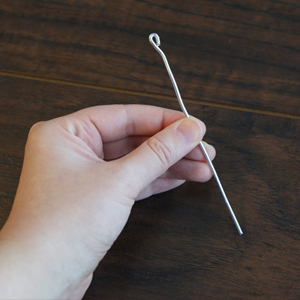
The succulent will be assembled on a piece of wire. Cut a piece of 12 gauge floral wire to 4" in length using a wire cutter, and then make a small curl the end with a needle nose pliers.
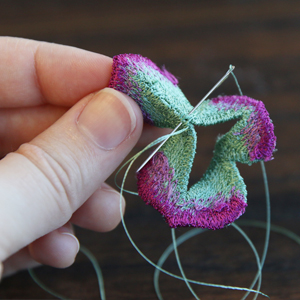
First, take the small three-leaf piece (labeled with a "d"). Each of these pieces has one dart in the center of every leaf. With right sides together, match up the straight edges of the first dart. Using a hand sewing needle and matching thread, sew the dart closed.
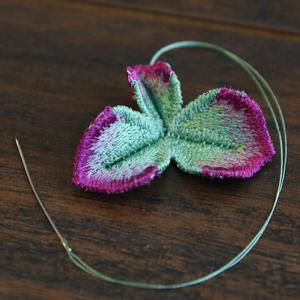
Then repeat to sew each of the darts on every leaf. The darts will create a bent look to all of the leaves which will add to the 3D effect of the succulent.
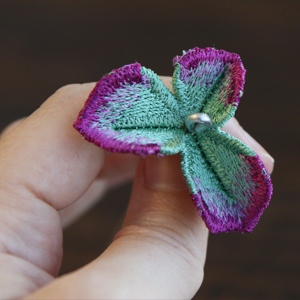
Once all the darts are sewn closed, slide the wire through the center opening where all the darts meet. Make sure the curl ends up resting against the right side of the leaves.
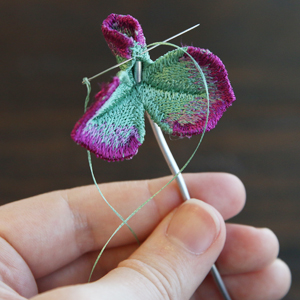
Locate the smallest of the three leaves, and fold that leaf with wrong sides together around the wire loop. Line up the opposite edges, and use a hand sewing needle to tack the edges together. Then sew the leaf onto the wire loop for added stability.
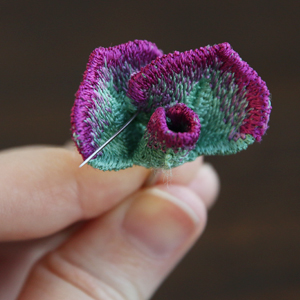
Then fold up and overlap the other two leaves as desired. Use a hand sewing needle and matching thread to tack them in place. To do this, locate where each of the side of the leaf touches another leaf, and then sew a couple of stitches where they meet to tack the two leaves permanently together.
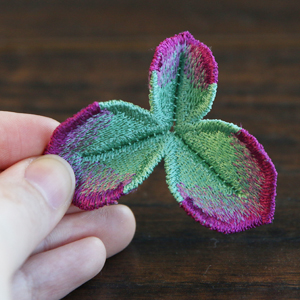
Next take the larger three-leaf piece (labeled with a "c"), and sew the three darts closed with right sides together.
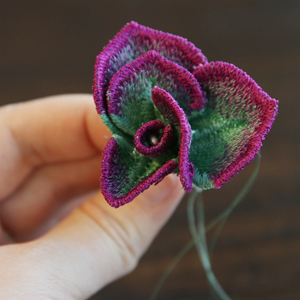
Once the darts are sewn, slide the piece onto the wire with the right side of the piece facing up towards the loop. Rotate the new piece ("c") until the smallest of the three leaves is opposite the larger leaves of the first piece ("d"). Then use fabric glue, and glue the two pieces together around where they both meet the wire. Once glued in place, overlap the leaves as desired, and use a hand sewing needle to tack them in place where they touch other leaves.
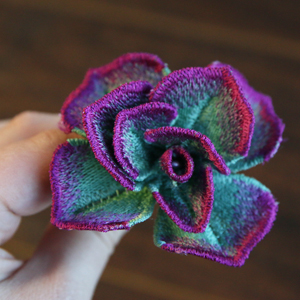
Then sew the darts of the smaller four-leaf piece (labeled with a "b"), and sew all four darts closed with right sides together. Once the darts are sewn, add it onto the wire with the right side of the piece facing the other pieces. Then glue it to the previously added piece around the wire.
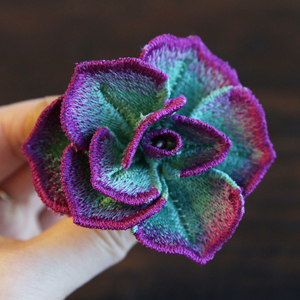
Once adhered to the other pieces, overlap the leaves as desired, and hand tack them in place. It is especially important with the larger leaves to sew both sides onto other leaves to help them hold their shape over time.
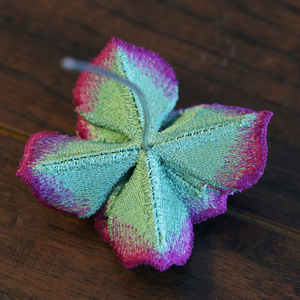
Finally, sew the darts on the larger four-leaf piece (labeled with an "a"), slide it onto the wire, and glue it to the previously added piece ("c").
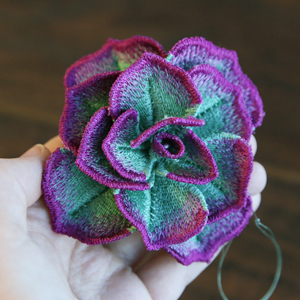
Overlap the leaves as desired, and hand tack them in place by stitching them the leaves of the previous piece.
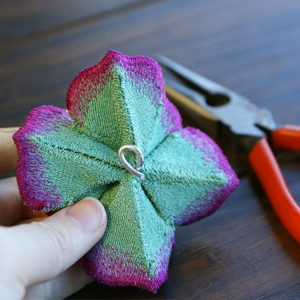
When the leaves are all securely sewn into place, use a needle nose pliers to curl the wire right against the bottom of the succulent. Then trim off the excess wire. The finished succulent will be about 3" wide by 1 1/2" tall.
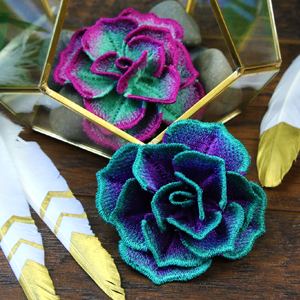
Combine different colors to make each succulent unique! The top succulent shown here is in the original colors; the bottom one uses the following Madeira Rayon colors for each piece:
1: 1033 Purple Pansy - leaves
2: 1160 Antique Blue - leaf shading
3: 1279 Tropical Teal - leaf edges
Grow a whole garden of these beautiful designs!


