There are a lot of great ways of displaying embroidery, but sometimes, instead of bags or totes or tees, you just want to show it off. Framing it is always one option, but there are lots of other ways of just making something simple and useful that’s perfect for displaying your favorite embroidery designs that don’t work on your favorite tee.
A table runner is just that kind of thing! It’s simple and functional but shows off your designs wonderfully, and they’re great for all occasions. Are you looking for something to display a whole series of designs? Like, say, an awesome tarot set? Well I’ll show you how to piece together a simple table runner that will add a little mystical magic to your table!
Supplies
To make your table runner, you’ll need:
- Fabric to embroider your design pieces on
- Fabric scraps and strips for framing
- A long piece of backing fabric
- Scissors
- Ruler or measuring tape (Not in the photo because they were stolen by ... studio gnomes. Yeah.)
- Pins
- Stabilizer
- An iron for pressing is pretty handy
The length of your table runner and your fabrics will probably depend on how many designs you’d like to put on your runner, so plan accordingly. You might need one really long piece of fabric.
Designs Used
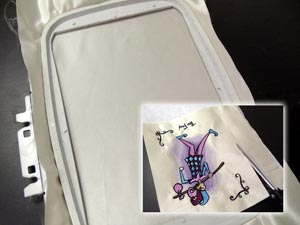
Let’s start with our embroidery pieces. Hoop up your fabric with cutaway stabilizer, and stitch out each design you wish to add to your table runner. I picked three of my favorite tarot designs. Once each design is done stitching, cut it down to size, leaving as much fabric left behind as you wish to use to frame it. Don’t forget to add at least 1/2 inch around for seam allowance.
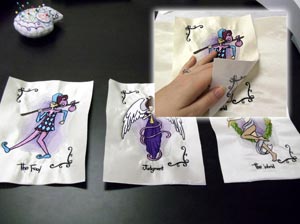
In order to get all the pieces to frame together, it helped to use the first piece I cut as a template. I lined up the decorative edge piece on top of each other, and then snipped around the shape. That way each piece looks like it’s centered about the same.
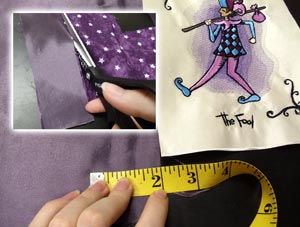
Once you have your center pieces, it’s time to make some framing ones! I’d recommend cutting your pieces in 2-inch strips. I raided our fabric stash and pretty much pulled out everything I thought was pretty and purple. Snip the vertical pieces about 2 inches longer on either side than your tarot pieces. This gives you plenty of space for error. Do the same with your top and bottom pieces. Snip them two inches wide, with a little extra length at the end.
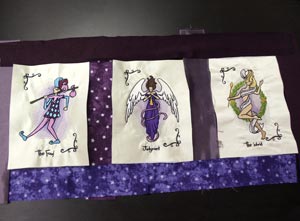
Here are my strips just laid out so I have an idea of what it’ll look like, and that everything will fit when it’s done.
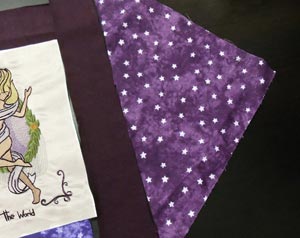
Don’t forget to cut your corner pieces! Snip it so it’s as wide as your edge piece, and comes to a nice finished point. You don’t have to add these, but I think they make it look nice.
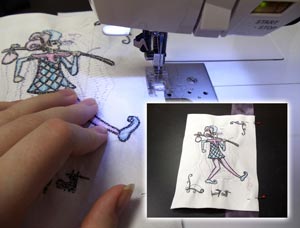
Now it’s time to assemble everything together. I find it’s best just to work from one side to another, so I’m starting with my vertical pieces, left to right. Line the edges of your two pieces up, right sides together, and pin in place. Sew a seam down your tarot card. When you’re done, you can press the seam flat now, or wait 'til they’re all sewn on.
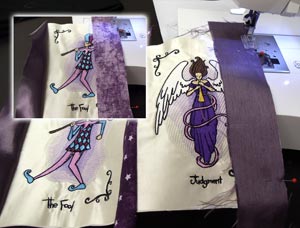
Continue working across your tarot cards like this, sewing each strip to the edge of the tarot card, pressing the seam flat, and sewing on the next. Make sure you’re centering the tarot card pieces on the side of your strips, so there’s plenty of excess at the top and the bottom for sewing later.
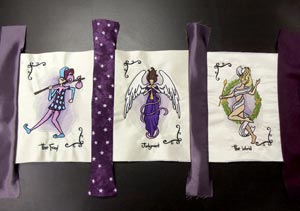
Here’s my "strip" of tarot cards with all their vertical pieces (minus the corners, which come later) Once you’re at this step, it’s a good idea to press all the seams flat. It makes it much easier to work with when you add the rest of the stuff.
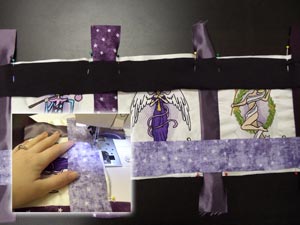
Now it’s time for the top and bottom pieces. Like you did before, make sure the edges line up and that the right sides of the fabric are together.
You can see in my pic that I moved these strips in a bit. This was to make sure I caught all the edges, and to better frame the designs. Feel free to make adjustments as necessary.
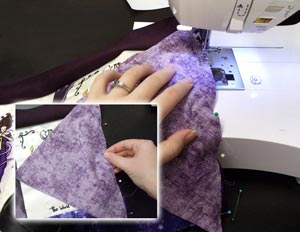
Once your top and bottom are on, it’s time to add the corner! Since things may have gotten slightly smaller since adding all the seams, check to make sure your triangle edge still fits the side of your fabric. Pin right sides together, and sew a seam down the side. Do this on both sides.
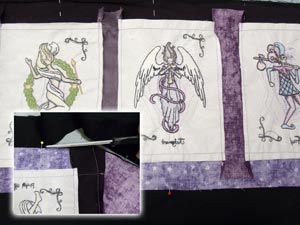
Finally, it’s time to add the one long back piece! Take your long strip of backing fabric, and place your tarot strip on top, right sides together. Line it up with any edges to make trimming easier, and pin the two layers together.
Carefully trim around your tarot strip, so you have two pieces exactly the same size, ready for sewing.
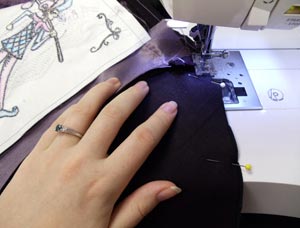
With the two layers pinned right sides together, sew a seam around your edges, leaving one side of your triangle edges open for turning.
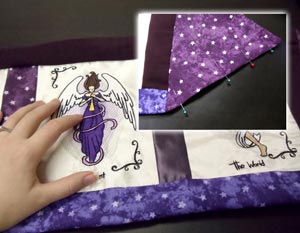
Once you’ve turned your table runner right side out and pushed out all the corners, fold the last raw edge along your triangle in and pin in place.
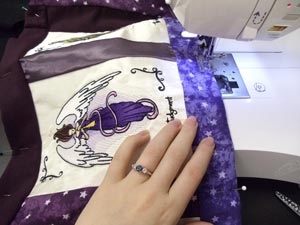
Finally, sew a seam, starting at the open edge, all the way around your table runner. If you like, you can finish it all off with a good ironing to flatten all the seams.
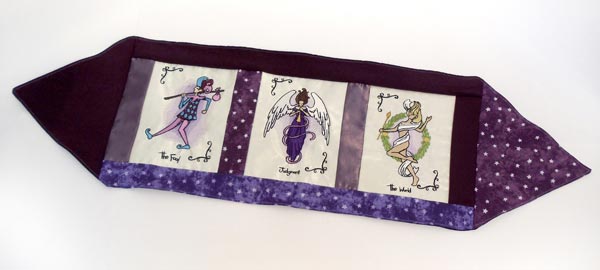
Your table runner is done! A beautiful way to show off your favorite mystical designs. I have no idea if the order I put these in means good luck or bad fortunes or that I’ll grow up one day to be an orthodontist (if I ever get around to growing up). You might want to keep that in mind if you know how to read these, or will have company that does.
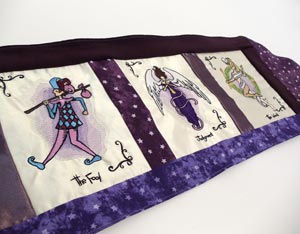
Not only is this a great way to show off your mad stitching skills, but it’s also a great way to show off your favorite pieces of your fabric stash! Your embroidery really pops when it’s framed like this, and in full display on the table, everyone’s sure to notice it!
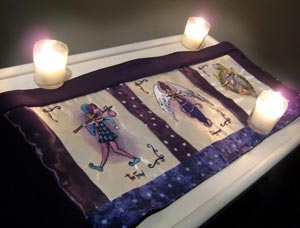
It adds a wonderful magical flair to any table in your house. Dress up your tables with your favorite embroidery designs on display!


