Did Halloween sneak up on you this year? No worries, it happens to the best of us, even Halloween nuts like me. Well, if you're looking for a fast project with a big impact, reach for your secret weapon! No, not a small fanged bunny, that's my usual secret weapon (No idea what I'm talking about? Hi! Welcome to the site!). No, this time I'm talking about... glow in the dark thread!
Supplies
To make your glowy tote, you'll need:
- Fabric for the outside of the tote (how much depends vastly on how much candy you plan on stuffing in your tote)
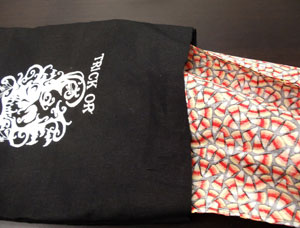
- Equal amount of festive fabric for the lining
- Glow in the dark embroidery thread
- Cut-away stabilizer
- Scissors and pins
- Awesome spooky embroidery design (used here: Spooky Shadows)
Designs Used
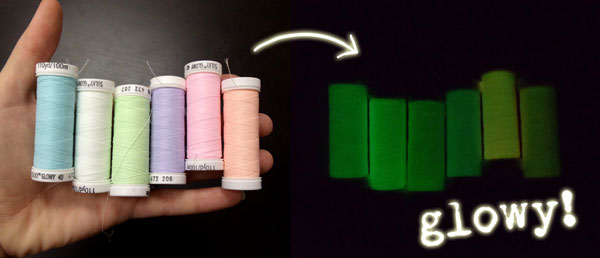
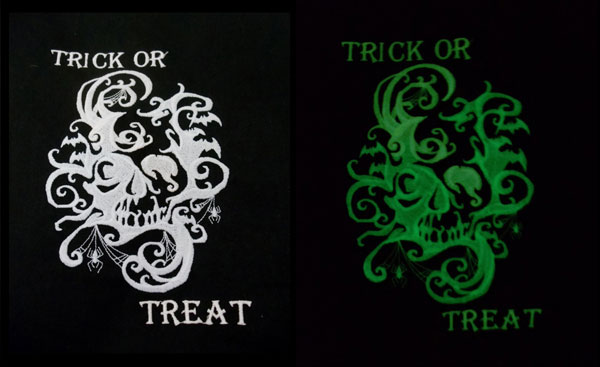
Glow in the dark thread is a nifty little trick that's a fun way to add some extra spooky excitement to an otherwise awesome but non-glowy design. You can buy all kinds of glow in the dark embroidery thread. I'm using Sulky, but there are all types, and you can find all kinds online. As you can see, they come in all different colors that look like regular thread with the lights on, but charge up the lights then flick them off, and they all glow! Its a great way to add a secret spooky touch to your favorite designs.
So, let’s whip up a super quick last-minute Halloween tote that will glow even on its candy collecting trip around All Hallows’ Eve.
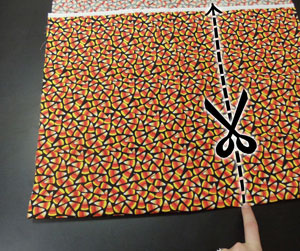
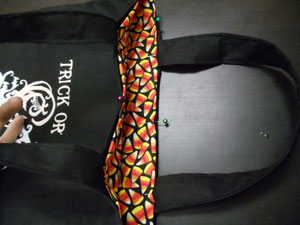
So I started with the lining. Basically, you can make it however big your tummy is, or however generous you hope your neighbors are with their candy. Fold your fabric over in two layers, and cut up the side to the size you wish.

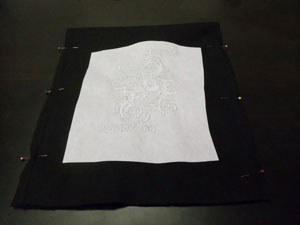
Now for the outer layer. As with the lining, have the fabric folded over in two layers, with the fold at the bottom and the open edge at the top. You'll want you lining just a tiny bit smaller than your outer layer, but not by too much or you won’t be able to pin the two layers together. Lay your lining on top of the other fabric, and cut it just about 1/2 inch larger, and to the same height.
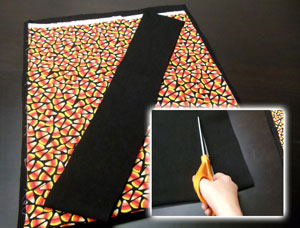
Finally, with your layers still folded over, cut a long strip (maybe half a yard) about 4 inches wide for your tote straps. Now you have all the pieces for your tote!
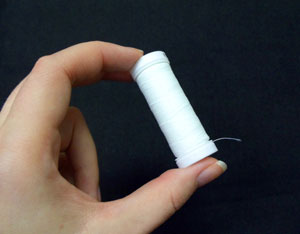
Now it's time to embroider. Hoop your cover piece up with some cut-away stabilizer, with the bottom of the design at the folded end of the fabric. Now, the pack of glow in the dark embroidery thread I got was more a sample size of each. A spool this small will not embroider a large 5x7 design. Ask me how I know this. You'll either want to just use the glow thread as an accent piece, or get more if you want to do a big design.
I added some fun text to make it extra spooky. You can usually do this with the pre-set fonts a lot of machines come with. If you want a little refresher on adding text, check out this label tutorial.
Once your design has embroidered, unhoop it, charge it under some light, and then flip the switch off! See the glooowwyyness. Oooh.
*pause*
Sorry. I'll snap out of it. It is pretty darn neat though! It glows well.
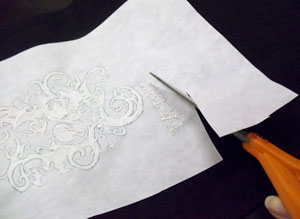
Once your design is embroidered, carefully cut away the excess stabilizer.
Fold your fabric right sides together, with the design facing inward. Pin the edges together.

Sew a 1/4 inch seam down both sides, leaving the top of your tote open. Be sure to backstitch at the ends!
Do the same thing with your lining. Fold it in half, right sides together, and sew a seam down both sides.
Turn the outside fabric right side out, and push your lining down inside it. Be sure to get the corners to match up at the base, and that the two layers fit together snugly. If there's two much space between the lining and the shell, take it back under the sewing machine and sew a little farther in at the seams.
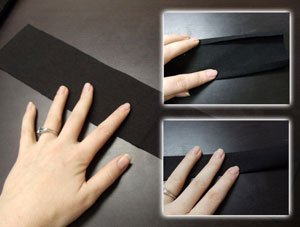
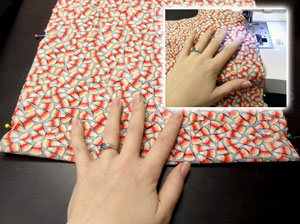
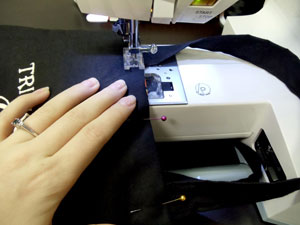
Now, the straps! Take your long strip you cut and snip it in half. Fold and press the edges in about 1/4 inch in, then fold it in half on itself, like shown.
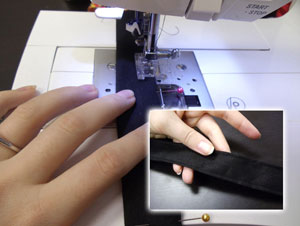
Put it under your sewing machine and stitch a thin seam down both sides to secure the strap in place. Do this for both straps.
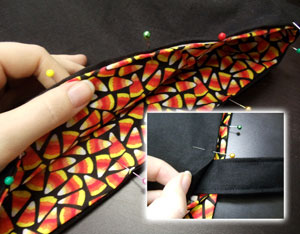
Now, it's time to secure the lining and the straps in place. Fold the top edges of the lining in, folding the raw ends of the tops inside. Pin the edges in place all the way around, making sure the lining has a snug fit. Once you have your lining pinned and positioned, place the ends of your straps in between the two layers, giving it about an inch excess inside to be sure it's caught by the seam.
Pin these in place with the lining. They should be lined up together, like shown.
Finally, put your tote back under the machine one last time, sewing a seam all the way around the top of your bag, securing the lining and handles in place.
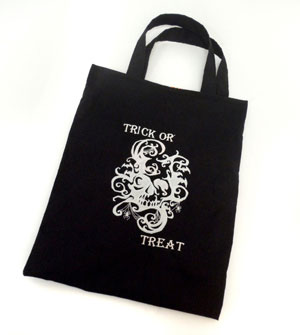
Your finished tote! Quick and simple to make, perfect addition to your last minute spook-fest!
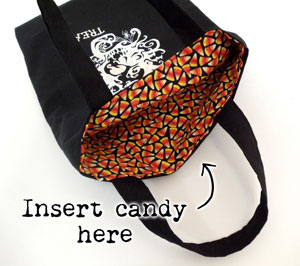
It's great for hauling lots of candy in style, and you can make it any size you require, especially if your candy expectations are high.
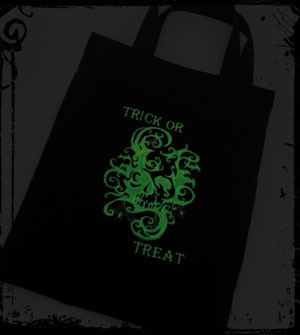
A little glow from lighted porches and your tote is off blazing into the Halloween night! The thread glows bright and not only adds a spooky touch, but helps keep you a little bit more visible at night. Happy haunting and have fun playing with your new glow-in-the-dark thread!


