Ah, Valentine’s Day, the Hallmark holiday. The time when we all can expect a heartwarming and personal card picked out of the leftover ruins of the greeting card aisle in Wallgreens. It probably has a cat on it and says something about you being purrfect. Not that you’re not purrfect, mind you, but hearing it from a cat with a bow on his head probably isn’t the touching moment you were hoping for.
Thanks to the rise in the handmade movement, Valentine's Day is back to being a personal holiday. Making something for your sweetie is a purrfect (sorry) way of showing that you care, and it doesn’t require that you knit them a giant afghan out of their T-shirts or scrapbook out their life story. There are lots of simple and sweet ways of making something that’s not only handmade, but turns into a cute memento of your love. Best of all, it mixes a bit of machine embroidery with the fun of good old hand embroidery, with a bit of grade school nostalgia thrown in for good measure. Plus it’s easy, I promise! You can whip this up in about 20 minutes, depending on how fast your machine is.
So what are we making? It’s a cute valentine card that doubles as an embroidery kit that then turns into a memento. Awesome, right?
Supplies
To make your kit, you’ll need:
- Cardstock, for the main card. Mine was about a 7-inch square card when folded.
- Scrapbook paper, to add some fun
- Hot glue
- Felt
- Hand embroidery floss and needle
- Ribbon
- Fabric for your embroidery
- Totally cute Do You Like Me embroidery design
- Temporary spray adhesive
- Chocolate, because Valentine's Day is always better with chocolate
Designs Used
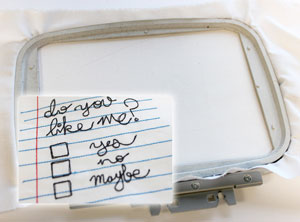
Let’s start with that super cute design. You can easily embroider it by hand, or by machine.
If you’re going to embroider it by machine, hoop up some white fabric with some cutaway stabilizer, and stitch everything but the check marks in your design. You want to leave these boxes unchecked for your valentine to fill in.
I used the 5"x5" version of this design, and when it was done, I cut the fabric down to about that size.
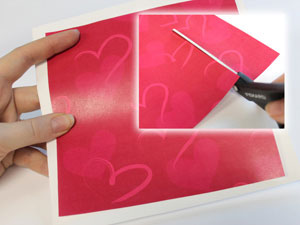
Let’s start making your card!
To dress up the front and give your embroidery something to sit on, cut a piece of scrap paper just a little bit smaller than the front of your card. Lightly spray the back of it with adhesive and place in the middle of the front.
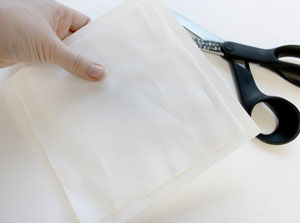
We also want to cut a piece of fabric for the inside of your card. I used the same kind of fabric as I did for the embroidery.
Cut it about the same size as the scrapbook paper, so it’s just a little bit smaller than the inside page of your card. Don’t spray this piece yet, though!
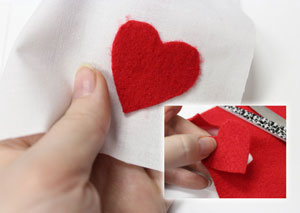
This little bit of fabric will give us a place to build our little embroidery “kit.” The first thing we need is a place to safely keep the embroidery needle in the card. Cut out a little piece of felt in the shape of a heart.
Or you know, a skull. Everyone says “I love you” differently.
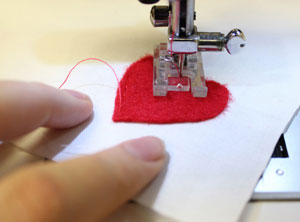
Place your felt piece somewhere on your fabric (I picked the lower right hand corner) and appliqué it in place with your sewing machine with a few quick stitches around the edge. Now it’s prepped and ready to go in your card. Spray the back of it and place it on the inside.
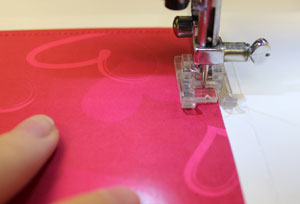
Put the cover of your card (the side with the scrapbook paper) under your machine. Yup, we’re going to stitch right onto a card. It works pretty well and looks awfully neat.
Secure your valentine paper in place by stitching a small seam all the way around the edge.
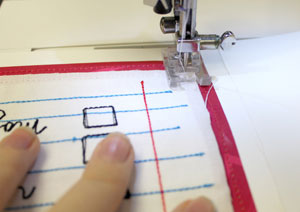
Now center your embroidery piece in the middle, and stitch that in place too!
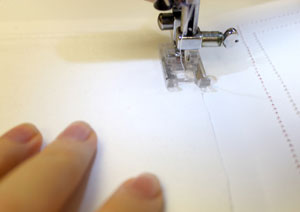
Next, sew the inside fabric piece (the one with the little felt heart) onto the inside of your card. Sewing is done! Wasn’t that easy?
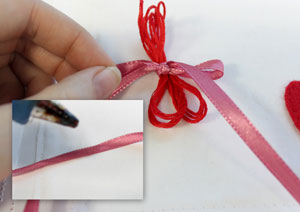
To finish assembling your kit, take a small skein of your embroidery floss and bundle it up into a small little loop. Cut a piece of your ribbon (maybe 8 inches long) and glue the middle of it down onto the inside of your card, near your felt heart.
Once the glue has set, place your embroidery floss in the middle of the ribbon and tie it all up nice and neat. Cut off any excess ribbon tails.
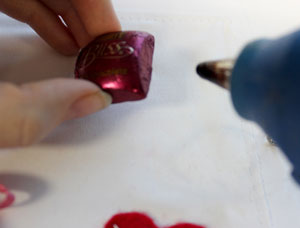
Just for kicks, add a little bit of chocolate to your card with a dab of hot glue. Don’t go too crazy with the glue, or you’ll just melt your chocolate right into your card. Not yummy.
As a finishing touch, slide your embroidery needle into your little piece felt to keep it safe.
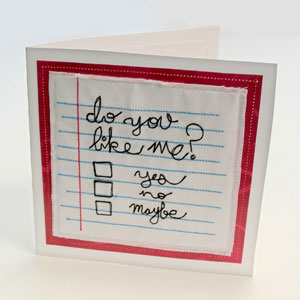
You’re ready to give out your little Valentines kit!
Like you used to in 5th grade, leave your cute little embroidered note for that special someone to find and answer.
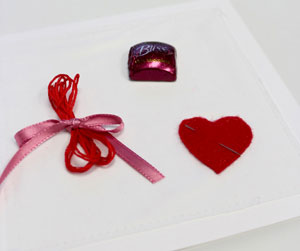
When they open it up, they’ll find a yummy treat and a cute way of answering your little embroidered question.
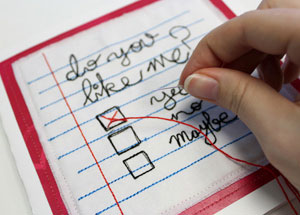
Even people who have never tried embroidery before will find it simple to stitch a little “x” or something similar. It’s a great way to introduce your honey to the magic of stitches!
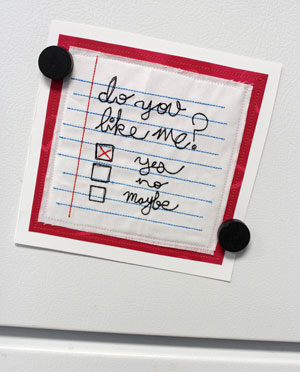
If you get the answer back you were hoping for (let’s hope for a “yes”, unless someone is mean enough to take the time to embroider on the “no”) you can snip off the rest of the card, and keep this little handmade keepsake as a token of your affection!
It’s an adorable, handmade and permanent reminder that someone likes you, and you like them too!
C’mon, when that someone in fifth grade answered your note with a “yes,” you wish you’d kept that note as a memento, don’t you?
Darn skippy, you’ll keep it now!


