Add sleek and fashionable accents to your wardrobe with an in-the-hoop wallet inspired by nature. Faux leather, floral details, and pockets for both cash and credit cards, make this machine embroidery design a compact and charming accessory. Let us show you how!
Supplies
To create your wallet wristlet you'll need:
- In-the-hoop wallet wristlet embroidery design -- we're stitching the Blooming Wallet
- 1/3 yard of thin and soft vinyl, leather, or ultra suede (for the outside)
- 1/4 yard of quilter's cotton (for the lining)
- Embroidery thread
- Hand sewing needle
- 3/8" Sew on snap
- Tear-away stabilizer
- Temporary spray adhesive (such as Gunold KK100)
- Masking tape
- Scissors
Designs Used

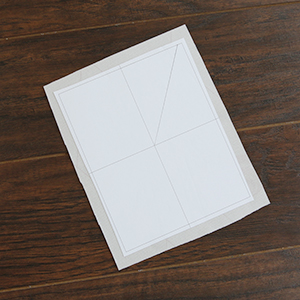
In-the-hoop wallet wristlet designs have multiple files. Two are full embroidery files. The others are dieline files marked with the letters DL. Dielines are used to cut the fabric to the right shape and size.
Open the dieline files with embroidery software.
Take the printed dieline for the front "a" fabric piece, spray the backside of the paper with temporary adhesive and smooth it onto the wrong side of the vinyl or leather.
Placing it on the wrong side of the fabric will prevent the sticky residue from building up on the right side of the vinyl or leather.
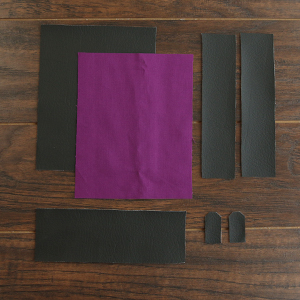
Cut around the shape, and repeat to cut out all the other dieline pieces. Make sure to cut out the front leather piece, the lining, the big pocket, both small pockets, and the two strap closure pieces.
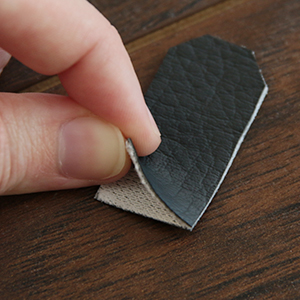
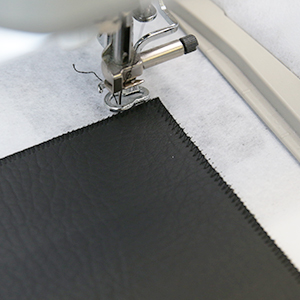
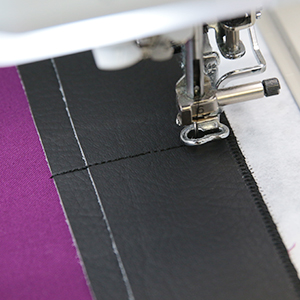
After they are cut out, take the two strap closure pieces and spray the wrong sides with temporary adhesive. With wrong sides together, match up the edges and stick them together.
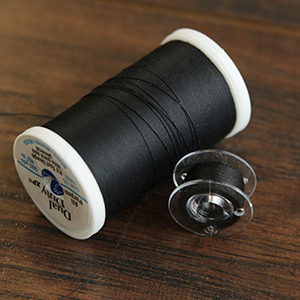
Using a standard sewing thread for the strap closure will work best. Wind a bobbin to match the thread as the strap closure will be seen from both sides.
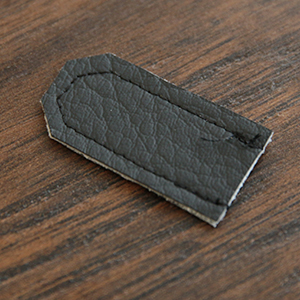
Sew the two strap closure pieces together by sewing a 1/8" seam along the edges.
Once all the fabric pieces are ready, it's time to embroider the design.
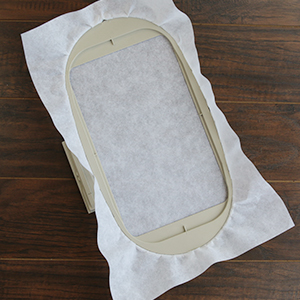
Hoop a piece of tear-away stabilizer. Madeira E-Zee 1.5 oz or Floriani Tearaway Medium are good choices. Those brands are more fibrous, less like paper, and will tear more cleanly.
Attach the hoop onto the machine, and load the first embroidery file labeled with an "a" (not the dieline files).
Use a 75/11 sharp sewing needle instead of an embroidery needle. The sharp sewing needle has a finer point, and it will make smaller perforations in the stabilizer.
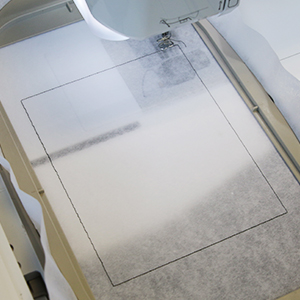
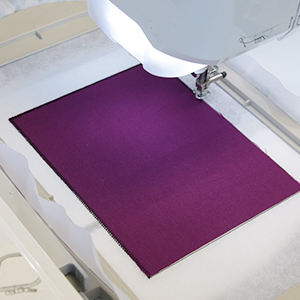
Embroider the design. The first thing to embroider will be a dieline (or outline stitch). This marks the area on the stabilizer where the fabric piece will be placed.
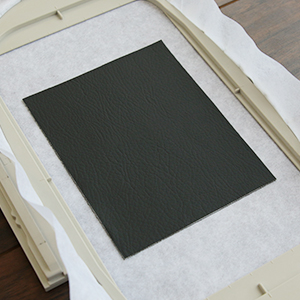
After the dieline has sewn, remove the hoop from the machine, but do not unhoop the stabilizer. Spray the wrong side of the "a" front fabric piece with temporary adhesive. Smooth the fabric piece onto the stabilizer inside of the sewn dieline.
Then place the hoop back onto the machine, and embroider the tackdown for the front fabric piece. The tackdown will hold the fabric piece in place for the remainder of the design.
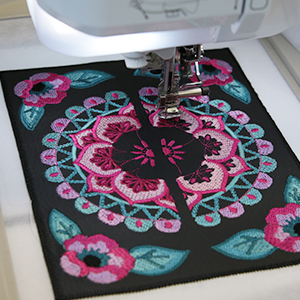
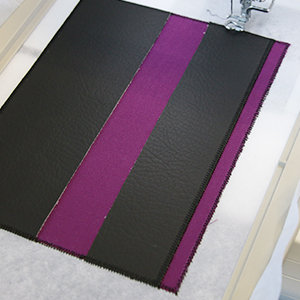
Once the front fabric piece is stitched in place, embroider all the inner details.
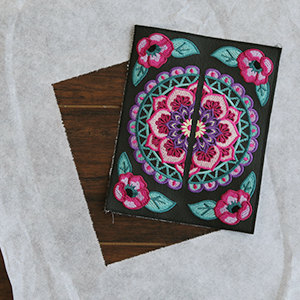
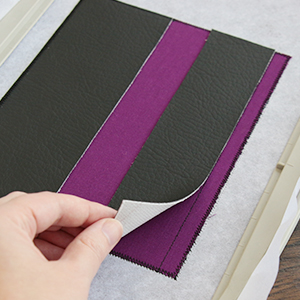
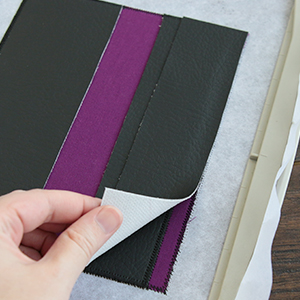
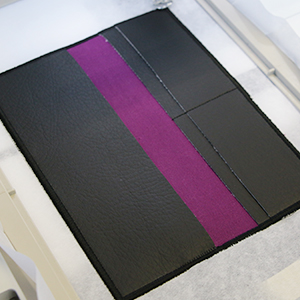
Once the embroidery for the outside of the wallet (file "a") is finished, carefully tear the excess stabilizer away from the outside edges of the design.
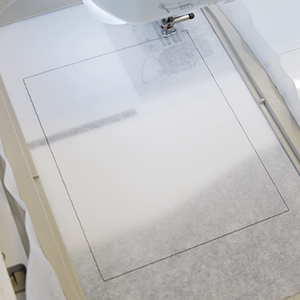
Then hoop another piece of tearaway stabilizer, and load the second embroidery file (labeled with a "b") onto machine. Begin to embroider the design. The dieline for the lining piece will sew out first.
Spray the wrong side of the lining piece, and smooth it into place. Then follow the color change sheet to embroider the "lining tackdown".
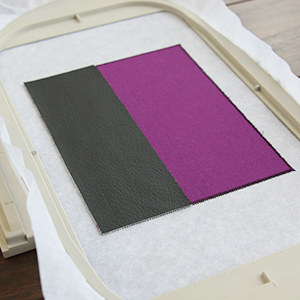
Before sewing the "big pocket tackdown", spray the backside of the largest pocket piece, and smooth it on top of the lining fabric piece so it matches up with the edges and corners of the left side.
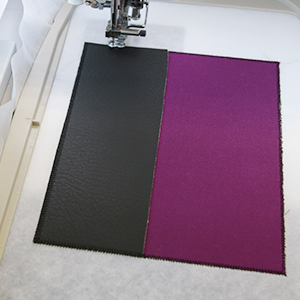
Embroider the "big pocket tackdown" to sew the large pocket in place.
Then embroider the "first small pocket placement dieline". This dieline will help show where to place the first of the two small pockets.
Before sewing the "First small pocket tackdown", spray the backside of either of the small pocket pieces (they are the same size), and smooth it on top of the lining so that the right long side matches up with the "first small pocket placement dieline". The sides should match up with the edges of the lining.
Then embroider the "first small pocket tackdown".
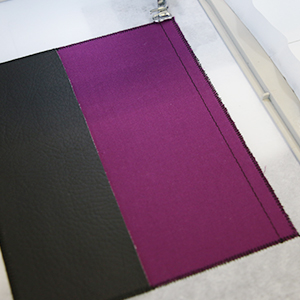
Before sewing the "Second small pocket tackdown", spray the backside of the remaining small pocket piece, and smooth it on top of the lining fabric piece so it matches up with the edges and corners of the right side of the lining. It will sit on top of the first small pocket and should cover about 3/4 of it.
Then embroider the "second small pocket tackdown".
The "small pocket divider" will embroider next. This divides the two small pocket pieces into four narrower pockets that are the perfect size for a credit card or I.D. card.

Before sewing the "Tackdown, finishing border" step, remove the hoop from the machine, and turn it over so the back side of the embroidery is facing up.
Take the finished strap closure piece that was sewn earlier, and line up the center of it with the line of the "small pocket divider". Make sure the short straight end overlaps the lining by only 1/4", and tape it in place.
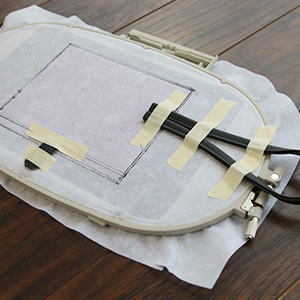
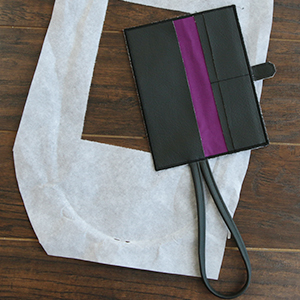
To create a wristlet, take a sewn strap or a piece of ribbon that is 16"-18" long and make it into a loop.
Tape it in place along one of the short edges so that it is slightly off center. Line it up with the edge of the larger pocket for best results. If you place it perfectly centered, the wallet will not fold well.
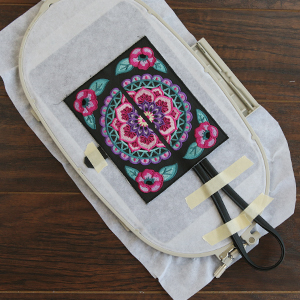
Take the embroidered outside of the wallet (file "a") and spray the wrong side with temporary adhesive. Smooth it into place on the back of the hoop over the strap closure and wristlet.
Make sure to match up the edges with the edges of the lining.
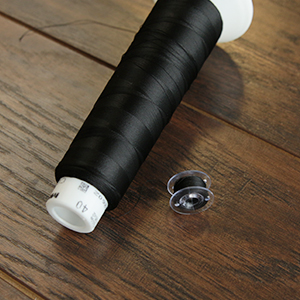
As all the embroidery from here on out will be seen from both sides, wind a bobbin to match the thread color used in the rest of the design, and use it for all remaining steps.
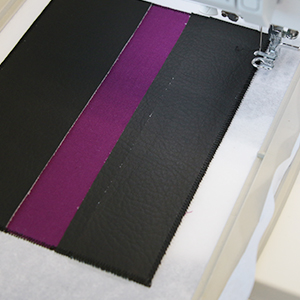
After the outer shell, strap closure, and wristlet are securely in place, embroider the "Tackdown, finishing border". This step will sew a tackdown and the final outer border, and bind all the pieces together.
Once the embroidery is finished, carefully tear the excess stabilizer away from the outside edges of the design.
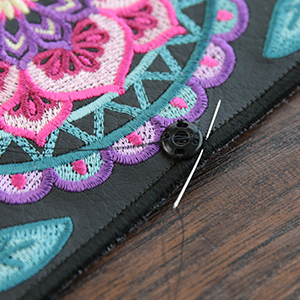
Then hand sew one half of a 3/8" snap right at the bottom center of the long side opposite the strap closure. Sewing the snap directly onto the embroidered stitches can help adhere the snap in place without sewing all the way through the pocket on the other side.
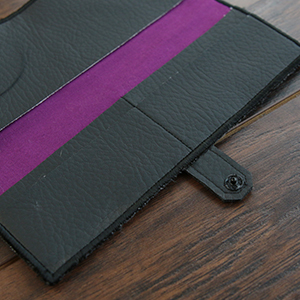
Repeat to sew the other half of the snap onto the end of the strap closure piece. Make sure it is sewn on the correct side of the strap.


