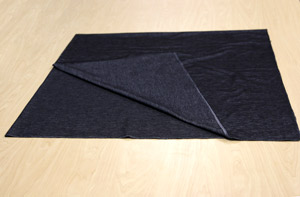
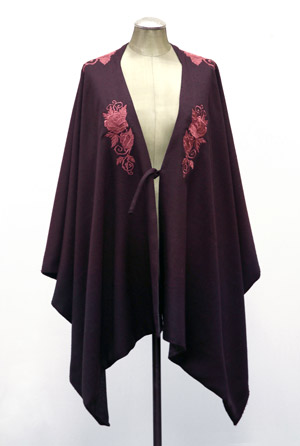
Looking for a fashionable alternative to that bulky coat or sweater? Consider a lightweight wrap! I’ll show you how to make a cozy and unique wrap using your favorite embroidery designs and a couple quick stitching techniques. This timeless and classic pattern will keep you looking stylish in the cold months.
Supplies
In order to make your wrap, you’ll need:
- Your favorite embroidery design(s)
- 2 yards of a light weight suiting fabric for the "shell"
- 2 yards of a cozy knit fabric for the "liner" (This should have an equal or less amount of stretch to the "shell" fabric)
- Medium weight cutaway stabilizer
- Temporary spray adhesive
- Printed templates of your design(s) for placement
- Thread for your embroidery
- Scissors
- Straight-edge ruler
- Air erase marker or tailor's chalk
NOTE: Tailor’s chalk is best for marking dark colored fabric, as it tends to last longer and show up better. However, this wax-based tool may leave residue if used on some synthetic fabrics. It is best to test a small corner of the fabric before committing to chalk.
Designs Used
To get started make sure to clear a smooth, flat surface, wide enough to lay out your fabric.
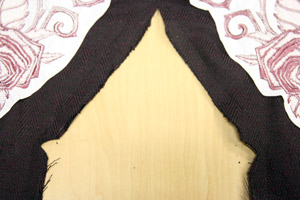
For the liner: Cut a fabric piece 60" x 60". Fold the fabric in half, then fold it in half again, to get a 30" x 30" square.
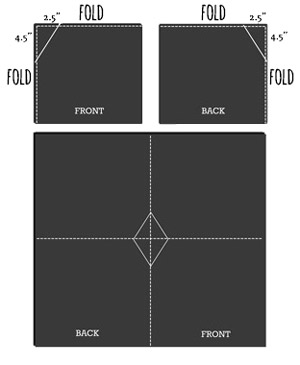
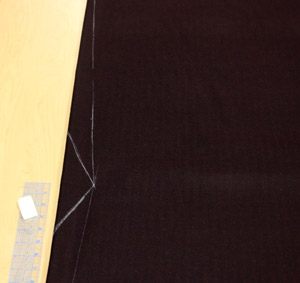
With the folds of the fabric square on the left and top, measure and mark 2.5" at the top, and 4.5" down. Draw a line to connect the two points. This will create a triangle that is 4.5" tall by 2.5" wide.
Turn your square over to the back and starting from the right side now, measure and mark 2.5" at the top, and 4.5" down. Draw a line to connect the two points. (These should match up on one side with the line you drew on the front side).
Re-create this line on the opposite sides of the fabric. (When laid flat, a diamond shape should appear.)
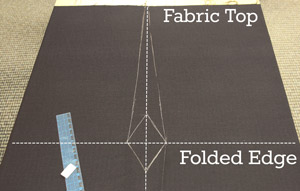
At the top of the fabric; draw a line from the 2.5" wide mark, to the bottom of the folded edge.
Re-create this line on the opposite side of the fold. (When laid flat, an elongated rhombus shape should appear.)
These lines represent the back collar, shoulder and front of the wrap.
Set the liner fabric aside, then repeat the above steps exactly, with the outer shell fabric you have chosen.
When you are finished cutting and marking both the liner fabric and outer shell fabric, it's time to move onto embroidering...
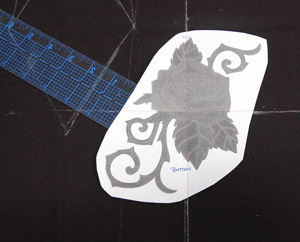
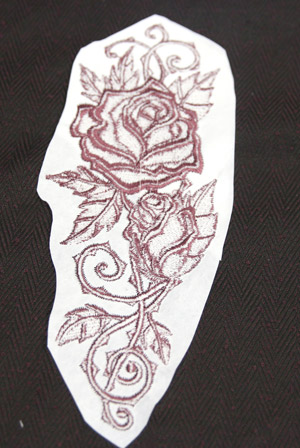
For this example, I used Gather Ye Rosebuds on the bust and Baroque Punk Rose over the shoulders. Once you've selected your design(s), you will need to print templates to line them up on your project. Here's more on how to print templates.
Place the design template at least 1.5" away from the back collar (for the best outcome, find the center of the collar, mark your fabric and evenly place the designs).
Using the templates, mark the center and axis points onto the fabric for each design. It also helps to mark the top and bottom of the designs to help remember the positioning of the fabric in the hoop.
For the best placement of the front designs; measure 3.5" down from the side point of the diamond (or "shoulder" point) and place the template 1.5” away from the collar line.
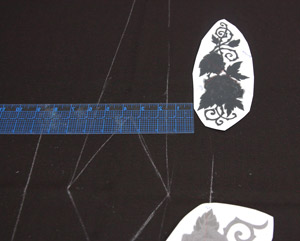
To mirror design placement on the left side, repeat the placement steps.
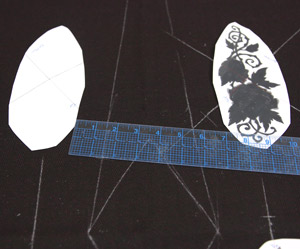
To mirror design placement on the left side, you can use embroidery software to mirror the design you are using, or you can use the mirror function on your embroidery machine to reverse the design before you stitch it.
Either way, it is best to repeat the measurements from one side to the other and use a mirrored template to ensure your design ends up exactly where you want it. (In this case, 1.5" from the collar line and 3.5" down from the side point of the diamond.)
Now that you know where your designs are going to go, it's time to embroider!
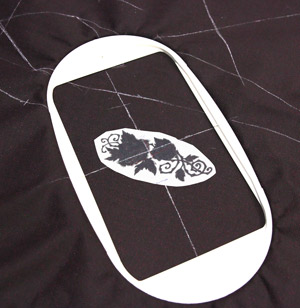
Use a medium weight cutaway stabilizer, adhered to the back of your fabric with temporary spray adhesive. Hoop both fabric and stabilizer taut together for best results.
Line up the axis marks from the template with the crosshairs of your embroidery hoop.
Embroider the design. Once the embroidery is finished, snip those loose threads and remove the excess stabilizer.
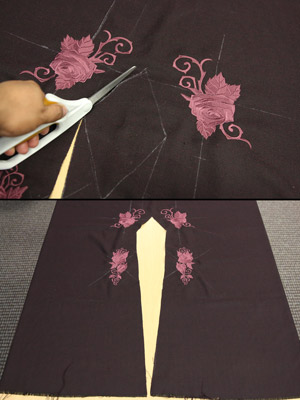
Next, cut along the collar lines of both your outer shell fabric and liner fabric to create the neck opening for the wrap.
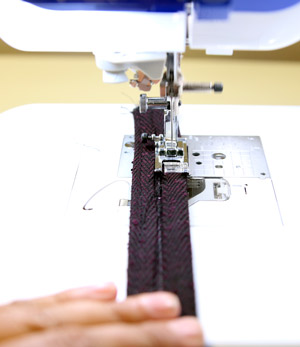
If you’d like to add a closure to your wrap, use a scrap piece of fabric 18" x 2". Fold the raw edges inward so they touch the middle; stitch them down, then fold in half again (hiding the raw edges); sewing 0.125” away from the edge.
Fold the unfinished ends of your strip in twice and sew down. After cutting the strip in half, you should have two strings, measuring approximately 8.5" x 0.5".

On your embroidered fabric, measure (on both sides) 12" to 15" down from the "shoulder" point, and pin the strips in so the raw edges line up.
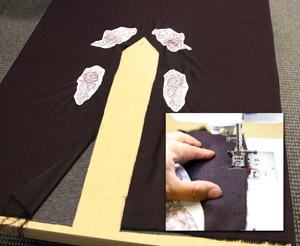
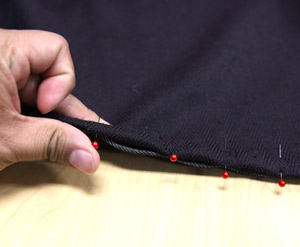
Grab the liner piece of fabric you had set aside. It's time to sew everything up! Lay the outer shell (embroidered) fabric and liner fabric right sides facing in, on top of each other.
Starting at the center back of the wrap, pin the fabrics in place to help prevent bunching, shifting and twisting. Leave a 6" wide opening; this will be where you turn the fabric right side out.
Following the border, sew a straight line 0.5" away from the raw edge of the fabric.
Cut notches at the shoulder points and center of the collar. Remove the corners of the wrap, leaving 0.25" seam allowance (only at the corners).
Using the 6" opening; turn the fabric right side out.
Close the opening by folding the edge of the opening fabric inward, pinning them together and topstitching 0.125" from the folded edge.
Snip all loose threads and press or steam the edges of the wrap to get a nice, crisp finish.

Throw that sucker on and step in front of a mirror!
Now you may gaze at your cozy yet elegant, awesomeness!


